I had a couple of pine plywood pieces left from a previous project, that did not work exactly as planned, and thought I could use it to make some novel book covers. I like Coptic stitching and wanted to extend this theme into the cover itself. I thus decided to cut the wooden covers into several pieces and stitch them together again. When I bound it into a book I got the following:

Final product!
The process of making such a book is quite simple. Here is how I did it:

Blank cover
I start with a 2 blank covers just bigger than an A5 sheet of paper. I stick the covers together with masking-tape. The plan is then printed and pasted onto one of the covers.
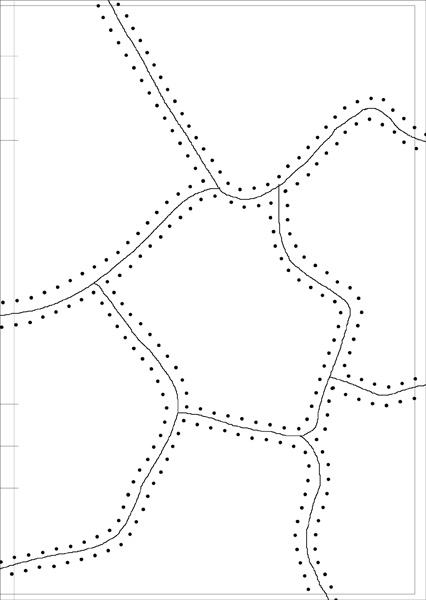
Plan
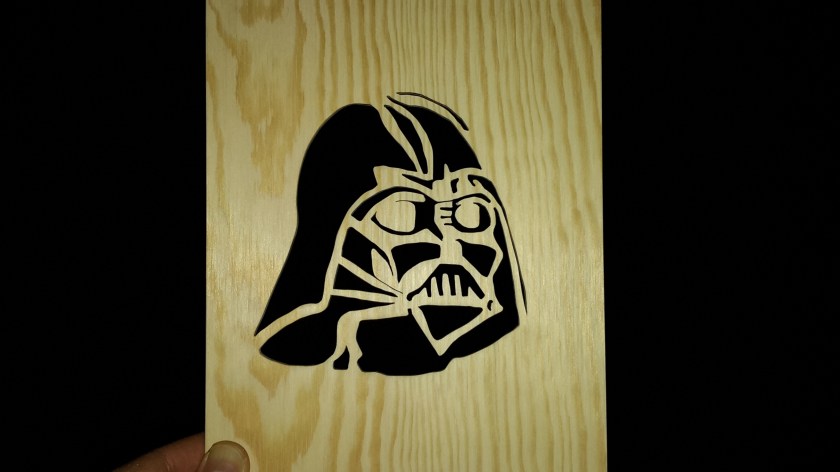
First all the holes are drilled where indicated and then all the pieces are cut. Below is an image of all the pieces drilled, cut and sanded.

Cut pieces of the two covers
I used 2 different stains and different numbers of coats in a semi-random fashion to get a few different tones. After the staining was done I added 5 layers of glossy clear lacquer to both sides of each piece.

Fitting the pieces
I wax the thread using some bees wax (I saw this technique online – link below).
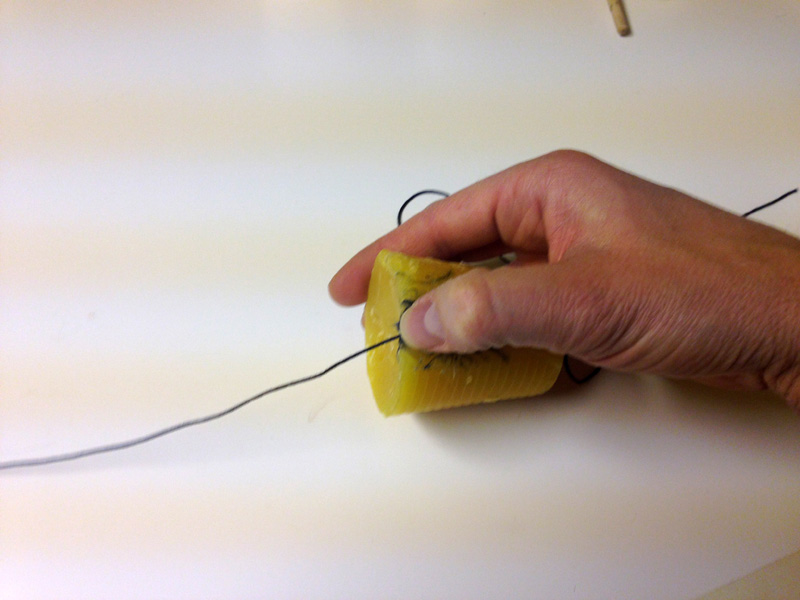
Waxing the thread
The stitching is quite simple. I just stitch trough each hole twice making a cross on the front.

Stitching begins
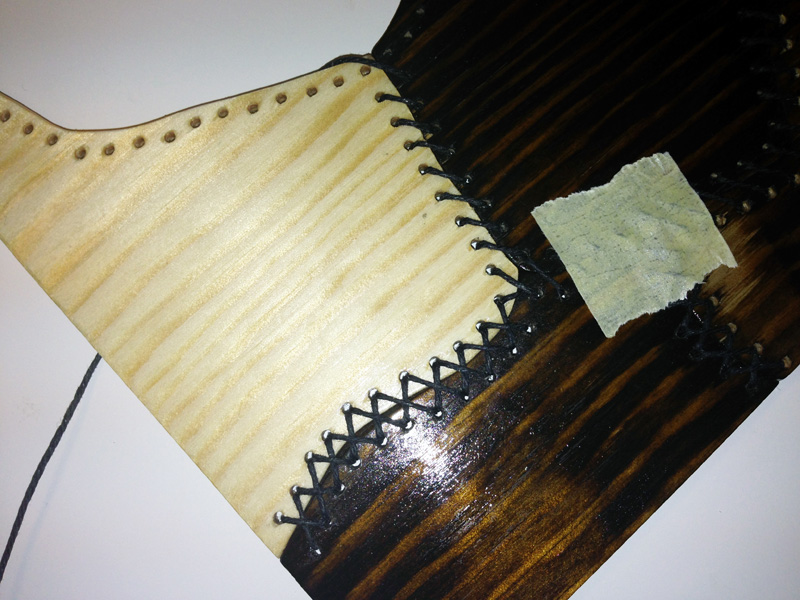
Closeup of stitches

Almost done

Fist cover – other projects in the background
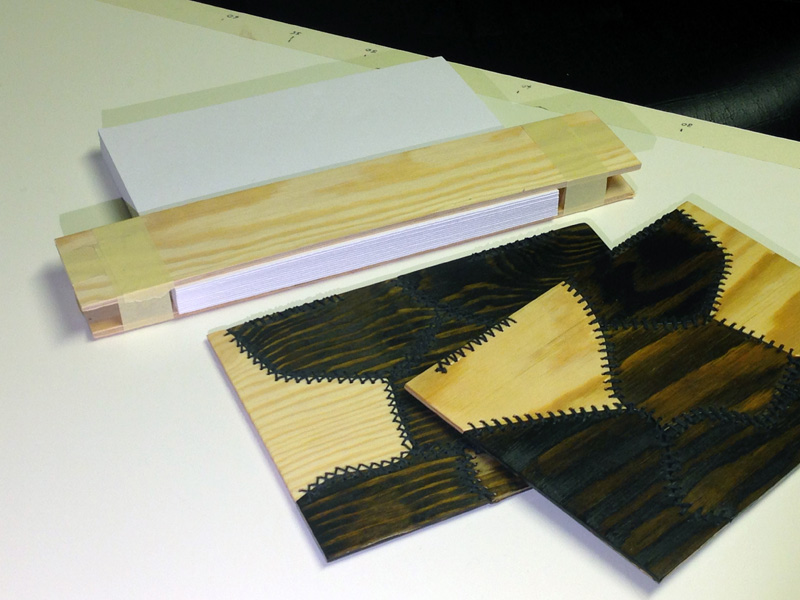
Both covers are done. They show the difference between the front and the back of the stitching pattern. Note also that I added extra holes on the edges to add additional detail where the binding to the paper would be.

Both covers done – front and back shown
I fold 70 A4 pages in half and make signatures of 5 pages each. The 14 signatures are stacked and clamped ready to be cut. Note also the edge stitching is done in the image below.
Clamping the pages
Usually an awl is used with some template to punch holes in each signature. I prefer cutting the holes with a scroll saw. This way they line up perfectly and small slits are created rather than holes. The Coptic stitches lies also a bit deeper when done, making a much cleaner binding.

Using a scroll saw to cut the pages

Slits rather than holes for stitching
The binding then begins with another long piece of waxed thread.

First signature

Slowly adding signatures – 14 in total
Finally the book is done. I am quite pleased with the result.

Done!
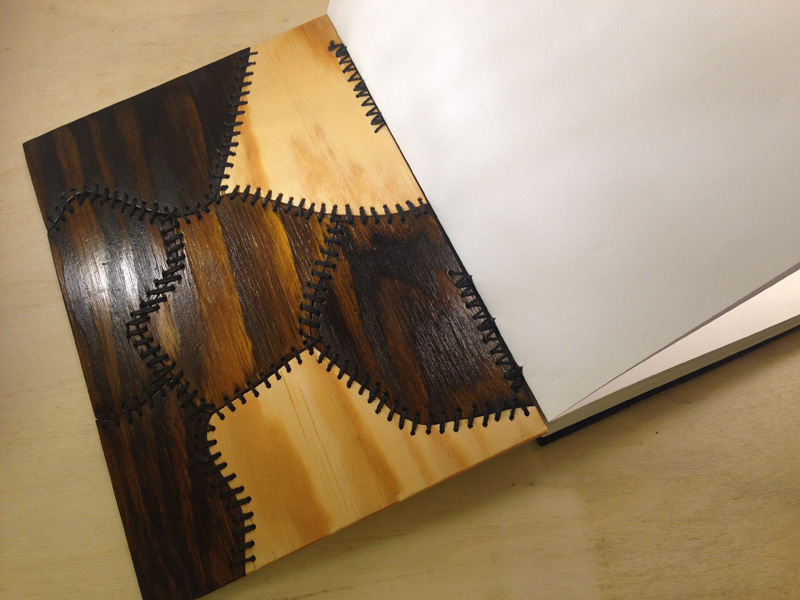
Inside of cover
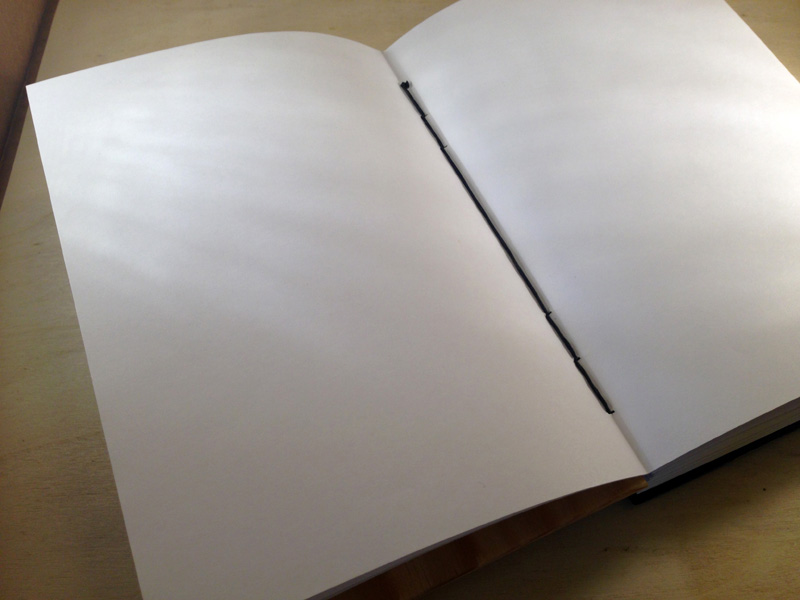
Middle of signatures
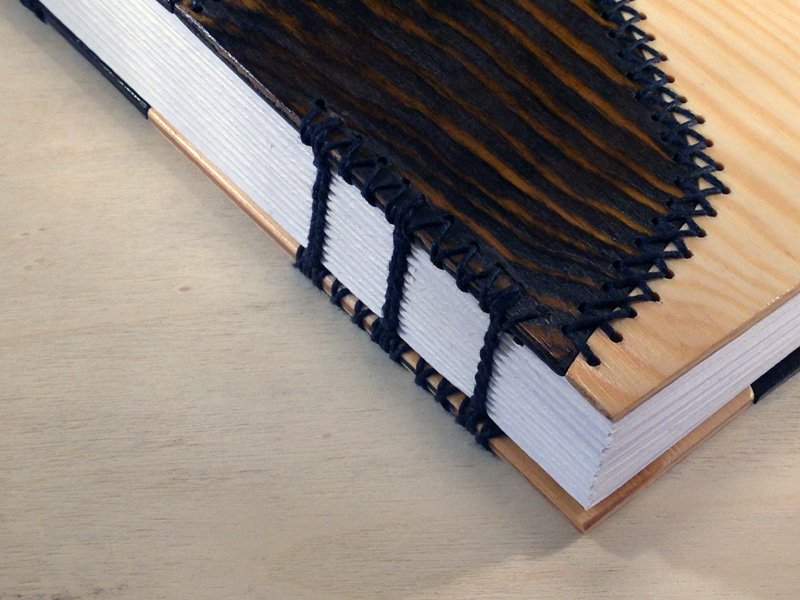
Closeup of Coptic stitching
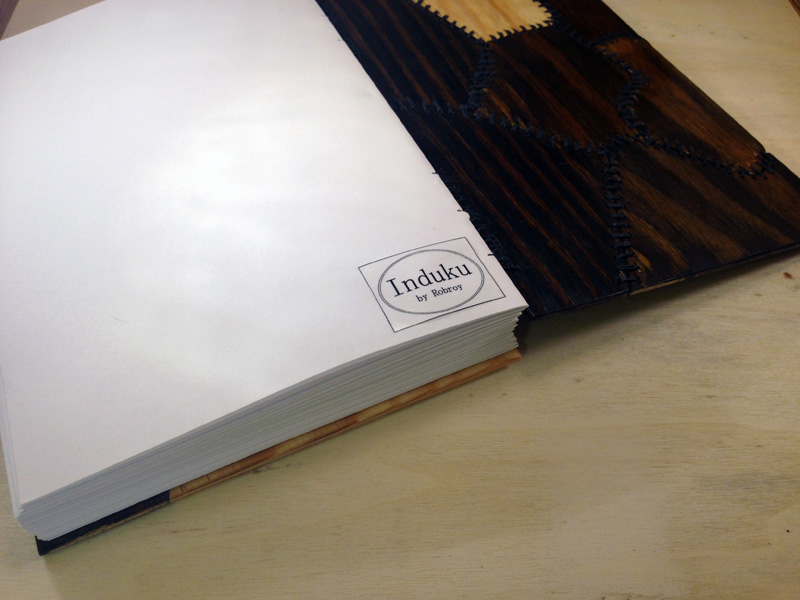
Adding some branding
I really enjoyed making this book. The final result is quite unique. Some people have mentioned that they prefer look of the stitches on the inside and it is possible to bind it the other way around – this was just my preference. I will sell this book in my shop (buy it here) and possibly make more using a similar technique.
I recently learned how to do Coptic stitching mainly from looking at the following videos by Sea Lemon:
I found this channel as an extremely useful resource for this type of project.
Lastly I want to mention that I used the image of the cut pieces in a competition (here). I will soon make another book that I will give away in a competition. Below is the covers ready to be stitched. I will use Coptic stitching and have a black front cover page. I am quite excited to have this done and see how it turns out!
Sneak preview of next book giveaway!
Robroy

Must admit I also prefer the look of the stitches on the inside… nevertheless the book is beautifully made!
LikeLike
This is awesome!
LikeLiked by 1 person
Thanks 🙂
LikeLike