I recently made a whirligig that also serve as a house sign. This is planted in our garden and I think the postman have no problem with finding our house.
The best way to experience the whirligig I made is to watch the gif below:

Whirligig in action
I always wanted to make automata but wanted them to be powered in some natural way. The idea to make a whirligig as house sign came from Jimmy Diresta who had a video where he made one from metal (here). I felt inspired and copied his idea but used wood as a medium rather than metal. The whole process of building mine can be seen here:
As with many of my projects I start with a plan that remains mostly in my head with only a few key measurements written down. In this case it was partly because I had a clear image from Diresta’s video of what I want it to look like at the end. I also wanted it to be reasonable modular to be able to exchange/fix parts if required. The whole thing thus comes apart with only a few pieces glued in place permanently.
I started with the wind mill blades. I wanted cloth sails and made the hub and arms first using wood. After a quick test (using paper) I made some changes to the angle of the blades. I spent a few hours stitching the sails and assembled the wind mill part.
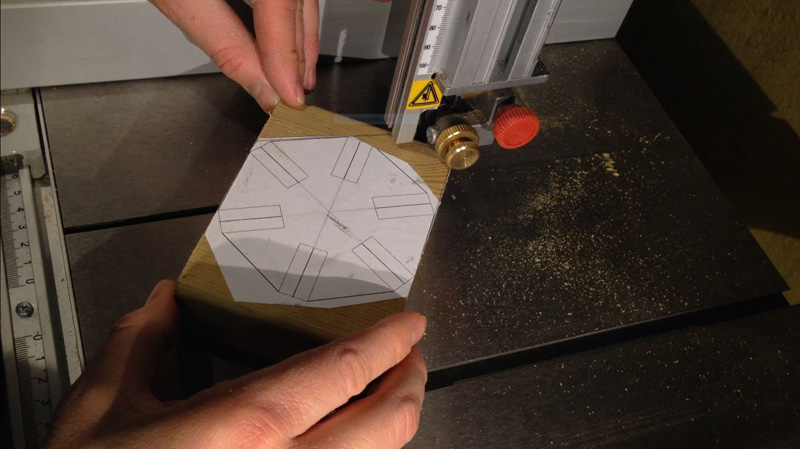
Cutting the hub
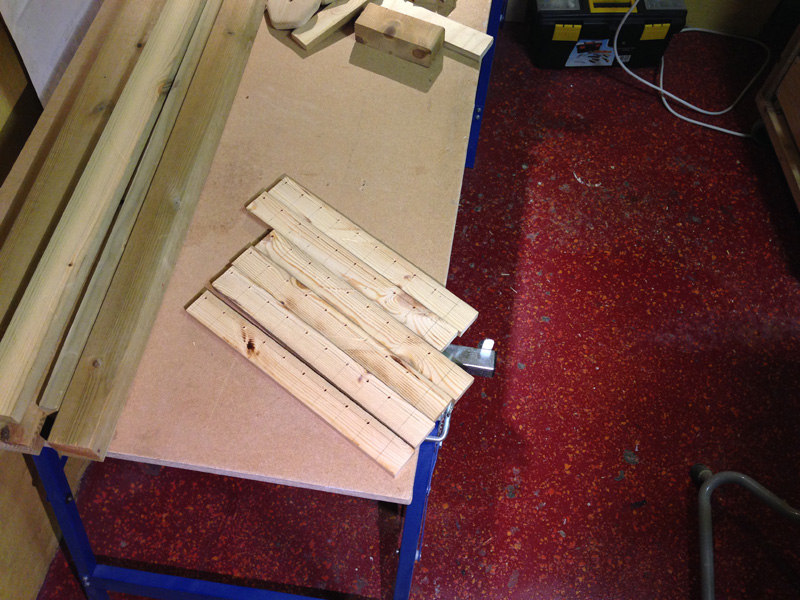
Blades of the windmill
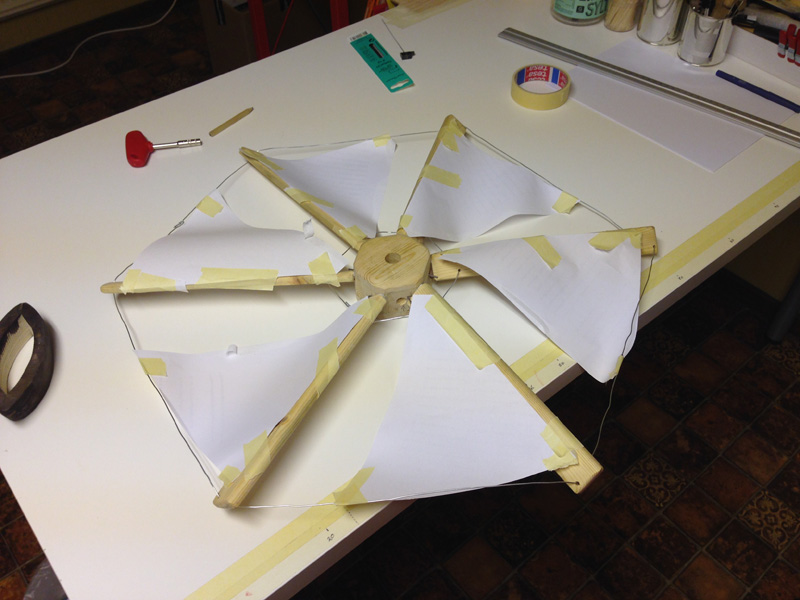
Paper sails for testing
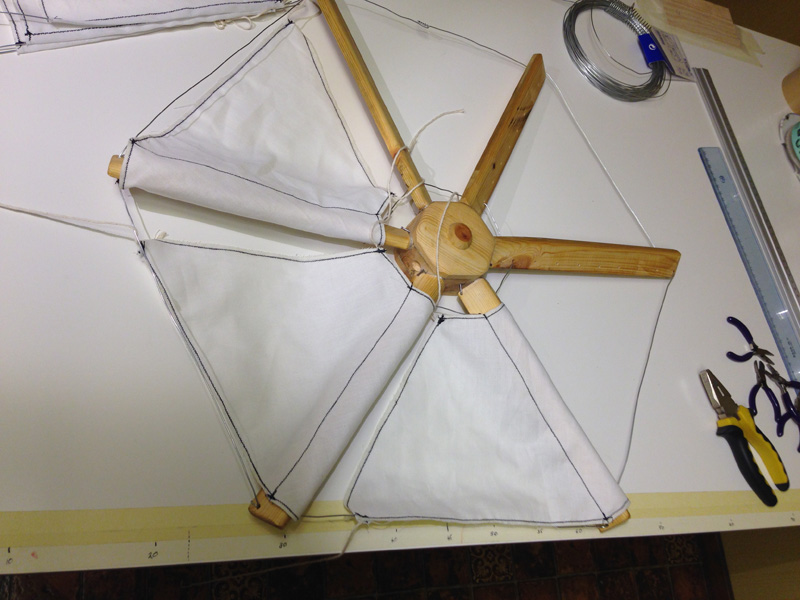
Cloth sails being attached
The frame was made from wood left over after our deck was installed. I made a jig for finger joints and this is the first project where I used it. I am extremely impressed how easy it is to make and how nice it works and looks.

Simple finger joint jig

Kameel inspecting the frame

The frame
I drilled the holes to fit some PVC pipe for the axle to rotate in. The holes for the moving bars was also drilled and cut.
Holes with pvc glued inside
I decided to add some gears. I am not sure why I initially wanted to do this. I am however extremely pleased with the gear reduction ratio since the wind in our area is quite strong and the speed of the windmill this high. The high wind-speed will not directly translate into direct fast rowing movement (which would have looked a bit strange) but will be reduced 4 times. At the same time, the gear setup does allow for weaker gusts to move the whole thing.

Cutting the gears on the band saw

Testing the gears
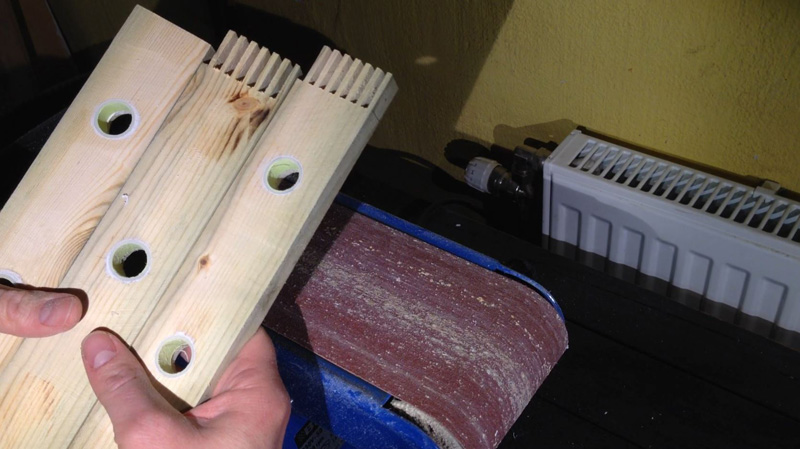
The main crankshaft was made from a maple branch. I cut it into discs of different sizes. The size of each disk relates to the placement of the numbers and boatman. I drilled these disks at various positions to offset the point of rotation and put the whole shaft together. Dowels were used to connect the various disks. The remaining discs were cut in half to be mounted when the arm and number was connected.
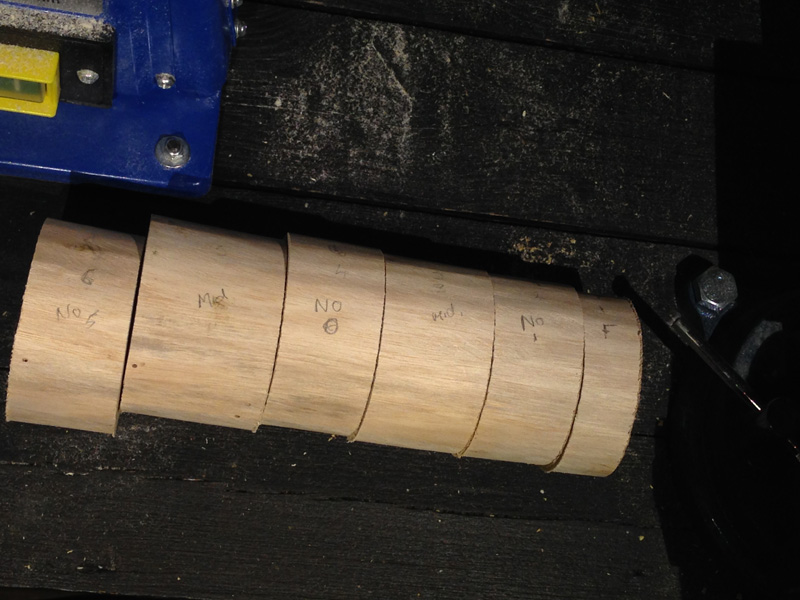
Main disks used in the crankshaft
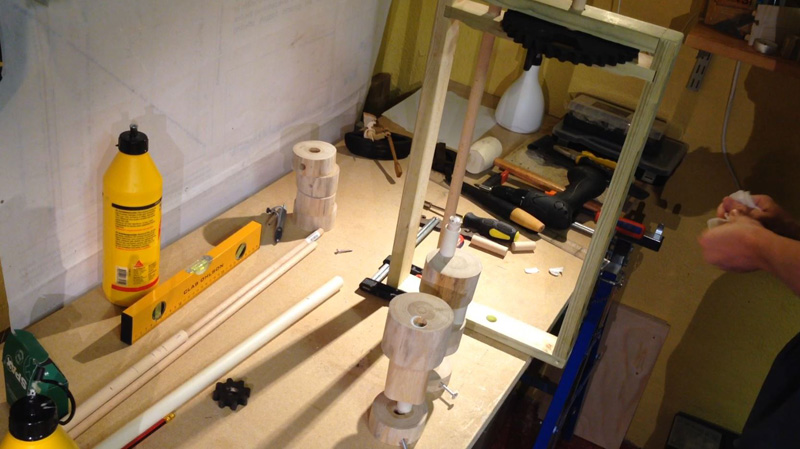
Assembling the crankshaft
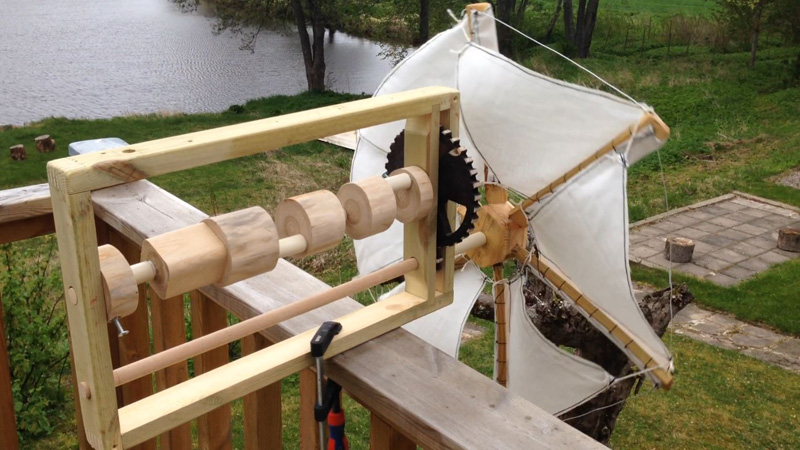
Testing the crankshaft and gears

Rods for numbers and boatman mounted
The numbers and tail fin and waves were cut on the scroll saw.

The fin
I was worried that the movement of the boatman would be tricky to get right. I thus made a prototype and found that it is actually straight forward. I replicated the boatman parts.
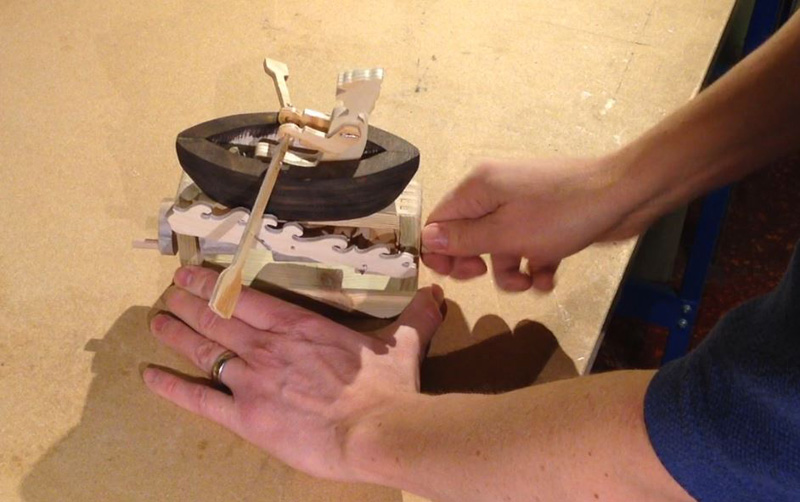
Boatman prototype

Stained gears, numbers and all the parts for the boatman

Boatman in action
After all the pieces was made some were stained. I coated all pieces with linseed oil and hope that it will help with protection against the elements. The whole whirligig was then assembled and tested.

All the parts except the windmill
The final step was to mount it. I found the center point of the whole assembly, drilled a hole and added some extra support. We went to the garden to find a spot that is reasonably open to the wind and visible from the road (since it is intended as a house sign).I planted a stake and drilled a hole in the top. The whole thing simply mounts on another dowel that fits into the stake and the bottom of the machine.
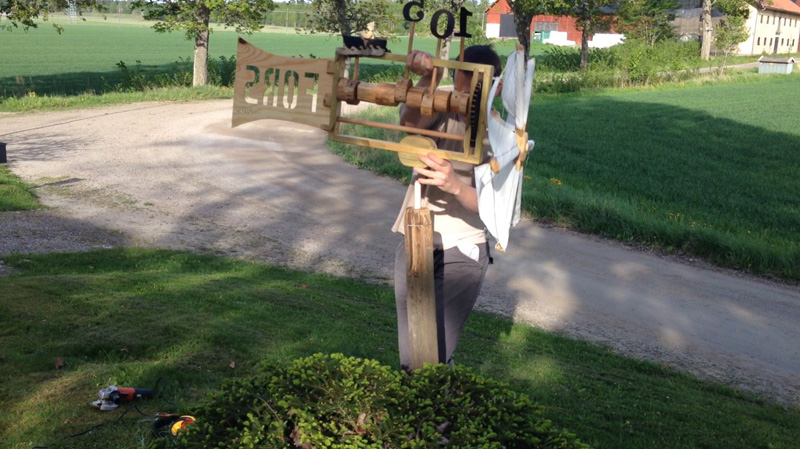
Planting the whirligig
Often my projects grow (in size and/or complexity) while I am in the process of building the parts (see also the dart board that I made). The whirligig was also one such project and has become more complex than it needed to be. I was a bit worried that this would be seen as a monstrosity whirling away in the front of our garden rather than a moving house sign. Currently, I think it looks fine.
R