Pic-o-Pocket: Keychain retroconsole

DIY

I like to try new things, and after seeing what has to be the smallest DIY gaming console I have ever come across, I thought I would give it a try. The original was designed by Fanis and it is a really cool little device, however the one thing it was missing was sound. I reached out to him, asked if I could get the files as I wanted to add a speaker, and he was kind enough to send them over.

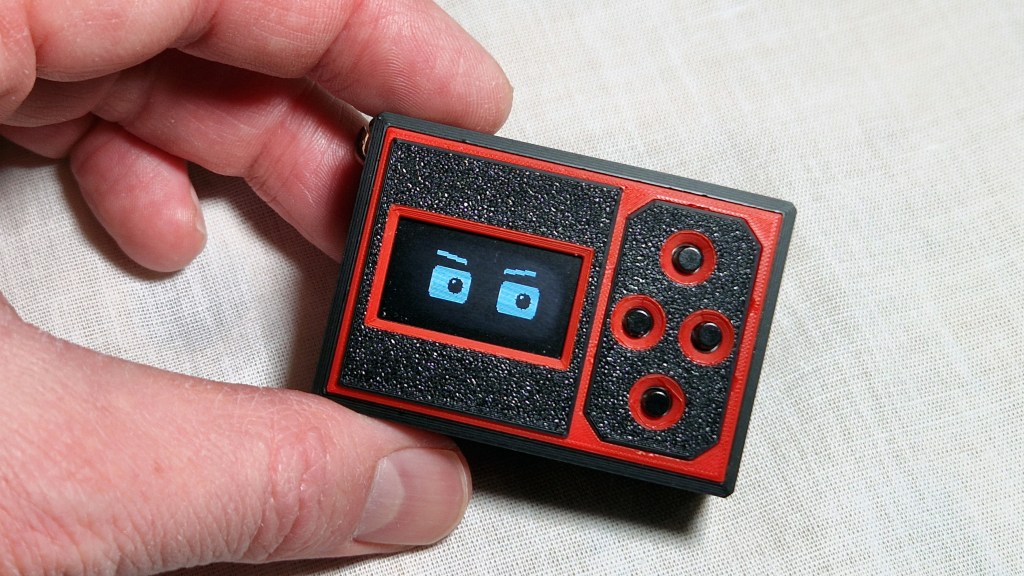
The current version of pic-o-pocket runs on a Raspberry Pi Pico 2W and has a I2C OLED display, a small 8Ω speaker, a LiPo battery with charging circuit, and four buttons. It runs a custom platform built in MicroPython with 13 games, several songs, WiFi that syncs with an internet time server, live weather, screensavers and a battery status monitor and various other features.

All the files to build your own, including all the code, a parts list, 3D print files and circuit diagrams are available on my Patreon page here: Avalaible here!

The awesome original by Fanis is Available here!

This started after I found an ESP32 and got a new soldering iron, and after playing around with that for a bit I moved on to the Pico. The build itself was reasonably easy and the soldering was not as difficult as I expected. Getting everything to fit into the case was a bit time consuming, however it all fit in the end.
I enjoyed the coding as I have always dabbled in it, however most of the heavy lifting was done with the help of Claude.That said, I will say that I do not like Python and will be avoiding it in future projects and sticking to C based languages.

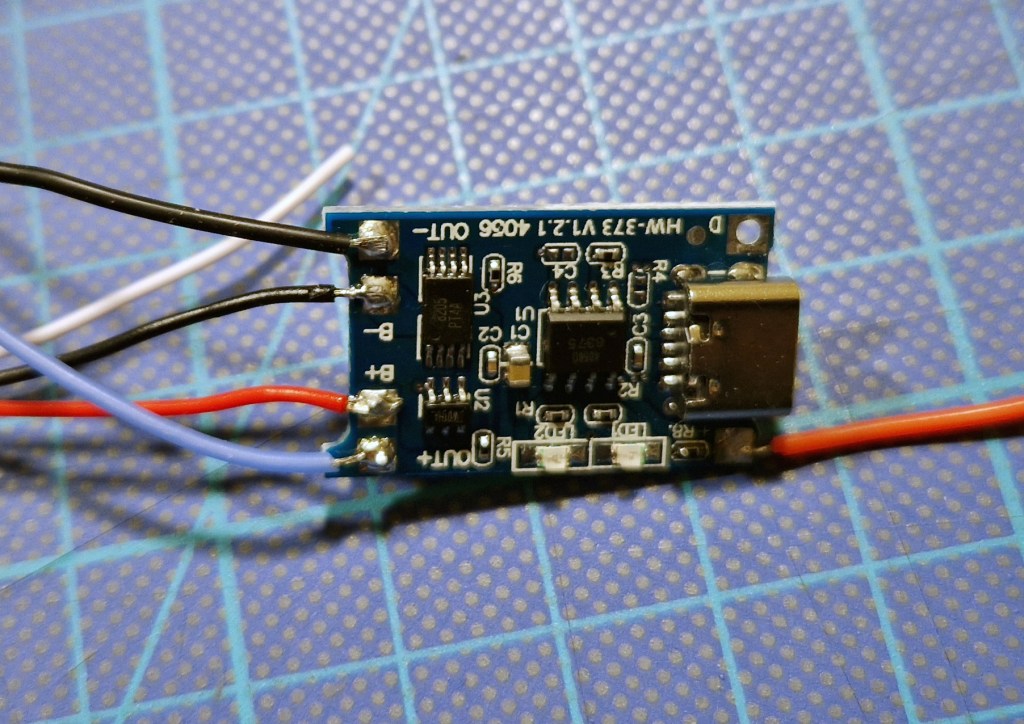
Some of the things that took a bit of figuring out were getting the battery voltage reading accurate, adding the speaker which required a transistor circuit to drive it properly, and getting the WiFi chip on the Pico 2W to behave.
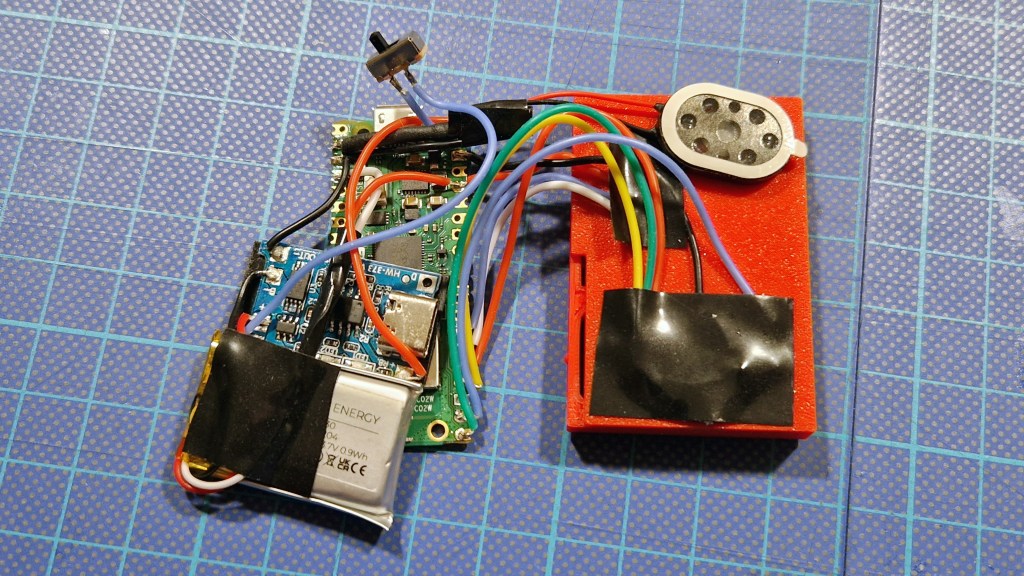
There is also an optional NTC thermistor for battery temperature monitoring. I had one available and added it mostly because I could, however it is optional and the device works fine without it.
Next up I am planning to build a wooden clock kit, which is purely mechanical with no electronic components at all. After that I am planning a small robot. Stay tuned for those.

R

Making Chess Pieces: Easier but more exhausting than expected.

DIY

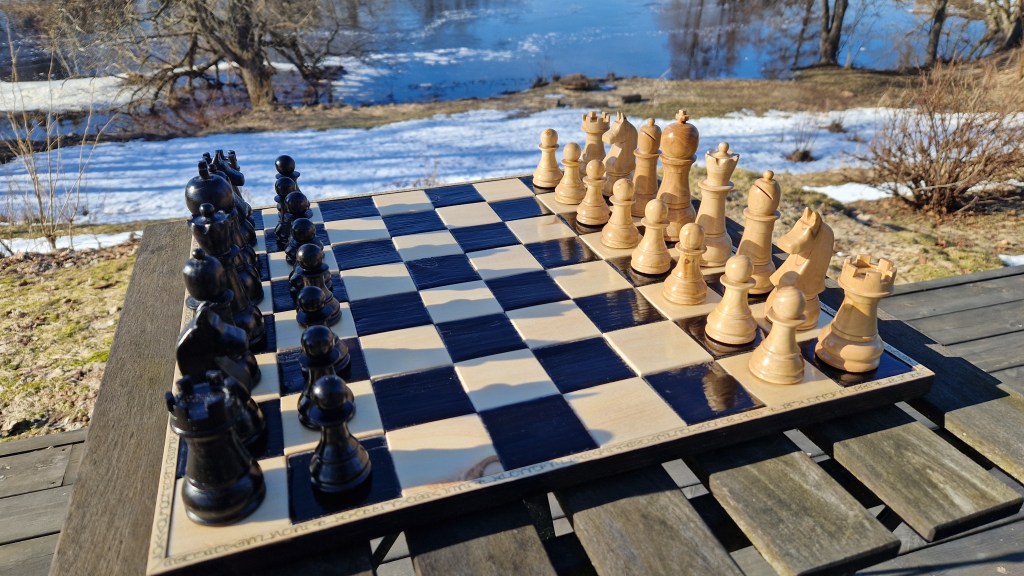
A few years ago, I finished a chessboard and thought I would quickly make the pieces and finish the set. Now, after several years and one epidemic, it is finally completed. Making a single piece is quite easy, and each one took around 2 to 3 hours to make. However, making 32 pieces with all the same types looking identical is really hard. But I am happy that it is finally done. There is a whole series of videos on how I made the set which I can recommend (this video covers most of the things in the blog with nice videography and a cool accent). Here is the first (links to the others be):

Pawns

Rooks and Bishops

Knights

Royals

Most of the pieces were made from a tree in our garden that died from Dutch elm disease. I started with the pawns and quickly realised that I need a bit of help to make the pieces look the same. I made a simple pattern transfer jig which worked very well. However, after a bit of practice, I got more confident, and by the end of the pawns, I stopped using the jig and made the rest of the pieces by only referencing a sketch of the other pieces already made.

Most of it went well until I made a king that looked like he was malnourished. At this stage, I was making one piece every few weeks but stopped completely. The chess set just sat in the shop as a sad reminder that I have an uncompleted project for almost 4 years. Instead of me working on it, I complained about it on the woodworking subreddit, and the response was so nice and supportive that I made a new king a few days later. This king looked kingly, and I got working on finishing the chess set.

I went on to make the knights using a jig and a scroll saw.

With all the pieces complete, it was only a matter of adding a few details, staining, adding weights and feet, and it was done.

I made a quick detour to make a rotating display stand for the sole purpose of filming the chess pieces (plans available here).

And with that, I have a completed chess set. I am currently playing correspondence chess, but if you are in the neighbourhood, pop in for a game!

R

Basement Hydroponic System

DIY

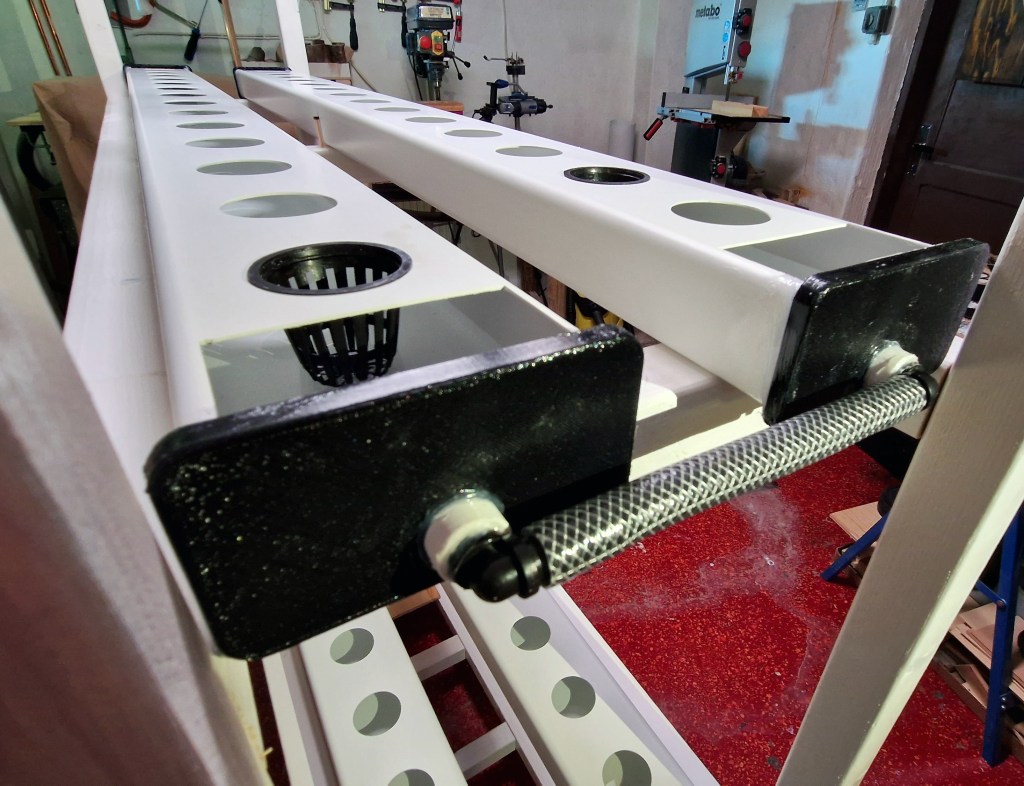
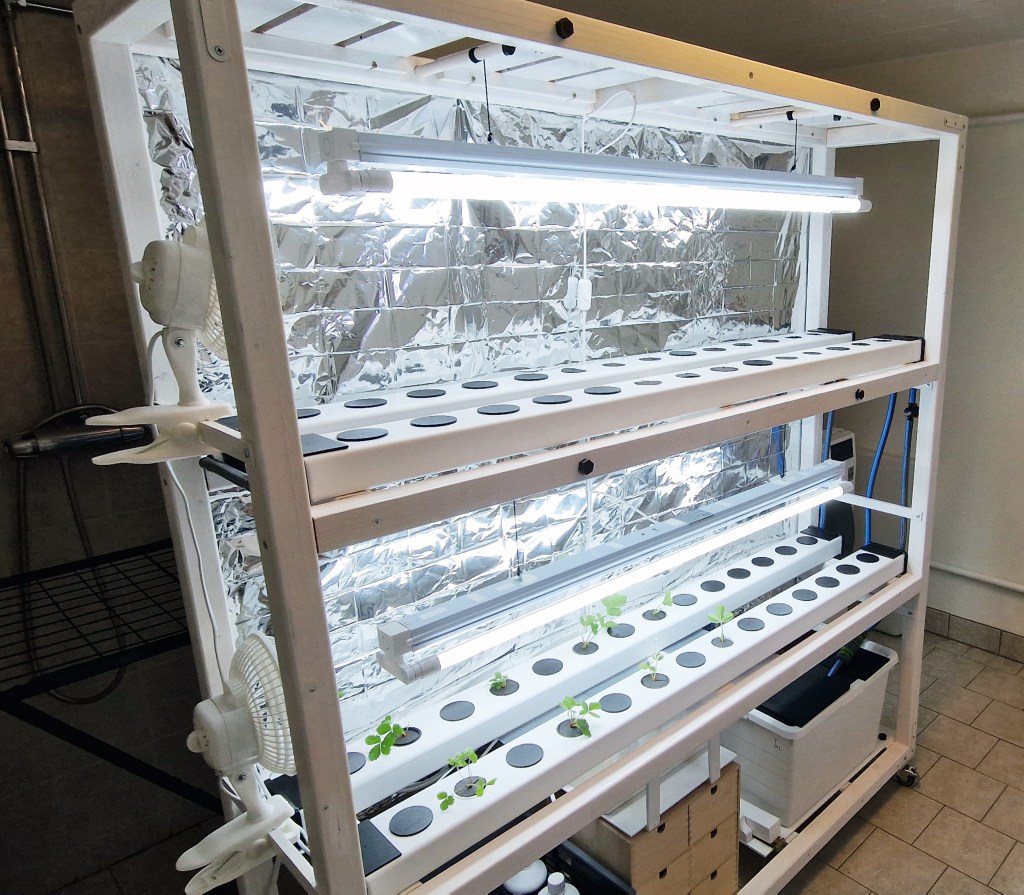
I recently attempted to grow fresh food in the basement, especially during the long and cold winter months. The method I settled on is the Nutrient-Film-Technique (NFT). The support rack was mainly built from square beams, and plastic ventilation ducts were used to create channels for the plants. These channels were sealed with 3D printed endcaps and a bit of silicone.

For the reservoir, I used a 40-liter storage container housing both the pump and a small airstone that provides extra aeration to the water.

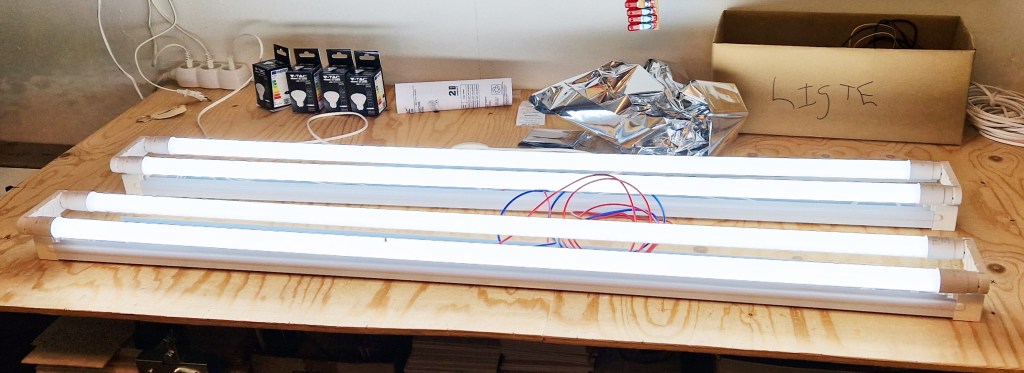
I used lights are 6400K LED tube lights, fitted into a simple socket and suspended using a ratchet system that I designed. I am really happy with how it turned out.

I added fans to ensure there is enough circulation, and they are on a timer that turns on for a few minutes every hour.

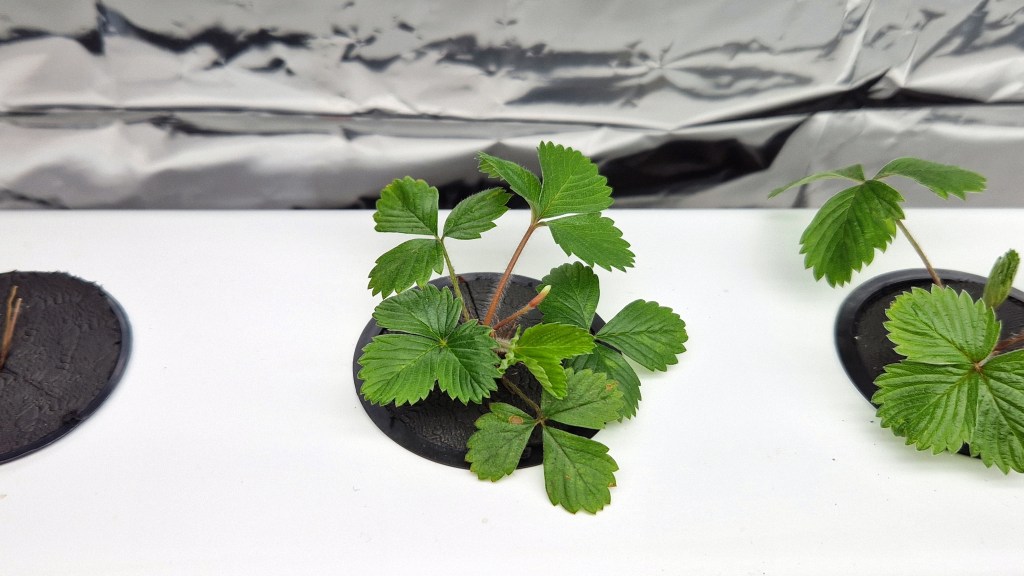
I used NovaMax liquid fertilizer, and it works brilliantly. At this stage, I have some nice strawberries ripening, and we also had more lettuce than a small village could consume. Surprisingly, this system is also excellent for making cuttings, and I need to stop placing every pruned stick into it, as roots form very easily.

Strawberry plant

Overall, everything it works well, but there are several things that could be improved (some of these I can or will do on the current setup).

The spillway system was improved. It was made to drain any water in the case that any of the downstream pipes block. Initially it was linked into the main drainage pipe but I decided to connect it to its own dainage pipe to ensure it function even if the main pipe becomes clogged.

The slopes are way too shallow. The pipes are too small for the water to flow throught it fast enough to create a film. This combined with the channels not being completely flat makes the water pool in some places. Although the whole system it works reasonably well I think the pooling requires the additioal aearation which might not be needed in a proper setup. The next NFT system I buid will have much steeper slopes.

I want to double the number of lights. I think this works okay for lettuce, but more light will be better. I have a small Kratky system with much more light, and the plants do seem to grow a bit better.

Take care not to introduce pests! My lettuce seedlings got a few aphids, and once they took hold, it was really difficult to deal with them. I know the source, and it was a simple mistake (i.e., keep your seedling trays far from the plants you bring inside for winter). The whole system was cleaned, all plants were removed, and fed to the wild hares. The new lettuce crop is currently germinating.

Next, I will plant more leafy greens (lettuce, basil, spinach, etc.). I know that fruiting plants and leafy plants do not necessarily work well in the same system, and I will probably optimize for one or two crops that work well – but this also means that there might be more hydroponic systems in the basement soon (spoiler: there is already one more).

Stay tuned for the next project.

R

Note: STL files for all parts (those that were printed or cut) are available on request.