The clock we bought from IKEA several years ago started to lose its face. This caused the hands to get stuck and we needed a new clock. I am currently busy making a wooden clock (including the mechanism), from plans that my wife bought me (click here for the most awesome wooden clock site anywhere), but I thought I will make something a bit less ambitious in the meantime. I thus designed and made this warped clock-face and added a normal quartz mechanism:
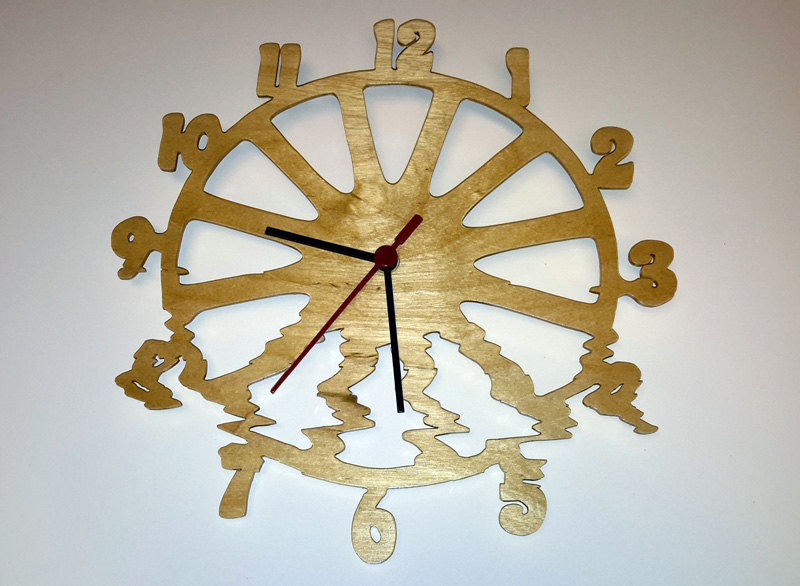
Completed warped clock
The video below is a speed up version of the whole DIY process described below (high speed cutting start at 0.25):
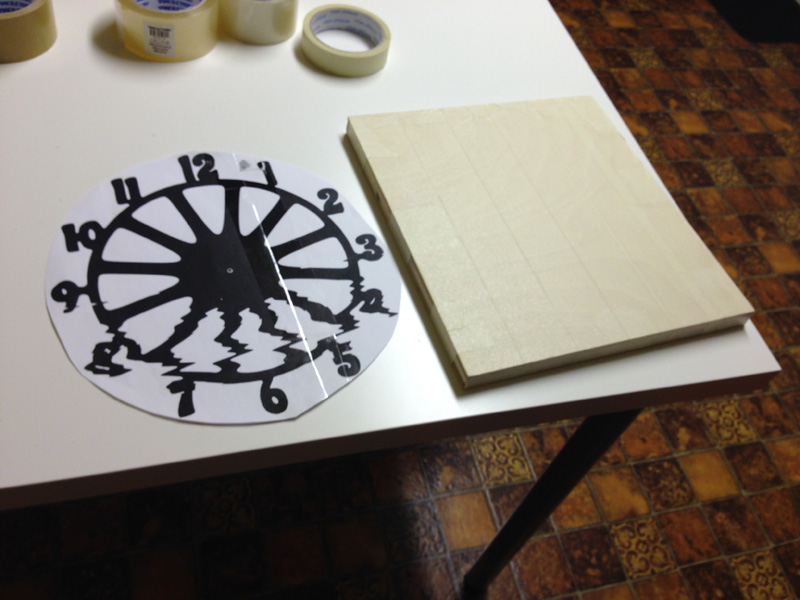
I wanted to make something that is a bit unique and have recently seen several wooden objects with a “digital flaw” designed into the object. The process thus starts with the design and I drew a reasonably normal face and digitally warped it and printed the image.
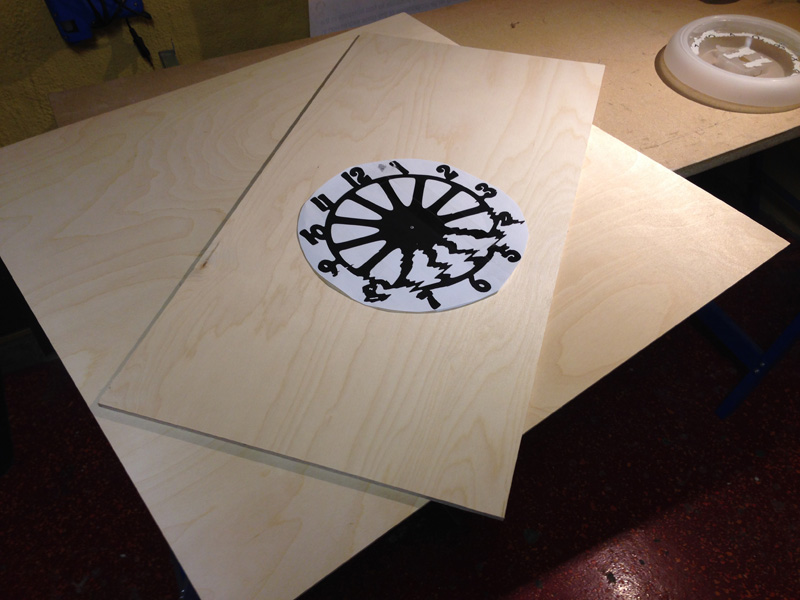
Selection of the wood – 4 mm and 6 mm Baltic Birch Plywood
4 square pieces cut stacked and taped
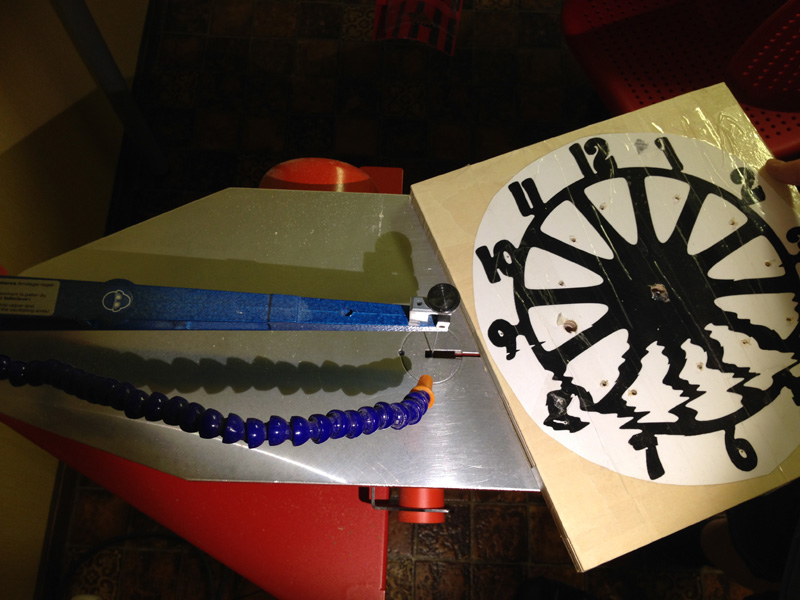
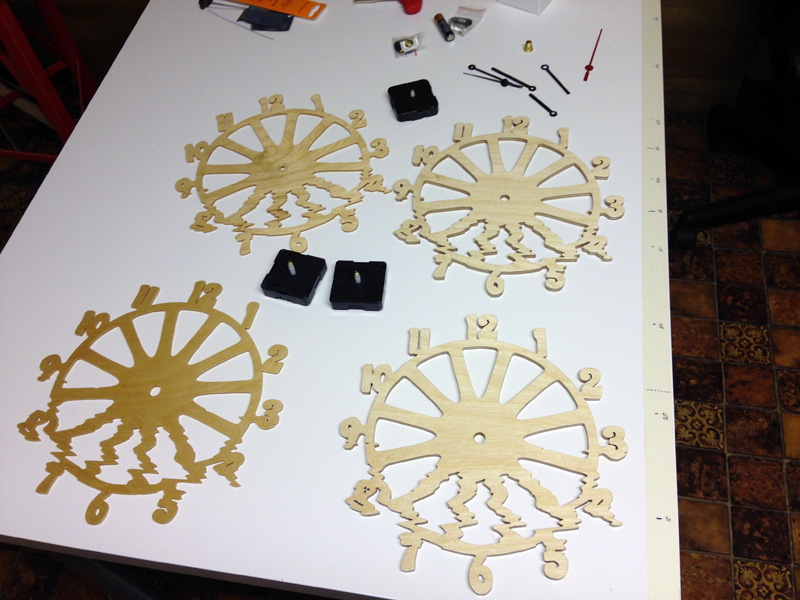
Since the face is quite thin I decided to make several at once (the additional clocks can be bought here). I cut stack two 4 mm and two 6 mm pieces and tape it together (total thickness is thus 2 cm which is no problem). The time per cut is slightly slower but the overall time to make four clocks is much, much faster.
Entry holes drilled
I use masking tape (painters tape) on the wood itself and use a glue stick to stick the pattern to the tape. I find that the masking tape is very easy to remove from the wood. It also reduce the amount of splintering (especially when crosscutting pine plywood). The stacks are also held in place with the masking tape. I cover the pattern with packing tape. Once this is set up I drill the entry holes.
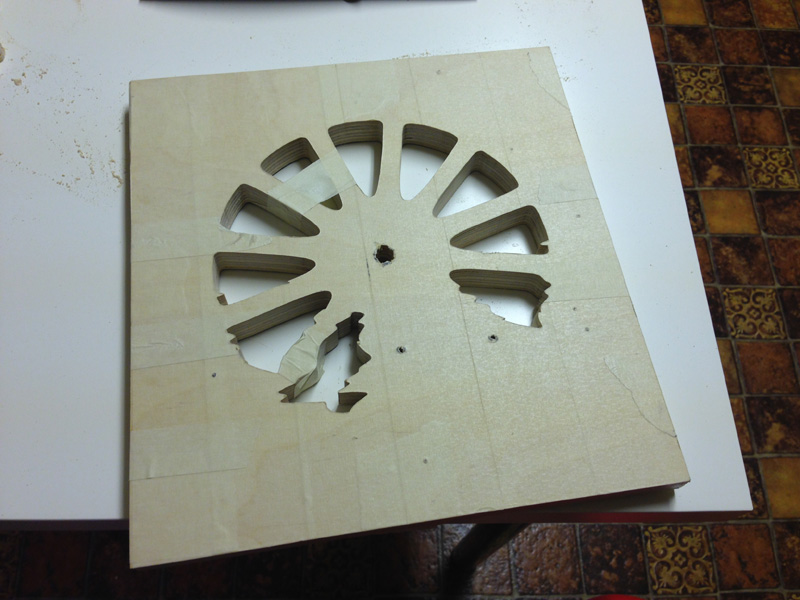
Cutting the inside first
View from the back – I find that looking at the back the final image emerging is much clearer without the pattern interfering visually
At this stage I had all these pieces and got side tracked. I posted this on Facebook and asked people to guess what I am making. I promised a small prize and this was the beginning of the competitions that I now sometimes have (here is the current competition):


Small pendant as prize!
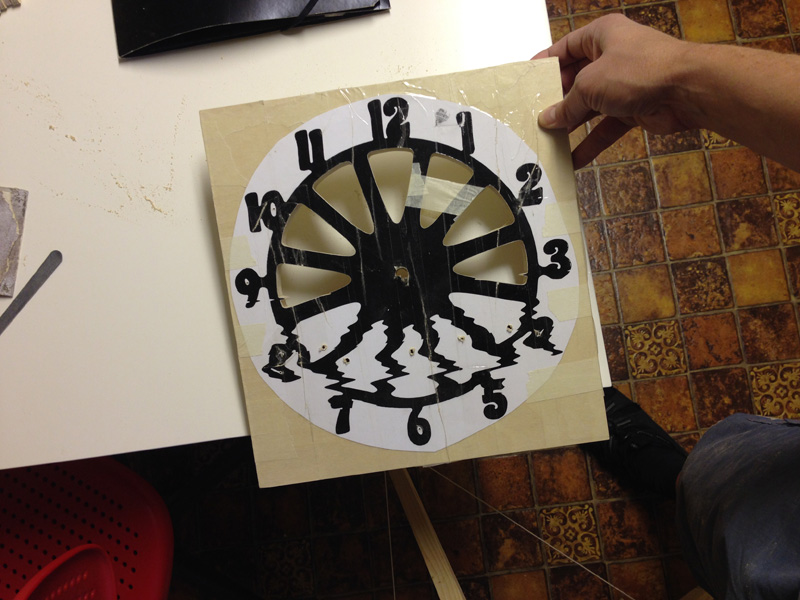
I continued with the outside cuts. I did however need to re-wrap the stacked pieces together as the masking tape originally keeping the stacks together (on the outer edge) was cut away.
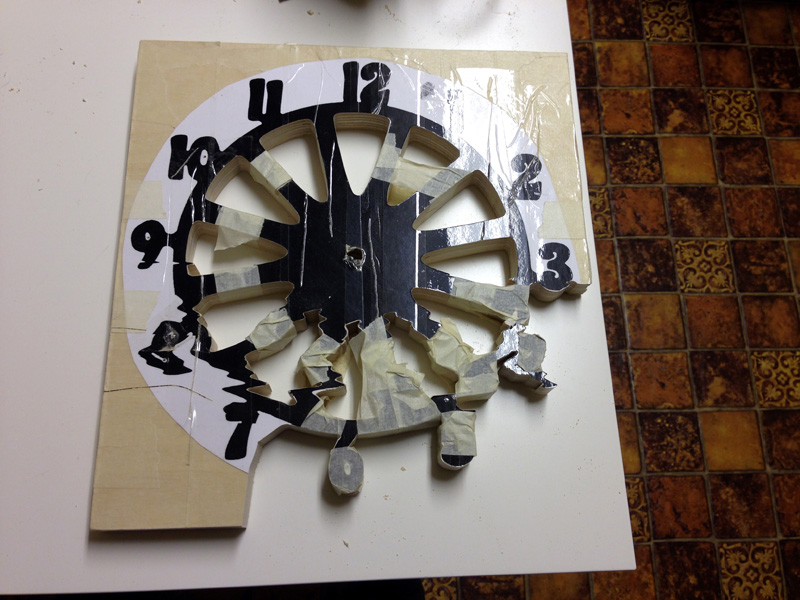
Supporting tape all over the place
Once done I started to remove the template and tape. 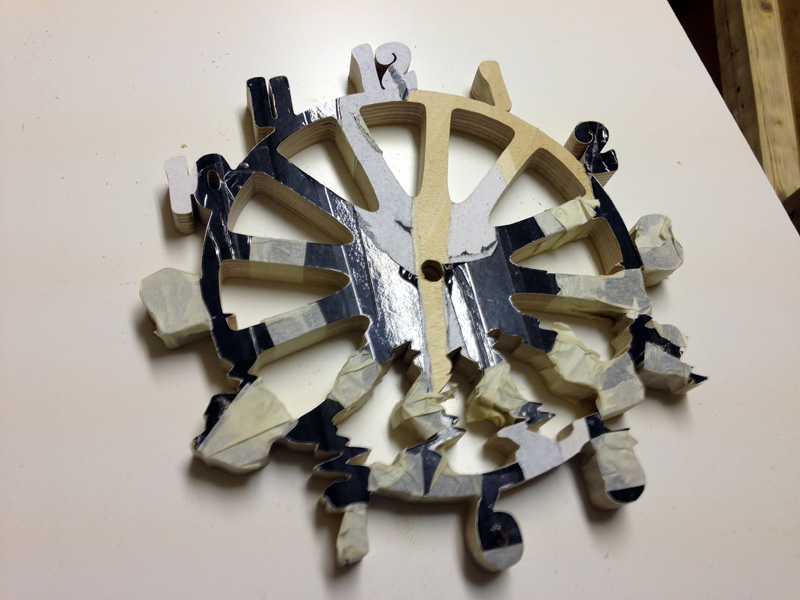
Which led to four identical clock faces. As usual with all woodworking projects, a lot of sanding takes place. Each piece was sanded from 240 to 800 grit. 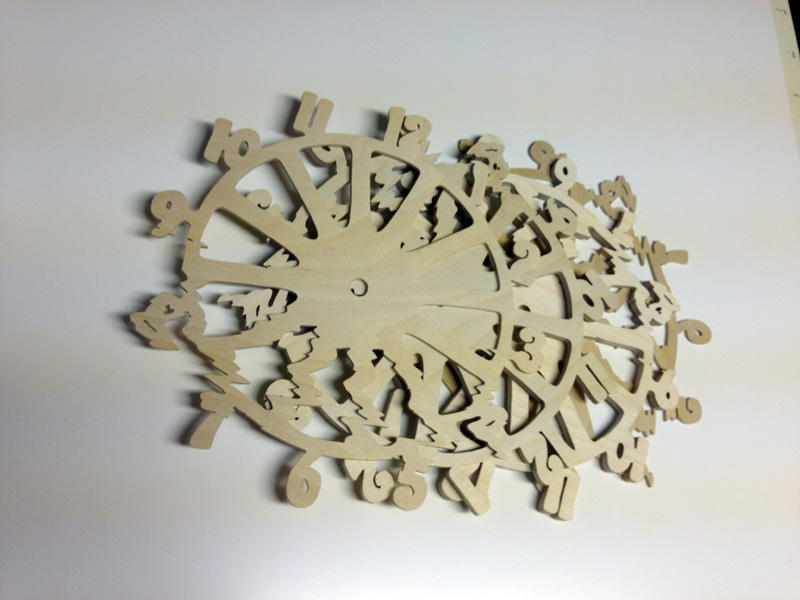
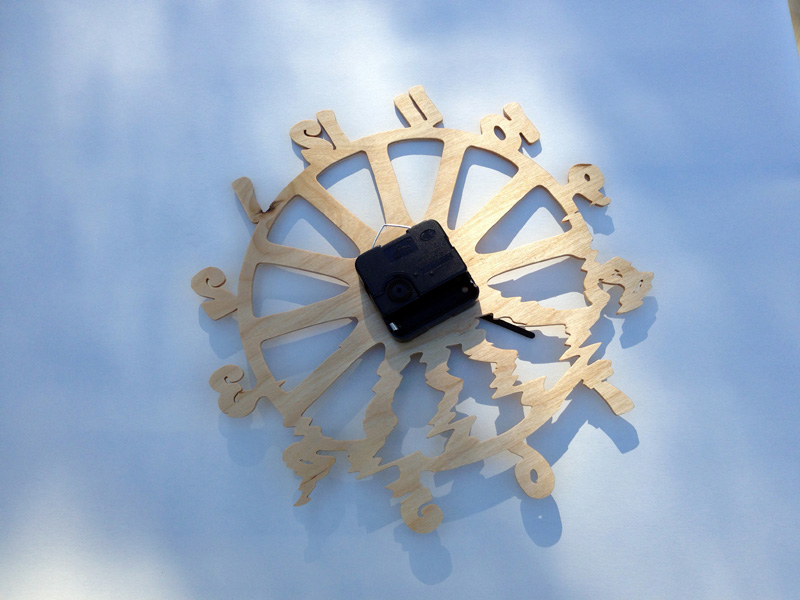
I coated the faces with clear lacquer and the differences in color became quite apparent. Next, the fitting of the quartz mechanisms. I simply stuck them to the wood with some hot-glue and added the hands.
Various natural colors
Back of clock
Side view of 6 mm clock showing the plywood layers
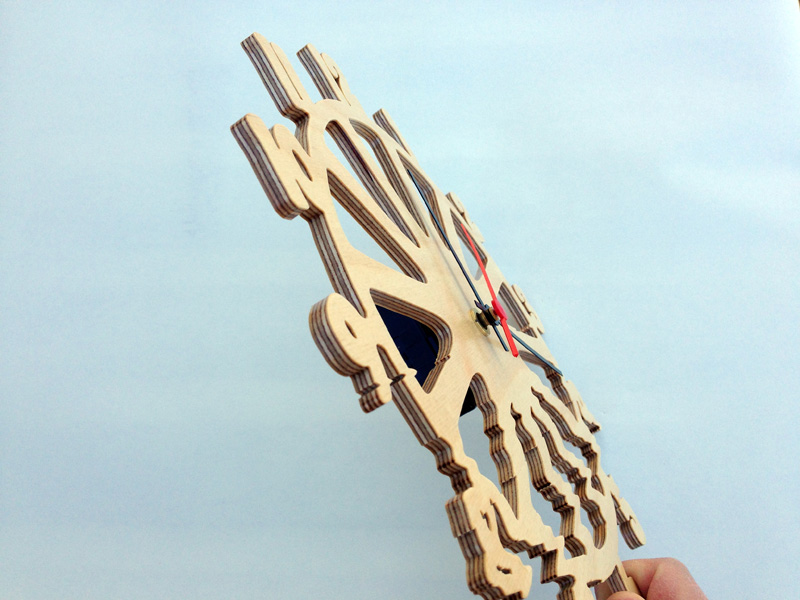
I am happy with how these clocks turned out. A few people had comments on what a shame it was that the wood warped in such an ugly fashion, which gave me a nice feeling of accomplishment 🙂
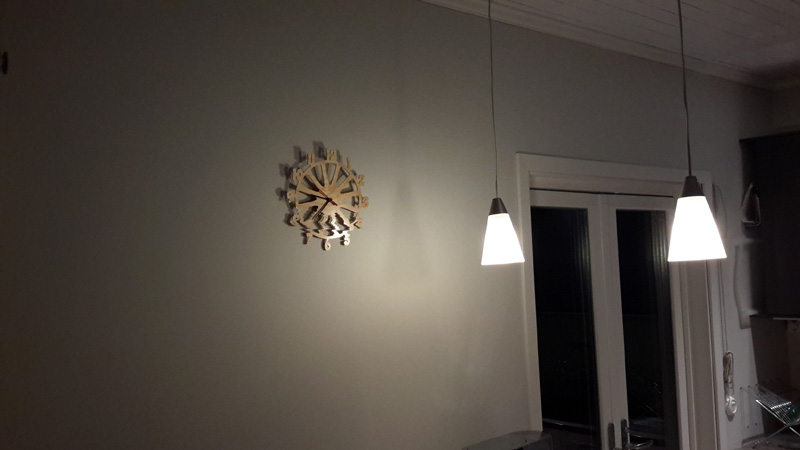
Currently in our kitchen
One clock is now in our kitchen and the others I will sell (here). I will, in the future, probably design more digital error patterns and have several plans to make pixelated wooden items.
Robroy.
p.s. feel free to sign up for our newsletter to keep up to date with new items and exciting competitions: