Leather Wallets

Competitions, DIY, New Item, Shop Stuff

After making a card holder for my wife (here) I thought that I should upgrade my own wallet (see below). My confidence in working with lasers and leather is slowly growing and I thus decided to make, not only one, but 7 wallets. Below I will show all the steps for making one of these. I am happy with the final product and will keep the first (the prototype) for myself.

Photos of the finished product:

I will also give a wallet or card holder away – more information on the give away here. You are of course welcome to buy one, they are available here.

20170507_134752

One of these currently up for grabs!

Steps to make a leather wallet (the steps I took – not necessarily by the book):

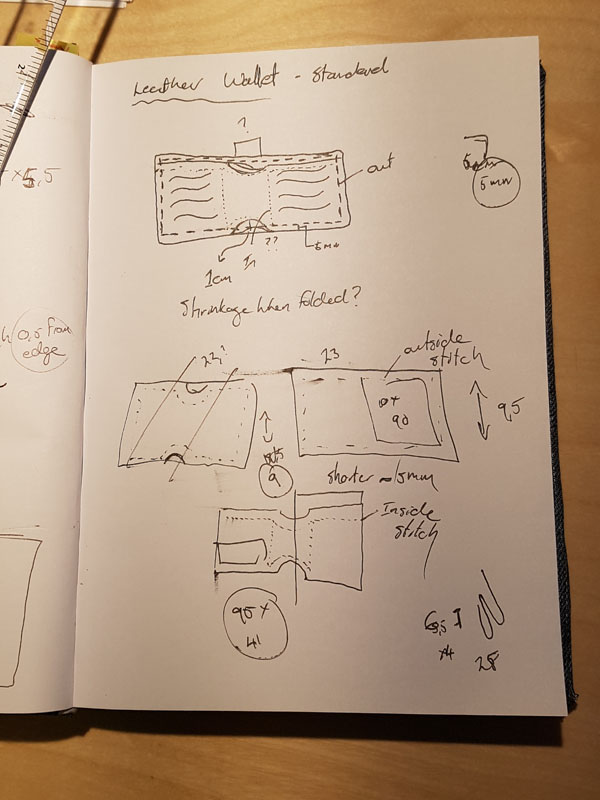
A with everything the project begins with an idea. I also spend a fair bit of time on looking at YouTube videos of making wallets and looked at many many many wallets online. I could not find something that exactly fit what I wanted to make and created my own design. I make some ugly scratches of this to ensure that all the dimensions are right.
20170503_101943

All the planning done.

I wanted a wallet with card slots and a place for money but only wanted to have 2 layers of leather. I also wanted it to be a bi-fold wallet. Most of the designs I looked at had more than 2 layers of leather. I thus created this design (this it probably not new I just could not find something made in this way).

Since I wanted to make a several wallets simultaneously I spend a day getting all the images and quotes. I had some help.

20170503_150820.jpg

Kameel – helping out??

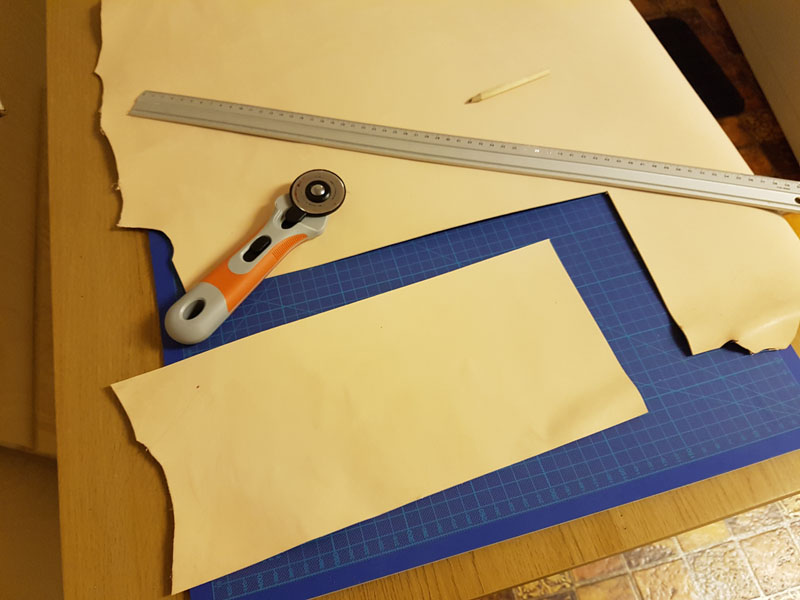
After the designs were ready I cut the leather.

20170502_165656.jpg

I love this rotary cutter – best way for me to cut leather.

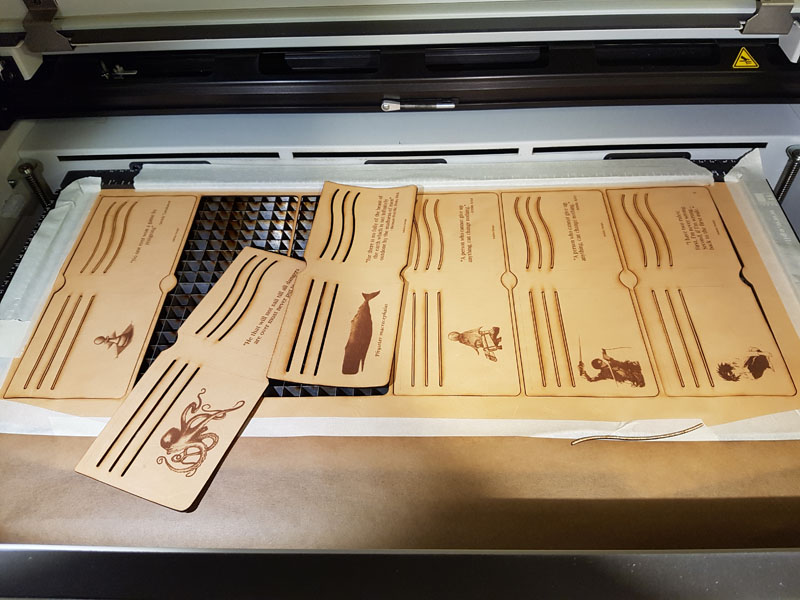
This is followed by engraving and the cutting of the individual pieces.

20170502_171553

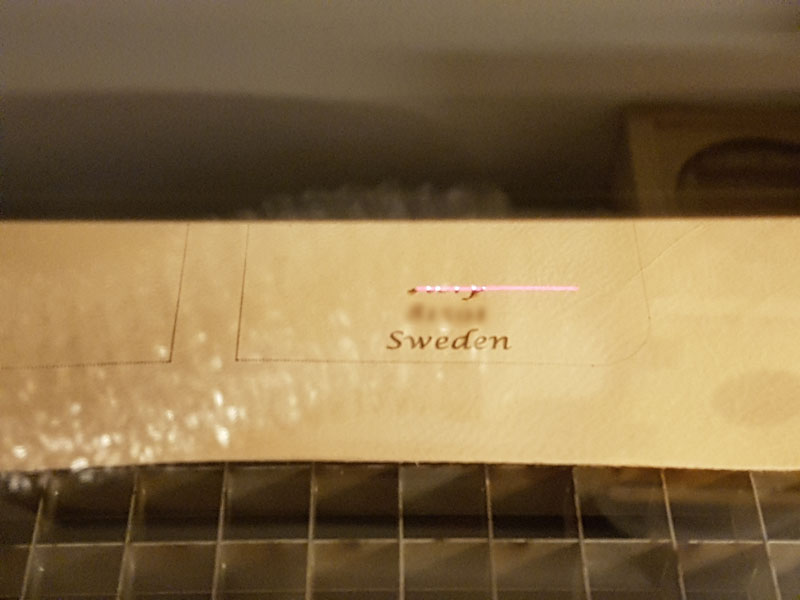
Closeup of cutting laser cutting.

20170502_171733

First one engraved and cut.

20170503_230805

The prototype worked – now 6 more.

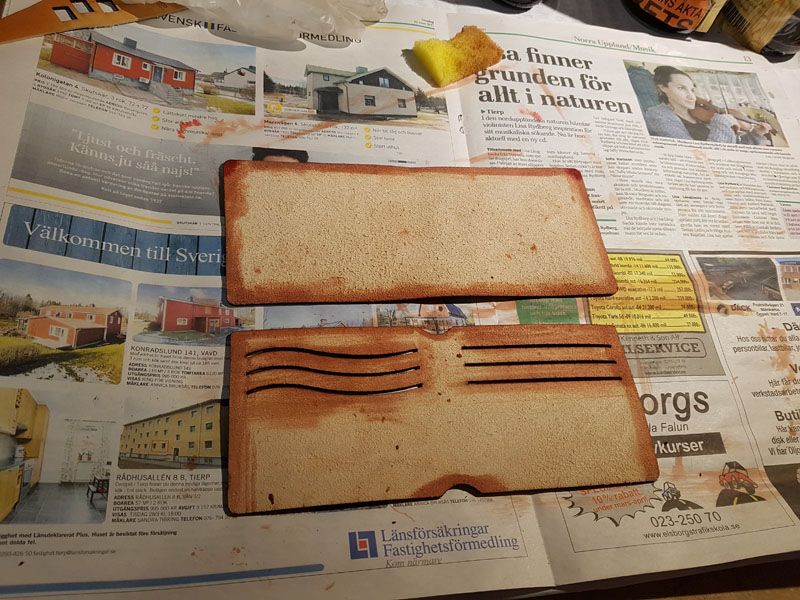
A quick cleanup (just wiping the edges with towel paper) is followed by staining. I made a light red stain a long time ago. This means that I do not know exactly how much the original red stain is diluted. Some people may think this is sad. I think this is awesome since these wallets can never be reproduced exactly and will be unique 🙂

20170502_173156

Just a light bit of stain.

20170502_175543

I stain the inside where the satin is stitched also – this way no unstained leather will show.

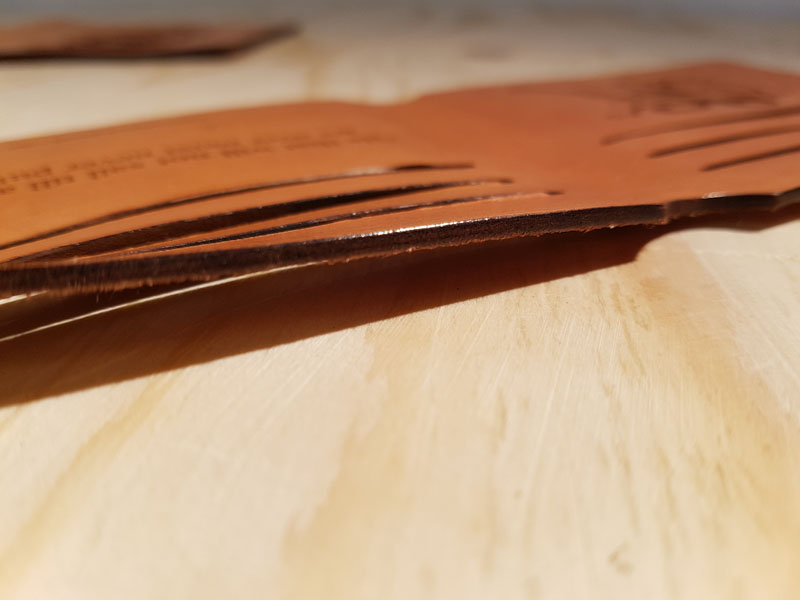
I burnish the slots with a small burnishing tool that fit exactly. The top of both inner and outer parts were also burnished. This is where the wallet will open. The other sides will be glued and stitched together and burnished after this has been done.

20170504_150250

Adding some soft wax just between the slots prior to burnishing.
20170502_184549

Slots and top edge burnished.

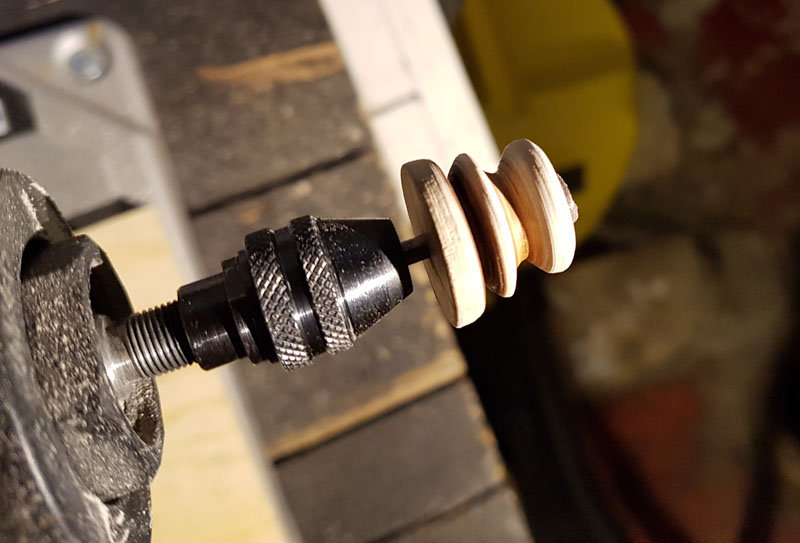
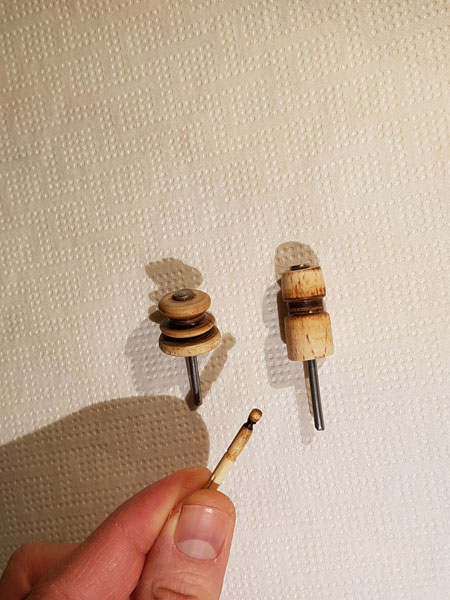
My small set of burnishing tools is increasing in number. I should note that these are all home made. It is merely a stick with a nail glued in place (or in the case of the small one – just a stick). Grooves are sanded into them as wide I they need to be for the specific project.
20170506_192352.jpg

Home made burnishing tools

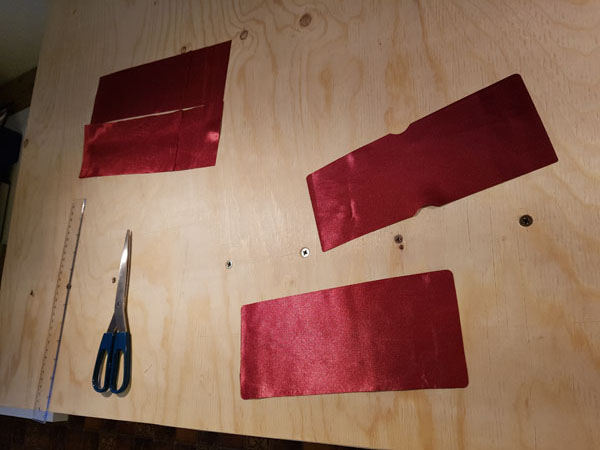
I love cutting silk using the laser cutter – which was the following step.
20170502_175531.jpg

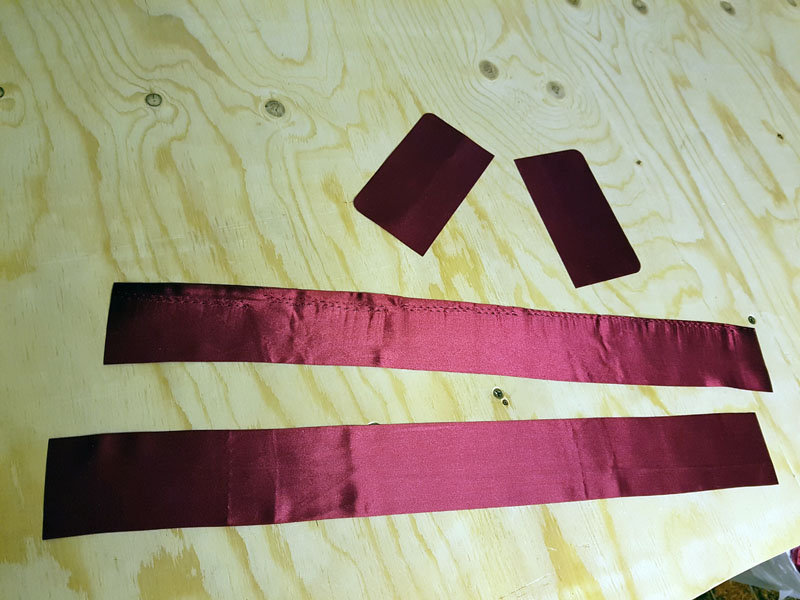
Silk to make pockets and line the inside.

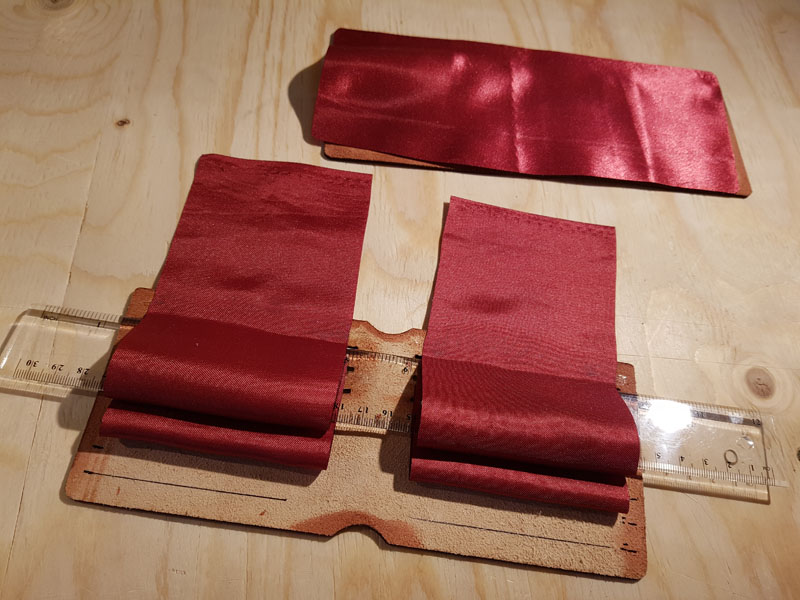
With all the pieces ready the slow process of assembly begins. I start by making the top 2 card pockets (the lower pocket is created by  stitching the outer and inner pieces together – I explain how these pockets are made in more detail here or have a look at this video).
20170502_190446

Enter a caption

The inner silk is glued and then stitched in place. It is only partly stitched. The rest of the stitches follow when both outside and inside pieces of the wallet is stitched together.

The process is similar for the outer part. The silk is glued in place and the top and bottom stitched where the inner and outer parts do not overlap.

20170502_192126

Silk lining glued in place – outer part and inner part

20170504_200939

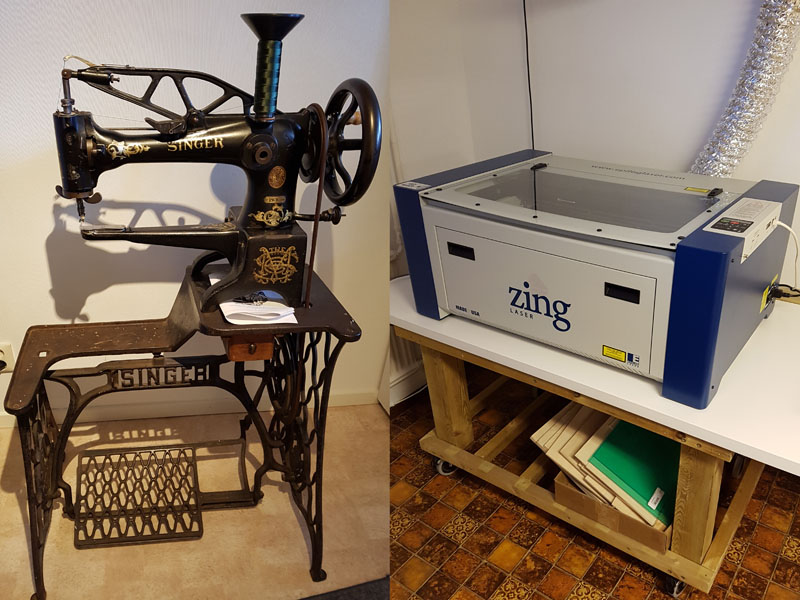
The sewing machine I use – Singer made around 1910.
20170502_193612

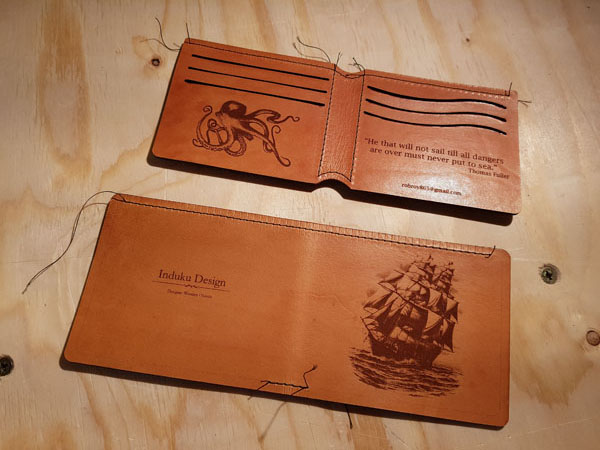
Silk stitched in place

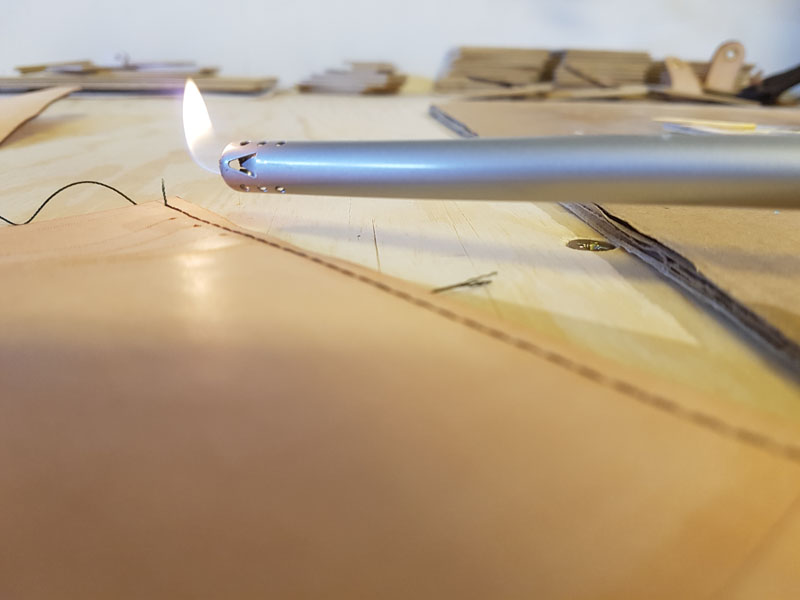
The nylon thread is cut and melted to stay in place.
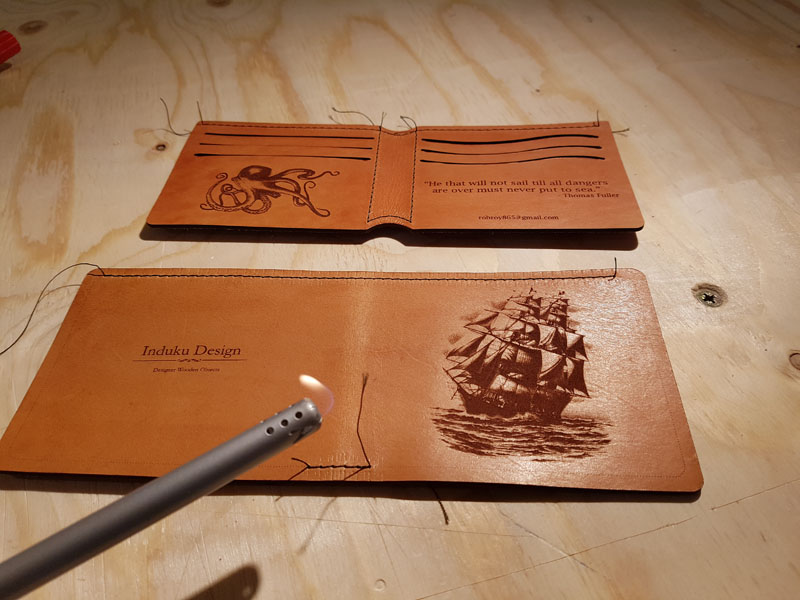
20170502_193635

Melting the ends of the thread.

The outer and inner parts are then glued and stitched together. First the one side then the other.
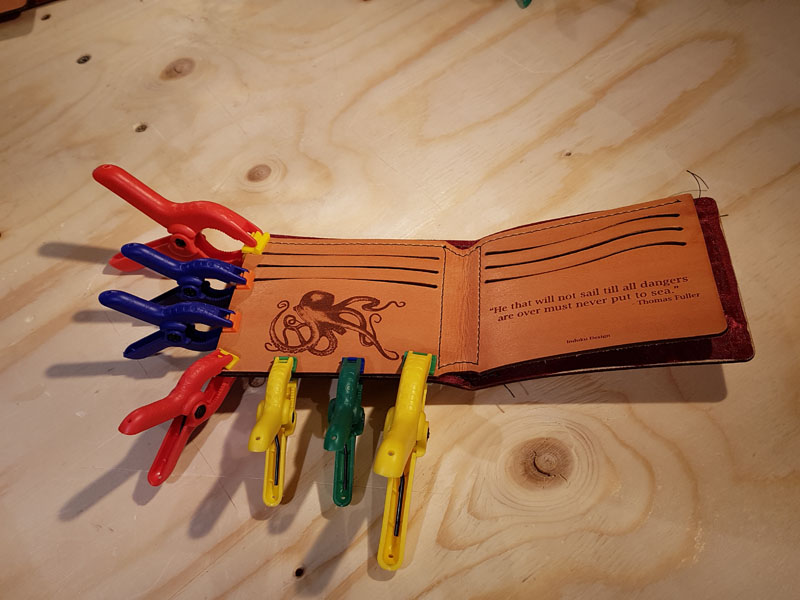
20170505_115722

Glued and clamped.

20170505_142846

One side stitched.

20170505_142849

View from the inside.

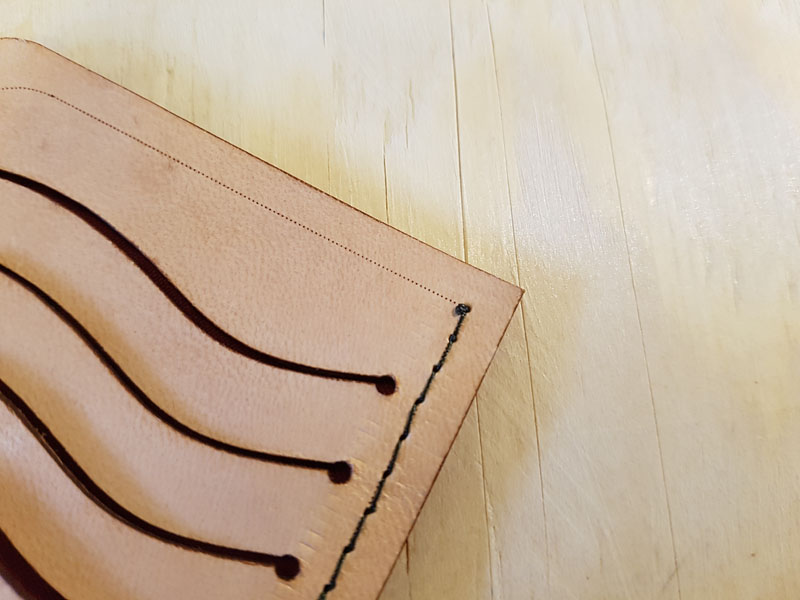
Here I had a small problem with the sewing machine. The upper thread kept on breaking. Initially, I solved the problem by first making holes with the sewing machine without thread and then sew a second time with thread. Although this worked it was of course not optimal. After some searching I found the user manual and I was able to correct problem. The tension of the top thread needed to be adjusted and the problem is now resolved.

20170502_220934

Short term solution.

6c76ce4186b6d735f6ae67928f96dd95

Better solution – read the manual.

20170502_223018

All stitching done

I lightly sand the glued edges (not the sinlge edges that have already been burnished). This is followed by burnishing of these edges.
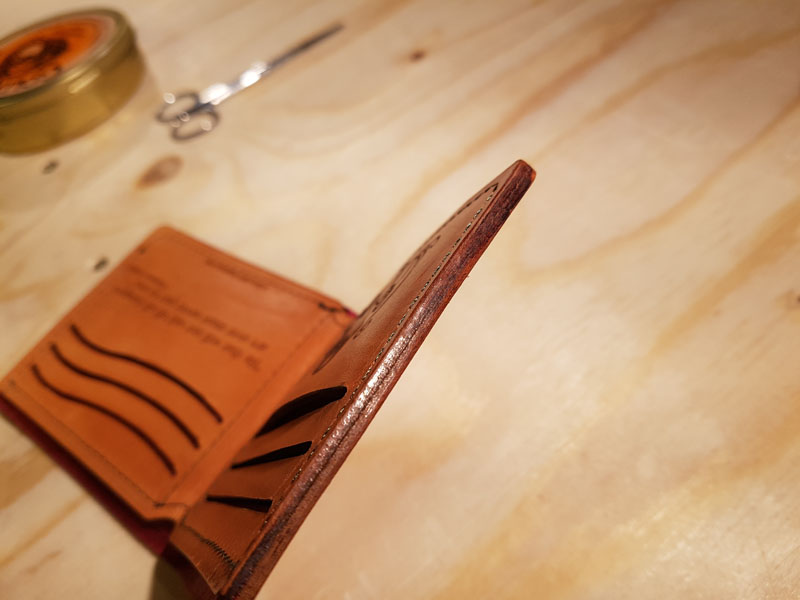
20170502_225600

Beautiful edge.

The wallet is in essence now completed and the last thing is to treat it with some leather conditioner. I add a liberal amount to the outer inner leather and leave it on for 10-20 minutes. This is wiped off with a clean cloth and the wallet is lightly polished.
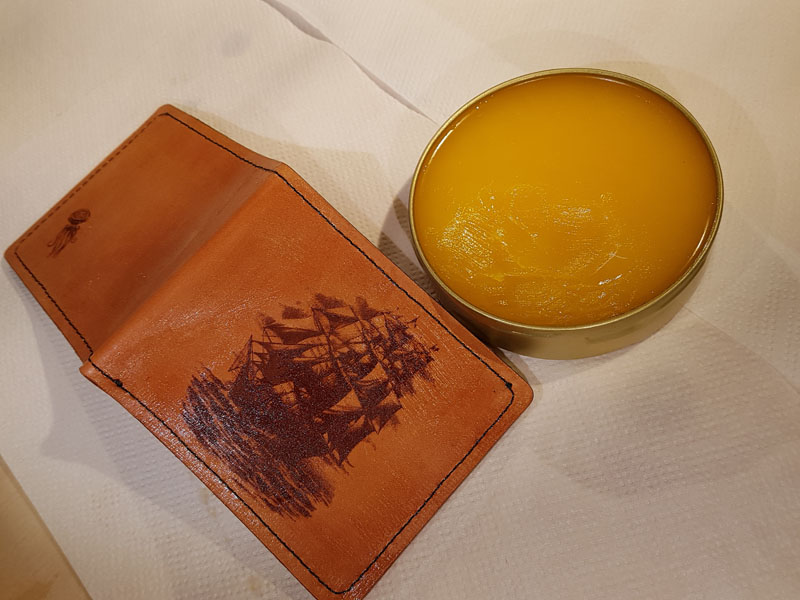
20170506_193502.jpg

Wax on.

20170507_132006.jpg

Wax off.

I was planning to make a new wallet for myself for over a year now. I would have done this even without the laser cutter or the sewing machine. These items just allowed me to make a different type of wallet than I otherwise would and I do not feel that any specialized machine is needed to make stuff. This said, as soon as you start making stuff tools seem to increase around you.

20170502_163408

The reason for this project – my old worn wallet, falling apart a bit.

A brand new wallet


There are a few small things I would change if I were to make these again. First, I would move the stitches closer to the edge (from 5 to 3 mm). I will also change the arch of the line where to to be exactly the same as the arch of the corner itself. This is something very minor and would probably not be noticeable. I will also try different staining colors – just for fun.

R


facebook

instagram

youtube

store

Leather wallet giveaway! – Closed

Competitions

I recently started to make leather wallets and card holders.

Now I will give one away!

The winner can choose any one of the items in the photo:

20170507_134752

Win one of these by entering now!

To see more detail of these wallets click here or card holders click here.

There are 3 easy steps to enter and stand a chance to win one of these awesome leather items:

Steps to enter:

1. Like the Induku Facebook page (here) OR follow me on Instagram (here).

2. Share this post on Facebook by clicking here.

3. Leave a comment on this blog clicking here. Tell me what else I should print on the wallets.

  • IT IS VERY IMPORTANT to leave a comment as this will allow me to enter your name into the draw.

The reason for this competition is to, generate some advertisement for my shop on Etsy Induku Design and because it is fun to give away stuff!

I would of course appreciate any likes and shares via Facebook, Twitter etc 🙂

Competition conditions:

  • By entering you agree to abide by these rules as well as the conditions below:
  • The winner can choose one of the items (i.e a wallet or card holder) in the photo.
  • The competition will end on the 31st of May 2017 and the winner will be chosen on 1 June 2017.
  • Your comments will be displayed in the comment section of this post and only the first answer per contestant will be valid.
  • A winner will be selected, at random, on the 1st of June 2017.
  • The items for the competition is currently available for purchase here. If the item that the winner choose is sold I will make another one in the same way. Shipping will be done as soon as this is done (approximately one week after the competition closes).
  • A valid email address is required for you to be contacted (this will not be displayed or shared).

Good luck!

–  –  –

Leather Card Holder

DIY

My wife, Carina, asked me to use the make her a card holder. She wanted one that could hold up to 8 cards, be as small as possible, have a sciency theme and her name and address on it. I thus spend a few hours looking at YouTube tutorials on how to make leather wallets to get some ideas, techniques and inspiration. This is the most complex leather item I have made (I made some leather printed chess sets and one very simple bag – but have very little other experience working with leather). I learned a lot during this project but also made several mistakes. There is also probably a lot that I did wrong that I do not even know about…and the next one will be much better. I do however like the way it looks and more importantly, Carina is very happy with it.

Update – I had several requests and thus made quite a number of these (with various images). They are now for sale here.

Here are a few a photos of the finished product.

20170423_174921


Update: Here are some of the others I made one week later (get them here):

20170429_203148.jpg


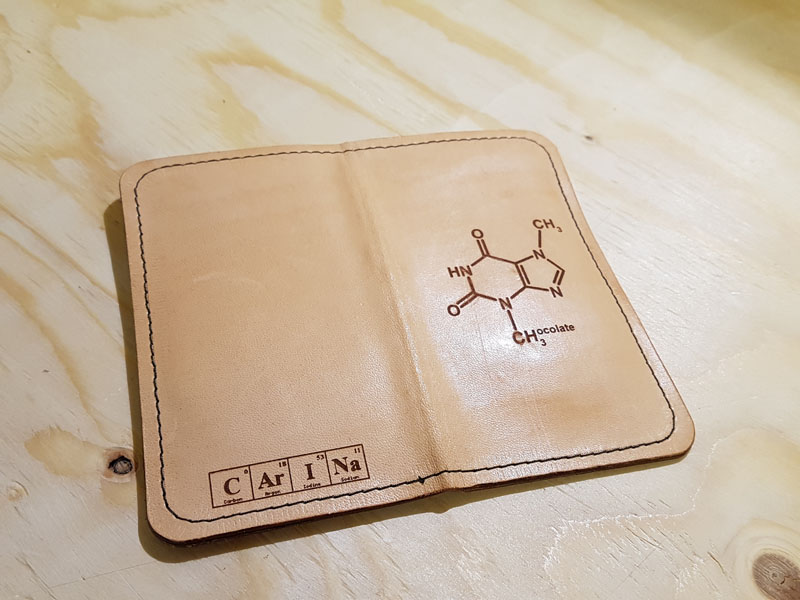
The first step is, as always, to generate a rough idea of what is needed. I measured some cards and sketched a rough idea of how is should look (while consulting with the “client”). I heard that my wife would like to have chocolate with this card holder and found the appropriate molecule on the web. I also found a site that allows you to write stuff using the periodic table (http://www.lmntology.com/) and made the image for the back.

20170422_230806

For this card holder I use 2 tools that are not usually used together. The one is a laser cutter and engraver while the other is a Singer cast iron 1910 leather sewing machine. These machines were made more than 100 years apart. Both weigh a ton. I took one of them apart to clean thoroughly and added a bit of oil after reassembly. It is of course not necessary to have these machines to make a leather card holder.

both

I used goat leather that is approximately 1.8 mm thick. A small piece (32 x 15 cm) was cut and loaded into the laser.

20170422_23011520170422_23065020170422_231511

The next step was to transfer the idea from the sketch to the computer (I used CorelDraw).

20170422_230815

I final test print was made and showed to the client.

20170422_225415

Three different engraving/cutting commands were sent to the laser. First the stitch pattern, where I should stitch (I am not very good at stitching in straight lines and this helps a lot). This is made as vector lines by the laser at very very low power. The stitches cover these lines. For the next one, I will only print these lines on one side and not on both.

20170422_231624

Stitch lines

The second set of commands is engraving. Here the laser works like a printer by burning the images on the leather.

20170422_232034

One line captured

The printing is immediately followed by the vector cutting of the leather to form all the pieces.

20170422_232556

20170422_235630

Inner leather pieces

20170422_235626

Outer piece – slightly wet on the seam and left to dry folded over a stick

For the inner pockets (i.e. the pockets that ensure each card does not disappear into the leather abyss) I wanted to use silk. Silk is ideal in that it is very thin and do not ad much bulk to the card holder. I also found that it can be cut very easily with the laser.

20170422_225901

A nice bonus is that the edges are sealed when cutting silk with a laser. This means that there there are no frayed edges and I did not need to add any seams.

20170423_105045

No frayed edges

20170422_225940

All the silk pieces

I used the ribbons of silk to make pockets for the cards that fit through the top 3 slots. I used contact glue to attach the silk to the leather. A strip was glued below the second slot.

20170423_105019

Using a card I determined where the silk should be folded. The top part was glued the just below the third slot.

20170423_110040

Determining where to the silk pocket

Again the silk was fold down to make the second pocket and the process repeated until all pockets was formed (for more details on how these pockets are made have a look a this video – this is how I got the idea).

20170423_113144

All pockets done.

To contain the pockets I glued a piece of silk (only on the edges) over the pockets. Note that this piece is 2.5 mm smaller than the leather on each side. 20170423_113712

Then it was off to the sewing machine to stitch the silk to the leather on the one side (the other three sides were stitched to the outer leather piece later, see below).

20170423_115132

20170423_115339

Stitching of the inner side done on both parts – test fit of cards

20170423_115514

Burning and sealing of the threads – also learned from YouTube

20170423_115558

Beautiful stitches made by a machine from 1910

The inner and outer parts were glues together and I briefly clamped them on the corners.20170423_120254

Everything was then stitched together.

20170423_121410

Although the edges are quite nice when cut with a laser I wanted to seal the two stitched edges together. I made a burnishing tool from a piece of wood and used it to burnish the edges with a bit of leather wax.

20170423_124207

Home made burnishing tool – made from a maple stick and nail and using a rotary tool and sandpaper.

20170423_124303

Edges before burnishing

20170423_125527

Edges after burnishing – seam still visible but the overall look is much nicer

The last step was to add some leather wax. I used a brush to do this and after a few minutes I wiped off the excess using a cloth and polished the leather a bit.

20170423_125752

20170423_125906

Leather wax added to one side.

The whole process, took about 3 hours. This includes the hour of making and testing the designs in CorelDraw and getting the right settings for cutting silk in a laser.

I will make more of these in the future and probably take commissions for customized leather card holders – let me know if you are interested 😉

I will also try using dyes on the leather – but this will of course need to be very light to ensure engraved images are still visible.

Overall I am reasonably happy and so is Carina.

20170423_132609

Completed card holder with silk lined inner pouches

20170423_172658

Science!

R


facebook

instagram

youtube

store