After making a card holder for my wife (here) I thought that I should upgrade my own wallet (see below). My confidence in working with lasers and leather is slowly growing and I thus decided to make, not only one, but 7 wallets. Below I will show all the steps for making one of these. I am happy with the final product and will keep the first (the prototype) for myself.
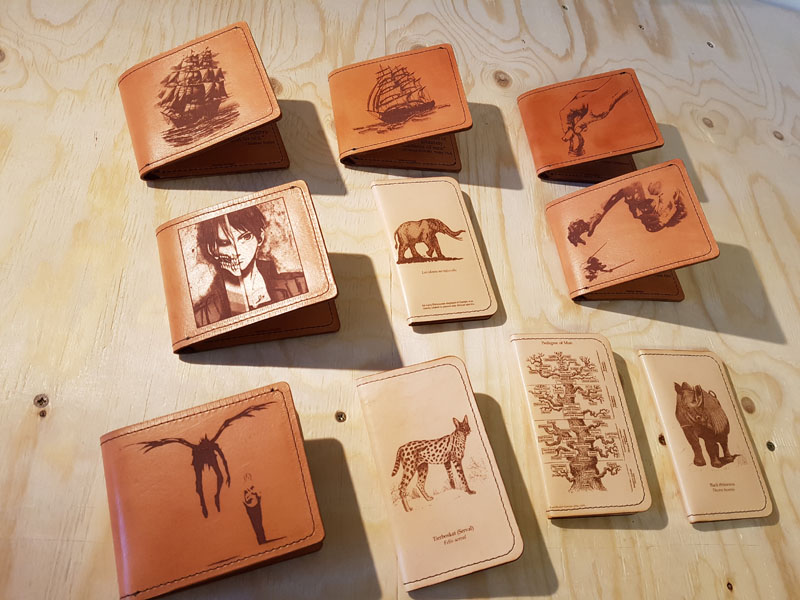
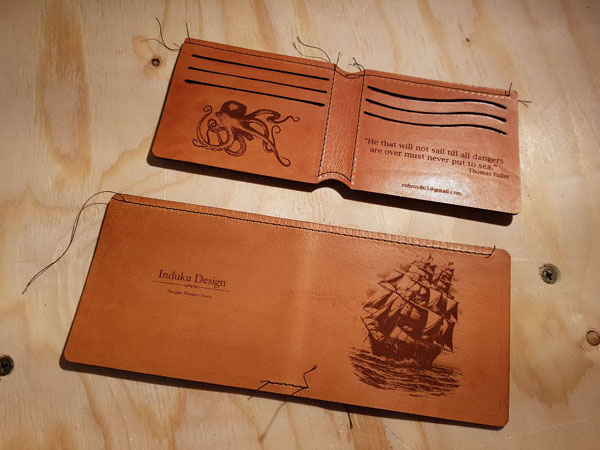
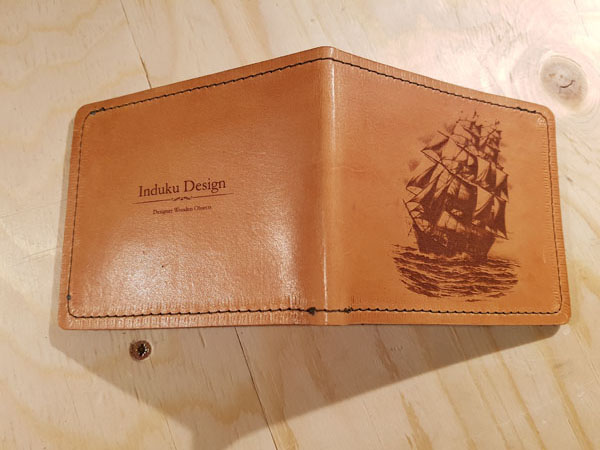
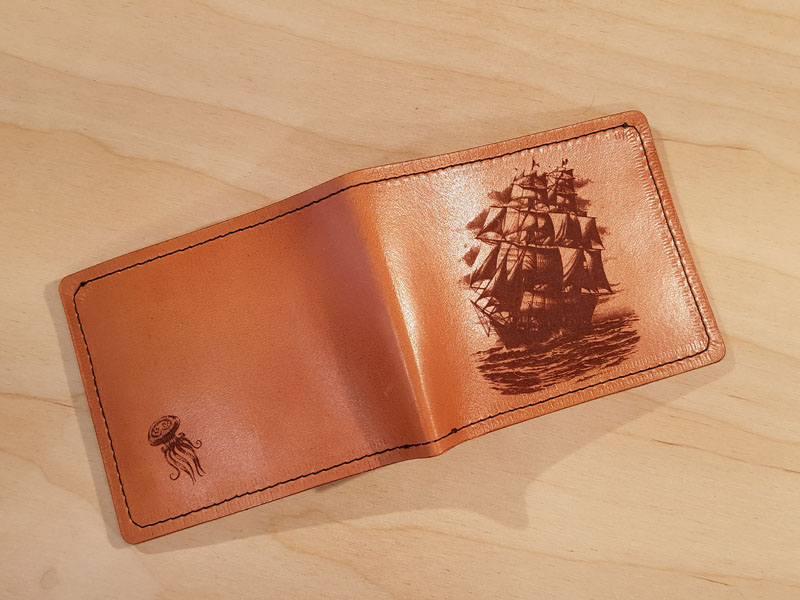
Photos of the finished product:


I will also give a wallet or card holder away – more information on the give away here. You are of course welcome to buy one, they are available here.
One of these currently up for grabs!
—
Steps to make a leather wallet (the steps I took – not necessarily by the book):
A with everything the project begins with an idea. I also spend a fair bit of time on looking at YouTube videos of making wallets and looked at many many many wallets online. I could not find something that exactly fit what I wanted to make and created my own design. I make some ugly scratches of this to ensure that all the dimensions are right.

All the planning done.
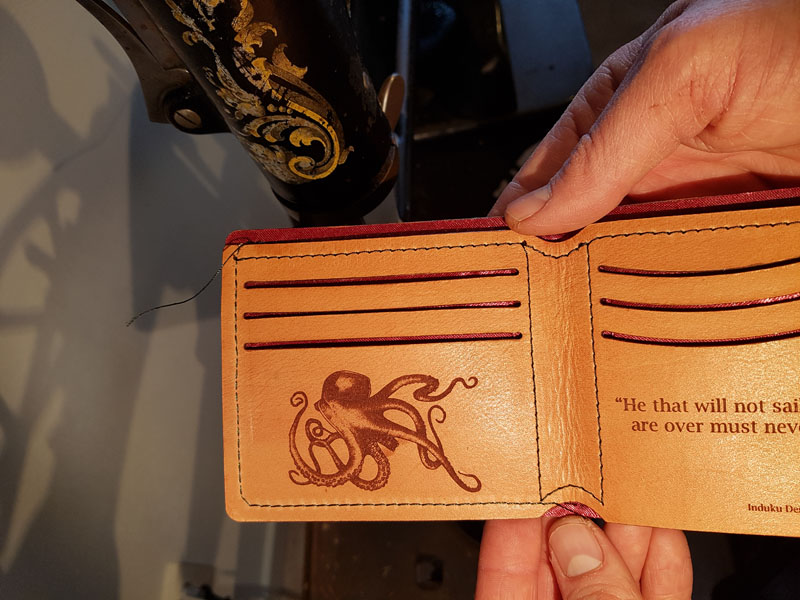
I wanted a wallet with card slots and a place for money but only wanted to have 2 layers of leather. I also wanted it to be a bi-fold wallet. Most of the designs I looked at had more than 2 layers of leather. I thus created this design (this it probably not new I just could not find something made in this way).
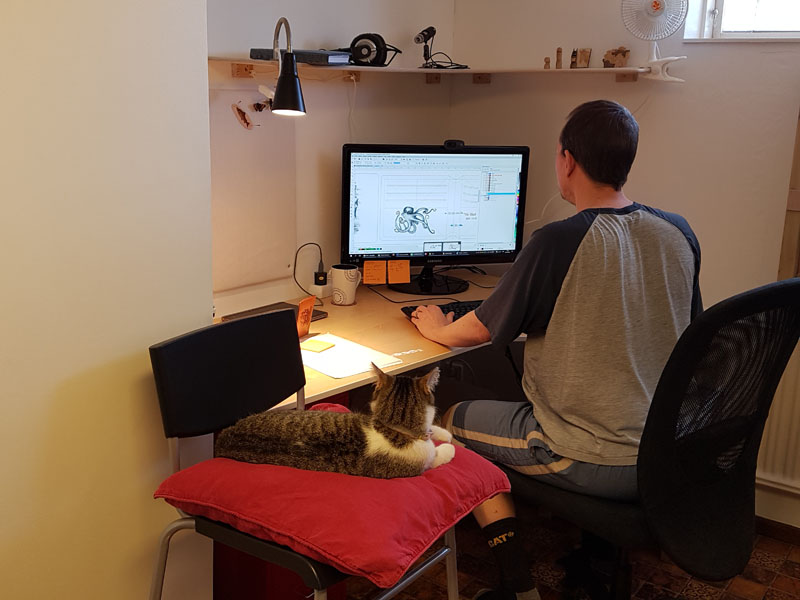
Since I wanted to make a several wallets simultaneously I spend a day getting all the images and quotes. I had some help.
Kameel – helping out??
After the designs were ready I cut the leather.

I love this rotary cutter – best way for me to cut leather.
This is followed by engraving and the cutting of the individual pieces.
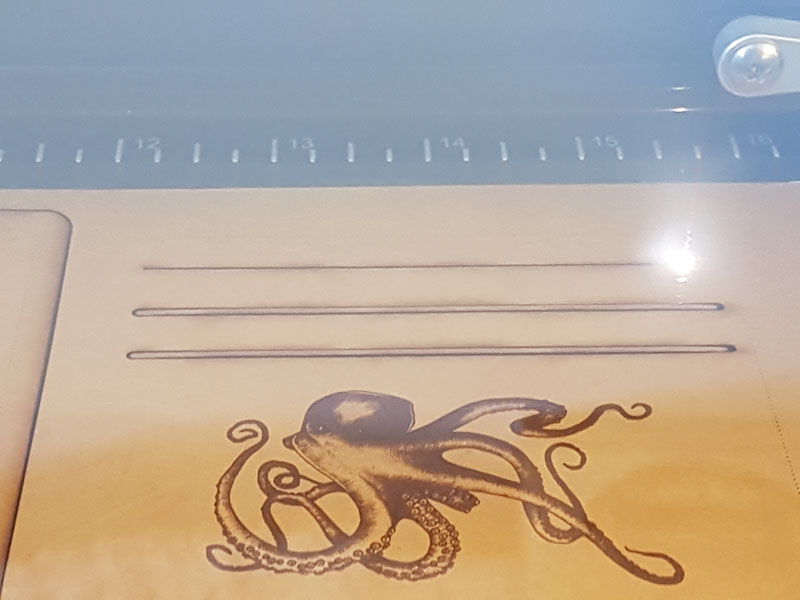
Closeup of cutting laser cutting.

First one engraved and cut.

The prototype worked – now 6 more.
A quick cleanup (just wiping the edges with towel paper) is followed by staining. I made a light red stain a long time ago. This means that I do not know exactly how much the original red stain is diluted. Some people may think this is sad. I think this is awesome since these wallets can never be reproduced exactly and will be unique 🙂

Just a light bit of stain.

I stain the inside where the satin is stitched also – this way no unstained leather will show.
I burnish the slots with a small burnishing tool that fit exactly. The top of both inner and outer parts were also burnished. This is where the wallet will open. The other sides will be glued and stitched together and burnished after this has been done.

Adding some soft wax just between the slots prior to burnishing.
Slots and top edge burnished.
My small set of burnishing tools is increasing in number. I should note that these are all home made. It is merely a stick with a nail glued in place (or in the case of the small one – just a stick). Grooves are sanded into them as wide I they need to be for the specific project.
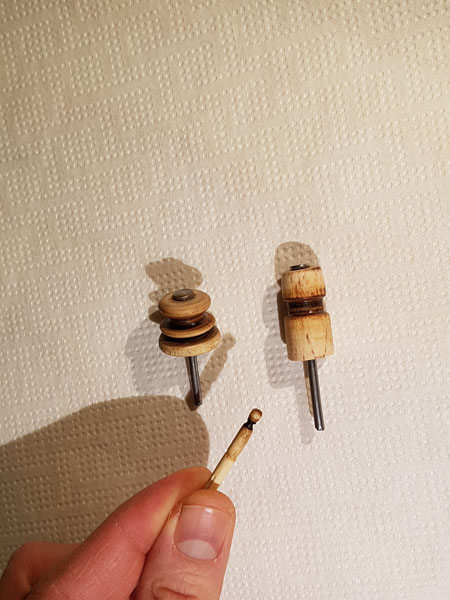
Home made burnishing tools
I love cutting silk using the laser cutter – which was the following step.
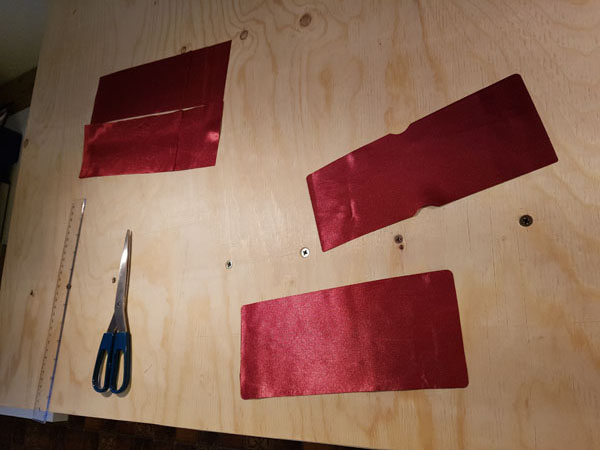
Silk to make pockets and line the inside.
With all the pieces ready the slow process of assembly begins. I start by making the top 2 card pockets (the lower pocket is created by stitching the outer and inner pieces together – I explain how these pockets are made in more detail here or have a look at this video).

Enter a caption
The inner silk is glued and then stitched in place. It is only partly stitched. The rest of the stitches follow when both outside and inside pieces of the wallet is stitched together.
The process is similar for the outer part. The silk is glued in place and the top and bottom stitched where the inner and outer parts do not overlap.

Silk lining glued in place – outer part and inner part

The sewing machine I use – Singer made around 1910.
Silk stitched in place
The nylon thread is cut and melted to stay in place.
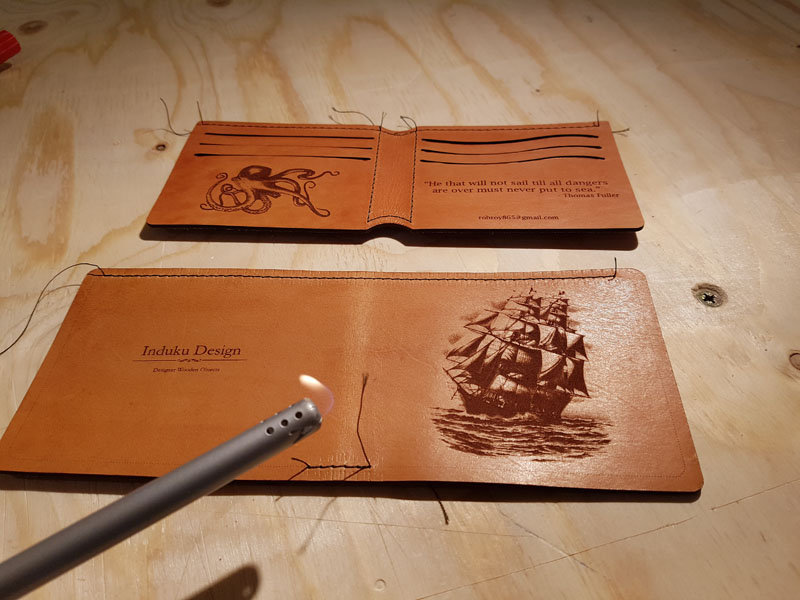
Melting the ends of the thread.
The outer and inner parts are then glued and stitched together. First the one side then the other.

Glued and clamped.

One side stitched.
View from the inside.
Here I had a small problem with the sewing machine. The upper thread kept on breaking. Initially, I solved the problem by first making holes with the sewing machine without thread and then sew a second time with thread. Although this worked it was of course not optimal. After some searching I found the user manual and I was able to correct problem. The tension of the top thread needed to be adjusted and the problem is now resolved.
Short term solution.
Better solution – read the manual.
All stitching done
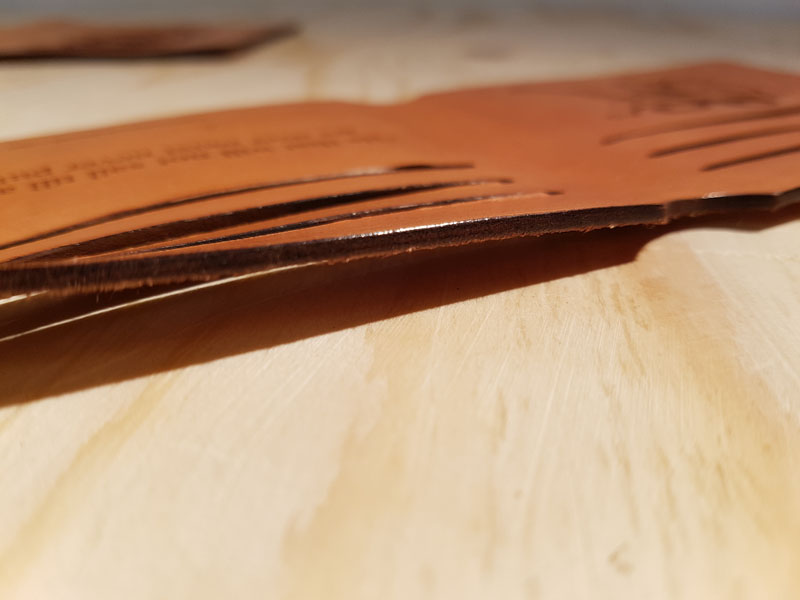
I lightly sand the glued edges (not the sinlge edges that have already been burnished). This is followed by burnishing of these edges.


Beautiful edge.
The wallet is in essence now completed and the last thing is to treat it with some leather conditioner. I add a liberal amount to the outer inner leather and leave it on for 10-20 minutes. This is wiped off with a clean cloth and the wallet is lightly polished.

Wax on.
Wax off.
I was planning to make a new wallet for myself for over a year now. I would have done this even without the laser cutter or the sewing machine. These items just allowed me to make a different type of wallet than I otherwise would and I do not feel that any specialized machine is needed to make stuff. This said, as soon as you start making stuff tools seem to increase around you.
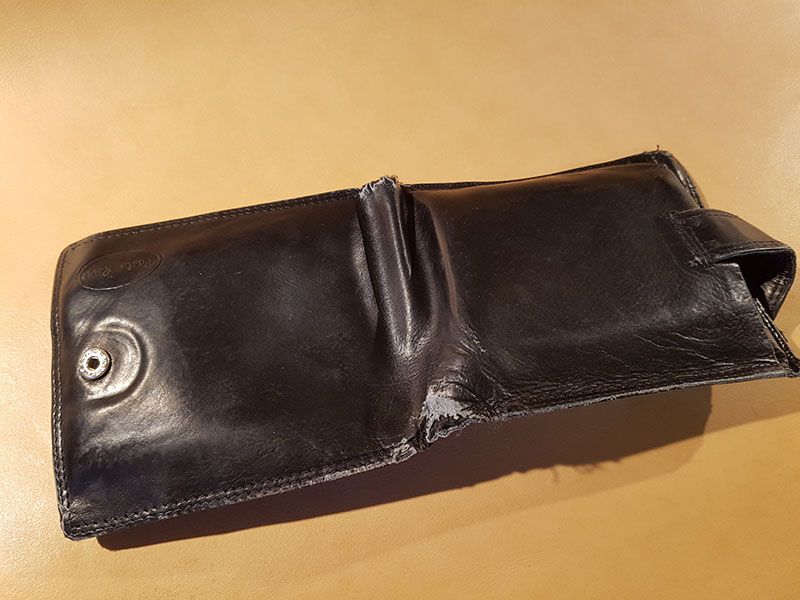
The reason for this project – my old worn wallet, falling apart a bit.
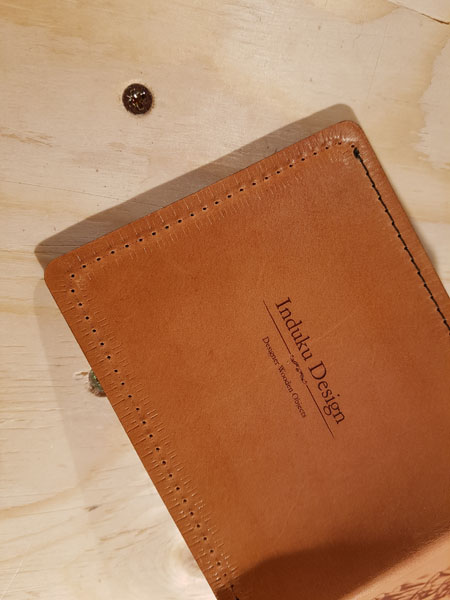
A brand new wallet


—
There are a few small things I would change if I were to make these again. First, I would move the stitches closer to the edge (from 5 to 3 mm). I will also change the arch of the line where to to be exactly the same as the arch of the corner itself. This is something very minor and would probably not be noticeable. I will also try different staining colors – just for fun.
R


Good Wishes for the New Approach to manufacture Leather Wallets
LikeLike
What is the brand of wax you use for burnishing? Thanks!
LikeLike
It is a Danish wax that I get here: https://www.slojd-detaljer.se/sortiment/laderslojd/ytbehandling/laderfett-3354
The ingredient list includes Vaseline, vegetable oil, beeswax something called “marrow oil” (not sure if I translate this correctly), and plant extracts.
LikeLike
Where did you find your antique Singer sewing machine? Looks wonderful.
LikeLike
I bought the Sewing machine from my neighbors. They are an old Swedish couple and they bought the machine when it was already considered old a few decades back.
LikeLike
Wonderful post! I will try this on my own and will share the details
LikeLiked by 1 person
Awosome, whats the brand of laser and cutting machine
Regards
LikeLike
The machine is a Epilog Zing 40 W
LikeLike
Awesome work. Really wonderful.
If I may, please allow me sir, where do I get the one of those laser machines in Johannesburg, South Africa or where did you get yours?
LikeLike
I bought the machine from the company Signcom (located in Sweden where I also live/work). They are a distributed of the Epilog laser machines that are made in the US.
LikeLike
Can I know what laser engraver/cutter you have to make these wallets come to life? I’m very intrigued and interested in this laser. Thank you.
LikeLike
The laser cutter I use is a Epilog Zing Laser.
LikeLike