Cats in my workshop

Shop Stuff

This website is mostly about the stuff that happens at Induku and the things I like to make. However, my workspace is also occupied by several felines and I often find them in the workshop when making things. Additionally I have made a few items for them (see here).

I thus wrote this post to introduce the cats that form part of Induku: We originally got Donkie (male) and Kwagga (female) at the end of 2014. Donkie is not fond of the workshop and does not really spend time with me when I am working. Kwagga on the other hand, loves to sit on the chair next to me when I work and have been doing so since she was a kitten.

20150923_203903

Kwagga on the chair

IMG_2274

Small Kwagga in the workshop

However, Kwagga “died” during Christmas, for a while at least, and this left a void in the shop (read about her disappearance and return here). During her absence we got Kameel (read more about how she came to live with us here). She also seemed to like sitting with me where I work and thus became the second cat in the workshop.
IMG_0902

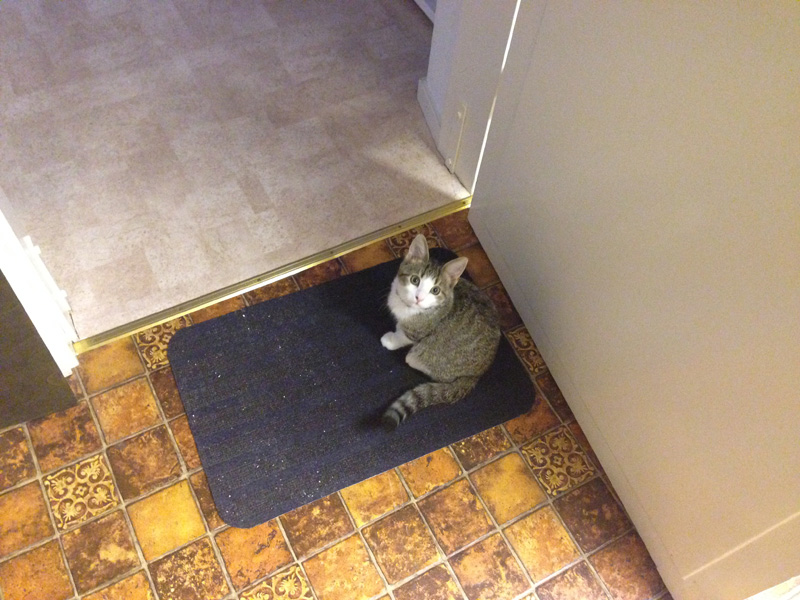
Kameel ready to enter

With Kwagga’s return I now have 2 cats that try to occupy the extra chair in the workshop. Sometimes they manage to sleep together on the chair but more often one finds another place close by (they do however get along very well).

IMG_0936

Kameel on the chair

IMG_0930

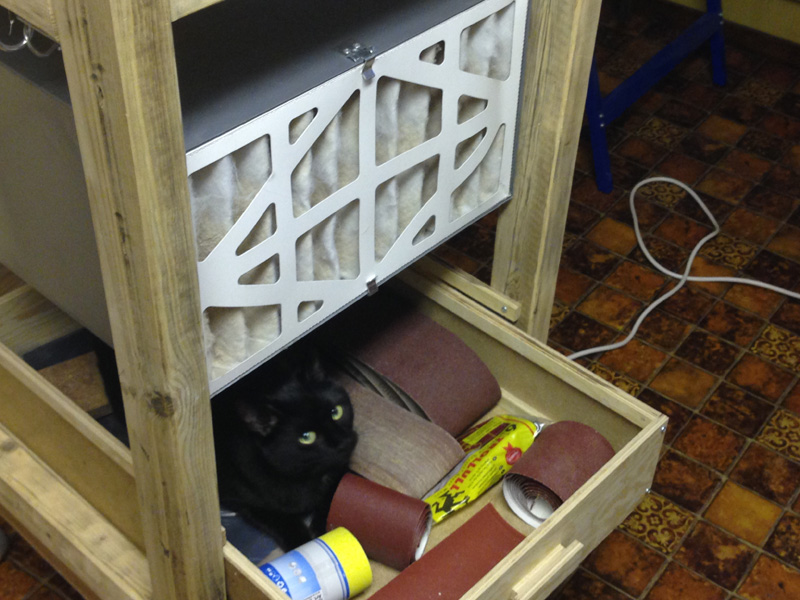
In the sanding drawer

IMG_0927

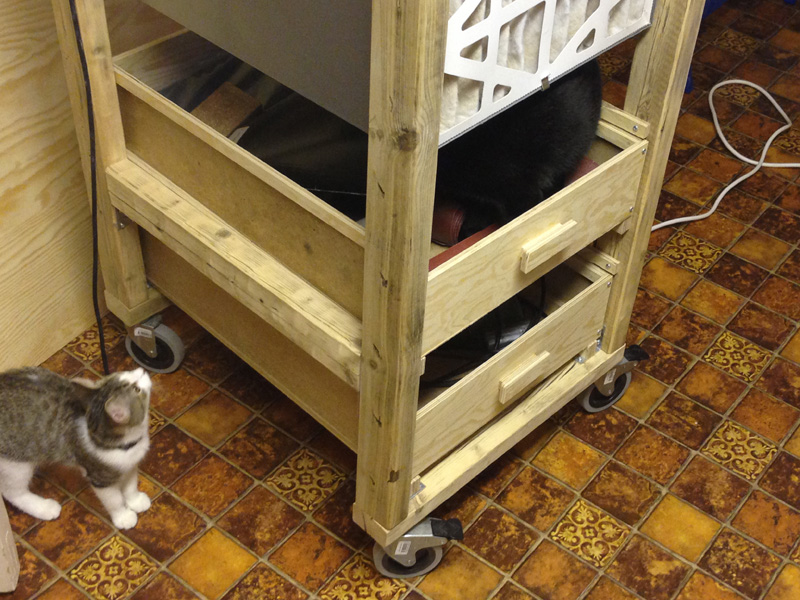
Following the large cat

They seem quite happy, even if there is a bit of noise. The state of the shop does not bother them and Kwagga sometimes actively lay in the sawdust. This does mean that I have spent several evenings not only cleaning the shop, but also dusting off the cat and sweeping the whole basement floor to remove sawdust cat prints.

IMG_0079

Kwagga spreading dust

20151128_203459

Destroyer of Uppsala notebooks

IMG_0067

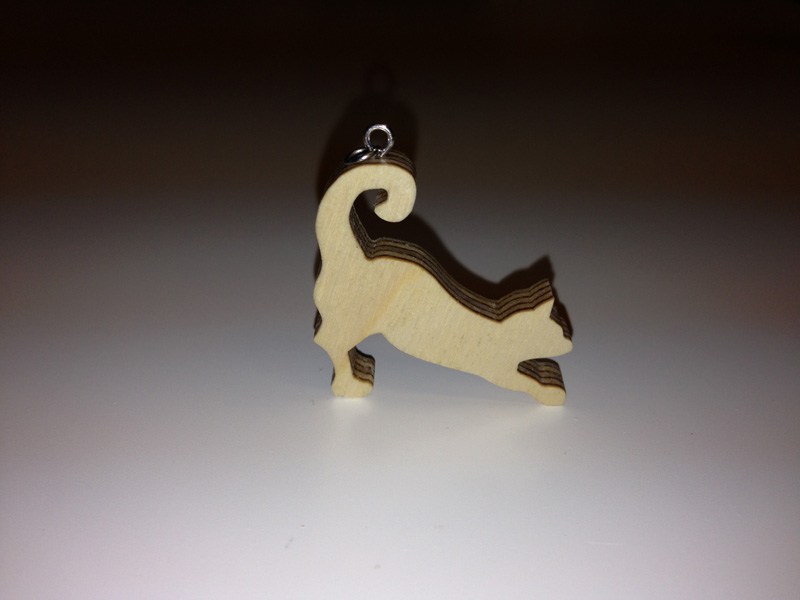
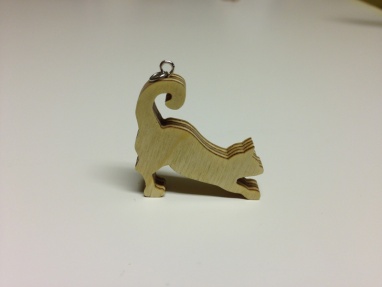
Cat pendant as competition prize (more information here)

IMG_0614

More cat inspired things

I am happy with the company they provide and some of the items I make have a cat based theme (an example). The workshop would not be the same without them.

Robroy.newsletter2

 

Grim pendants

New Item, Shop Stuff

As Valentines Day approaches, I see an incredible amount of gifts with this theme on social media, traditional media and shops slowly creeping into everyday life. I should probably follow this trend an make some wooden hearts to cash in on the “season of love”. However, for some reason (many people call me obstinate/difficult/hard-headed etc.), I do not follow the normal trends. For those of you who have barely recovered from the Christmas season with jolly red, white and green still fresh in your memory, just to be overwhelmed by new year’s celebratory items, then back to school onslaughts and not really feeling ready for another yearly event that is blown a bit out of proportion, I bring you these grim necklaces (available here):

manacles_1

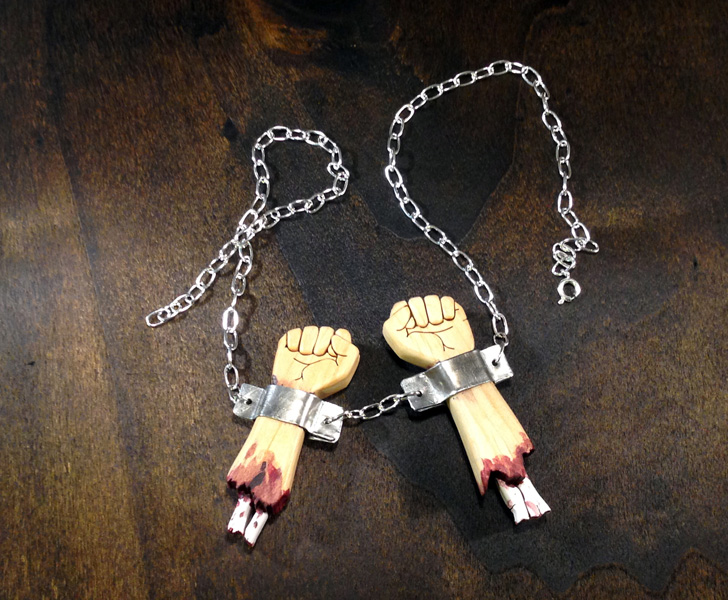
A grim necklace!

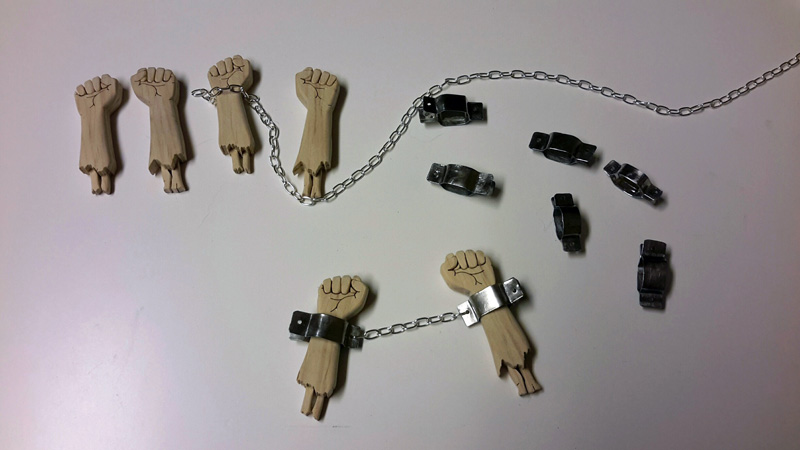
These necklaces are not exactly suited as Valentines day gifts (much more suited for Halloween – but I have other items in mind for then). The arms are made from Alder-wood and encased in metal manacles linked with an elegant chain. They are quite grim.

The evolution of this necklace.

I am not exactly sure what inspired me to make these necklaces but I originally tried to carve a hand and arm from a piece of maple. This did not work well and took a very long time to make. I decided that the scroll saw is the way to do it and made the first one using some birch plywood.

20151112_122436

First necklace made from plywood

This necklace was quite nice and I ran a small competition to give it away (the second competition from Induku – see the current competition here). There was a bit of intrest and I decided that I will make more.

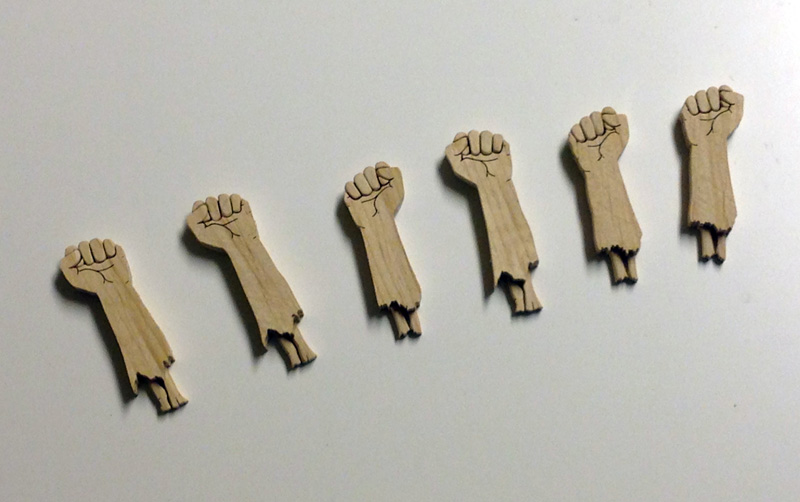
I used a piece of alder wood and cut the outer image. I then split it in two and cut the details. This leaves me with several severed fingers and other bits. I then glue everything in place again.

20151112_155012

Split and fingers removed – grim in its own way

This is followed by sanding, painting and adding a coat of lacquer.

IMG_0867

All bits glued together again

20160122_222708_resized

Sanded and ready to be painted

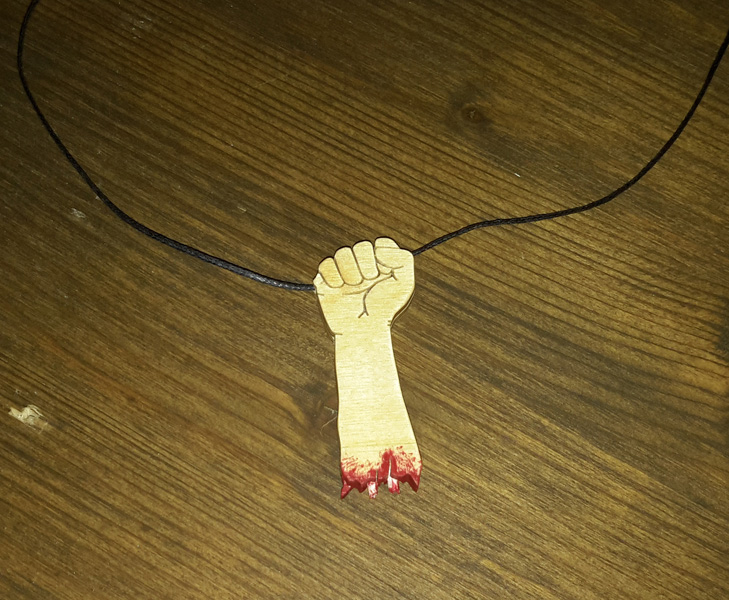
Currently I have two versions. The first is a hand grabbing at a chord necklace (available here) -note the hole through the hand is drilled before I split it into two pieces. The second is, of course, the manacled arms (available here).

IMG_0351

Single arm grasping at the chord necklace

manacles_2

Manacled arm necklace

Since these are quite grim and fit with a darker image, I am planning to make more with an even more metal feel, by making the hand into the sign of the horns and can be used by rock/metal enthusiasts or people who need to ward of evil.

As with most of my scroll saw projects, I really enjoyed designing them and then seeing the final product very close to what I imagined. These are for sale now and I am planning a whole range of grim themed projects.

Robroy.

Warped clock.

DIY

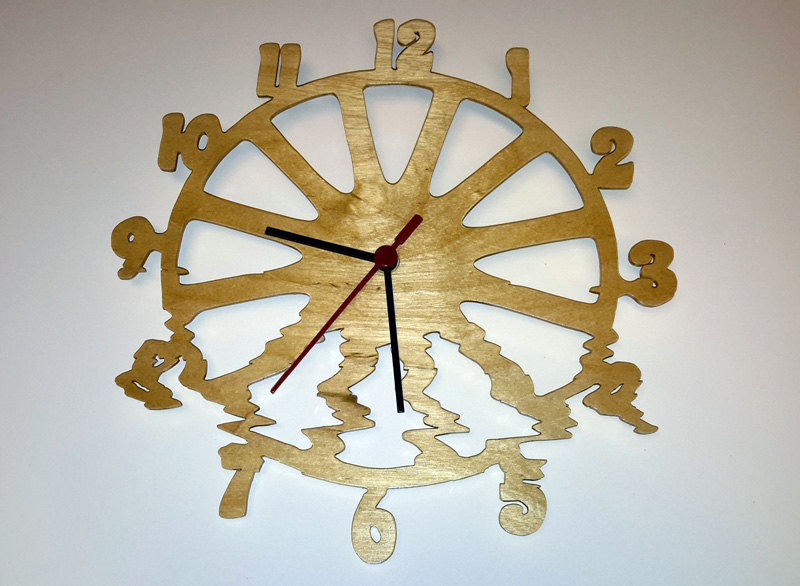
The clock we bought from IKEA several years ago started to lose its face. This caused the hands to get stuck and we needed a new clock. I am currently busy making a wooden clock (including the mechanism), from plans that my wife bought me (click here for the most awesome wooden clock site anywhere), but I thought I will make something a bit less ambitious in the meantime. I thus designed and made this warped clock-face and added a normal quartz mechanism:

20150929_212803

Completed warped clock

The video below is a speed up version of the whole DIY process described below (high speed cutting start at 0.25):

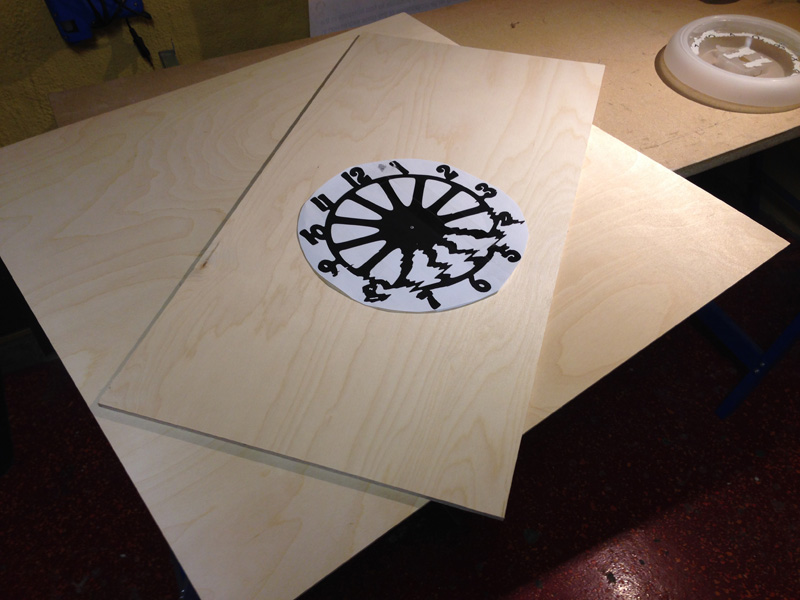
I wanted to make something that is a bit unique and have recently seen several wooden objects with a “digital flaw” designed into the object. The process thus starts with the design and I drew a reasonably normal face and digitally warped it and printed the image.

IMG_0009

Selection of the wood – 4 mm and 6 mm Baltic Birch Plywood

IMG_0022

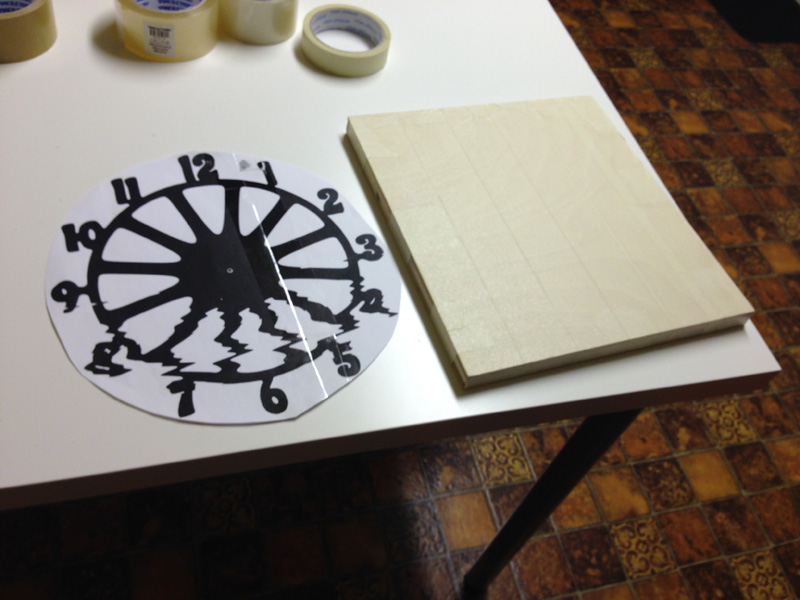
4 square pieces cut stacked and taped

Since the face is quite thin I decided to make several at once (the additional clocks can be bought here). I cut stack two 4 mm and two 6 mm pieces and tape it together (total thickness is thus 2 cm which is no problem). The time per cut is slightly slower but the overall time to make four clocks is much, much faster.

IMG_0031

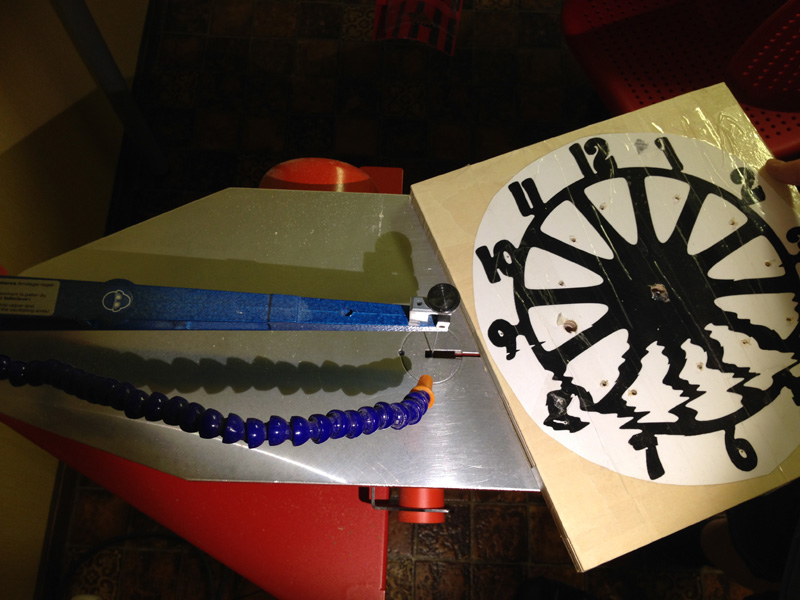
Entry holes drilled

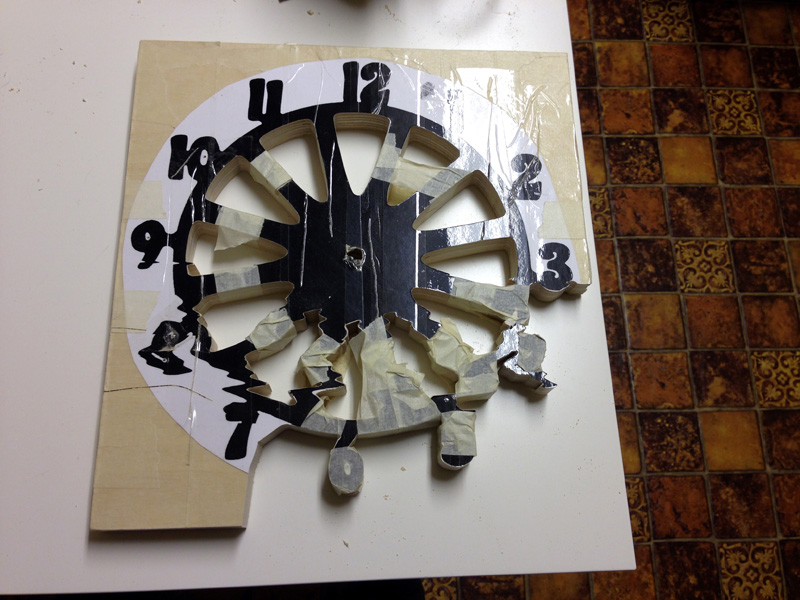
I use masking tape (painters tape) on the wood itself and use a glue stick to stick the pattern to the tape. I find that the masking tape is very easy to remove from the wood. It also reduce the amount of splintering (especially when crosscutting pine plywood). The stacks are also held in place with the masking tape. I cover the pattern with packing tape. Once this is set up I drill the entry holes.

IMG_0036

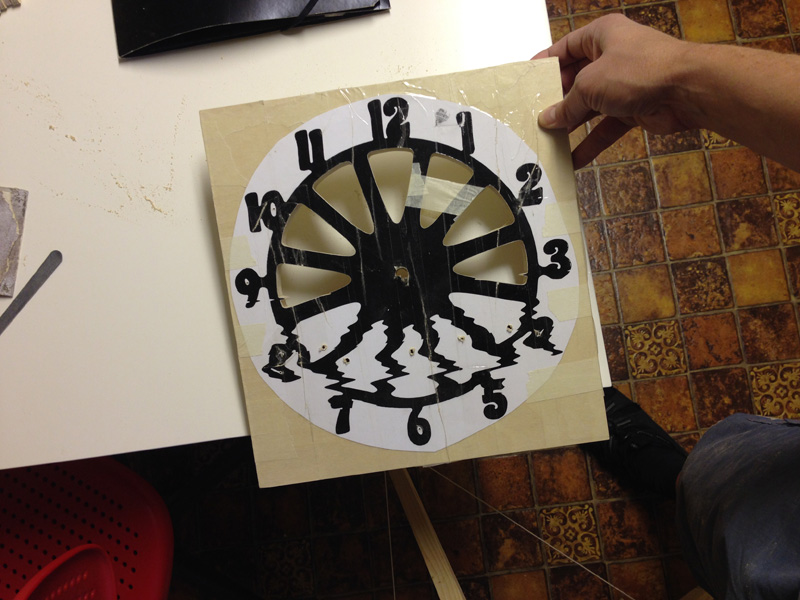
Cutting the inside first

IMG_0042

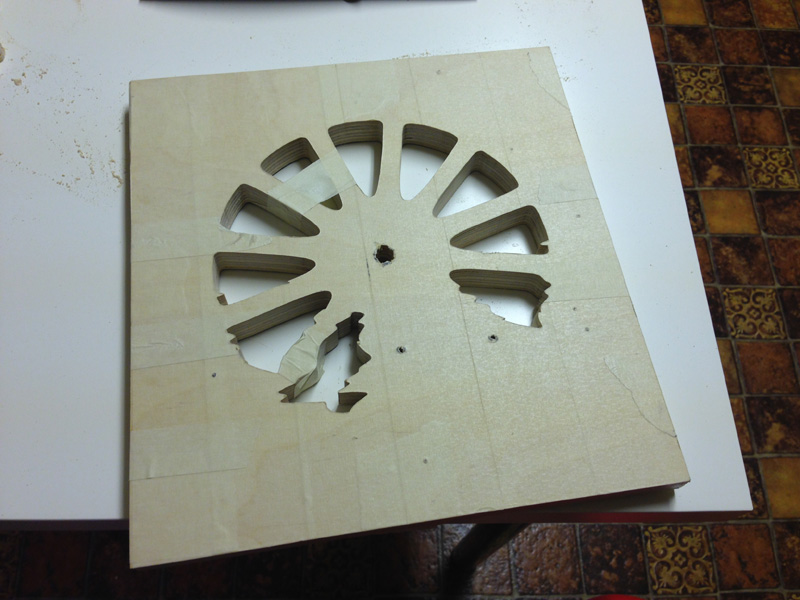
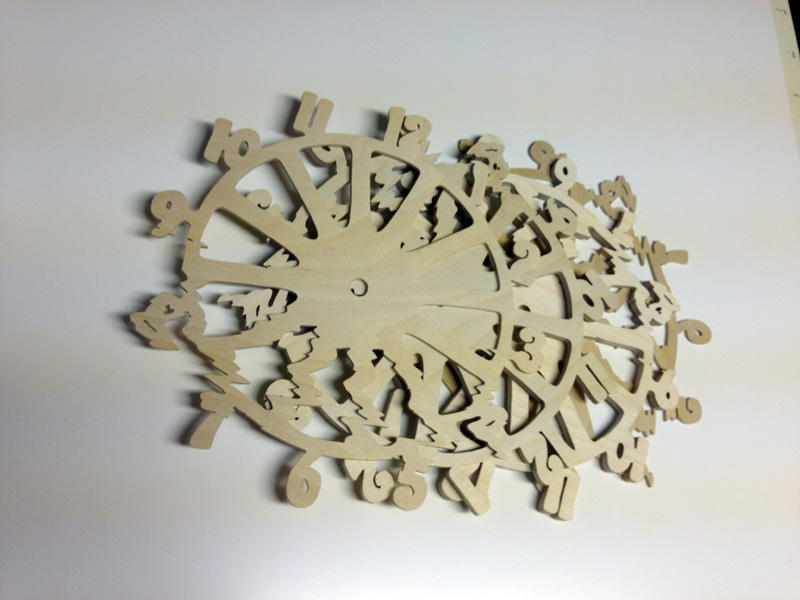
View from the back – I find that looking at the back the final image emerging is much clearer without the pattern interfering visually

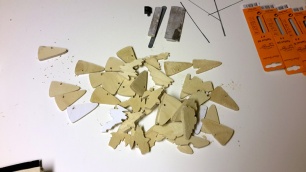
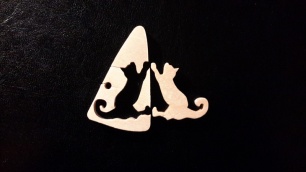
At this stage I had all these pieces and got side tracked. I posted this on Facebook and asked people to guess what I am making. I promised a small prize and this was the beginning of the competitions that I now sometimes have (here is the current competition):

20150923_202941

20150924_224307

IMG_0070

Small pendant as prize!

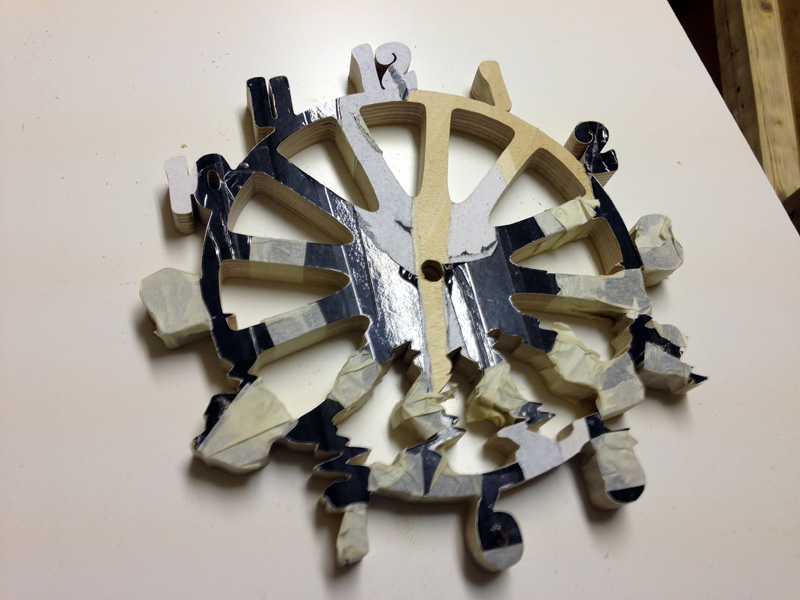
I continued with the outside cuts. I did however need to re-wrap the stacked pieces together as the masking tape originally keeping the stacks together (on the outer edge) was cut away.

IMG_0057

Supporting tape all over the place

Once done I started to remove the template and tape. IMG_0088

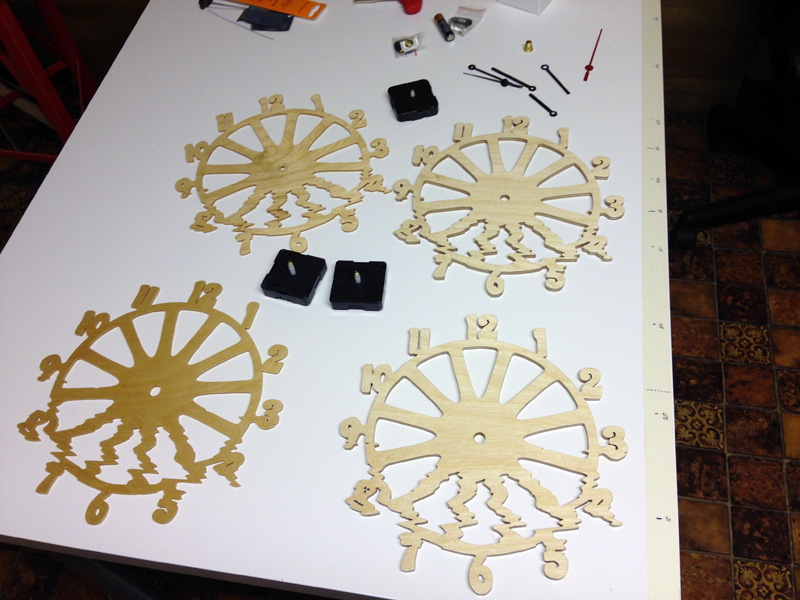
Which led to four identical clock faces. As usual with all woodworking projects, a lot of sanding takes place. Each piece was sanded from 240 to 800 grit.   IMG_0090

I coated the faces with clear lacquer and the differences in color became quite apparent. Next, the fitting of the quartz mechanisms. I simply stuck them to the wood with some hot-glue and added the hands.

IMG_0100

Various natural colors

IMG_0117

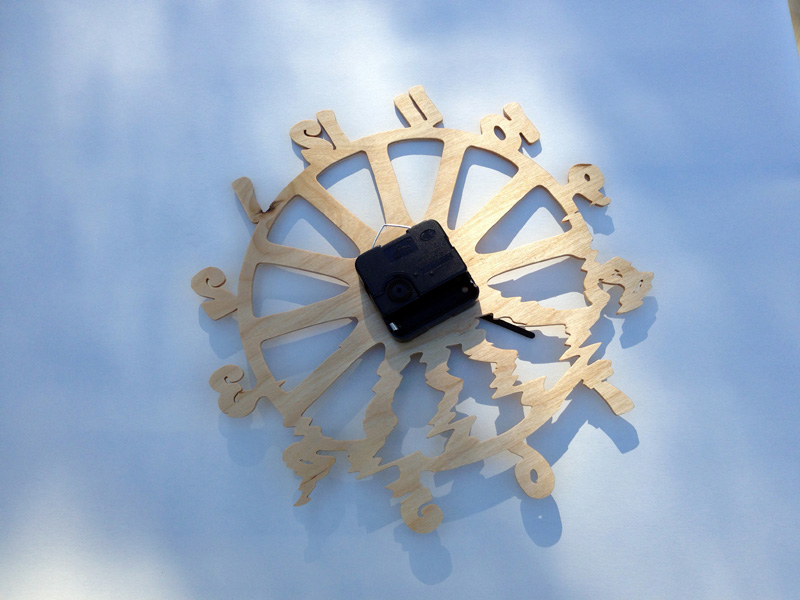
Back of clock

IMG_0131

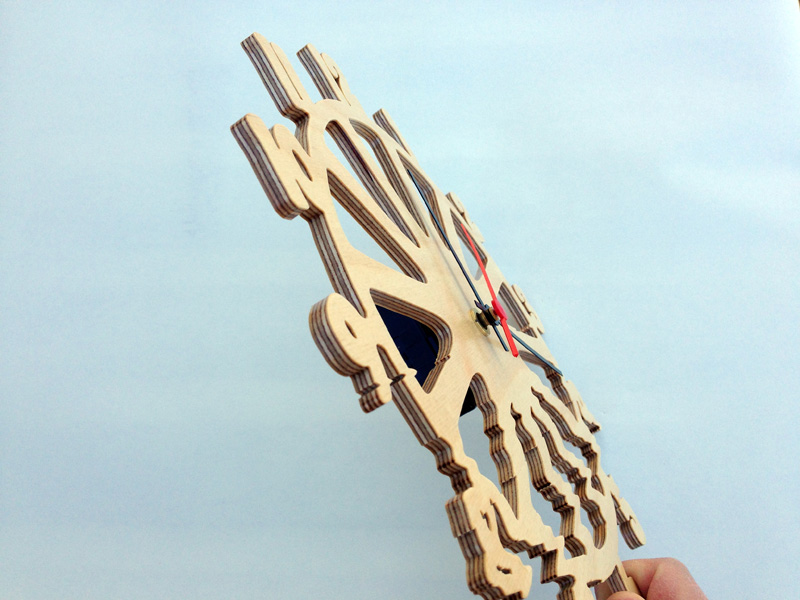
Side view of 6 mm clock showing the plywood layers

I am happy with how these clocks turned out. A few people had comments on what a shame it was that the wood warped in such an ugly fashion, which gave me a nice feeling of accomplishment 🙂

20150929_213622

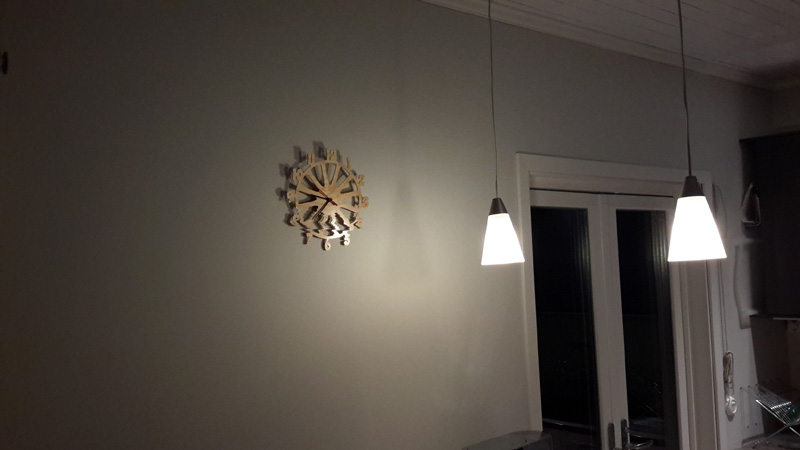
Currently in our kitchen

One clock is now in our kitchen and the others I will sell (here). I will, in the future, probably design more digital error patterns and have several plans to make pixelated wooden items.

Robroy.

p.s. feel free to sign up for our newsletter to keep up to date with new items and exciting competitions:

newsletter2