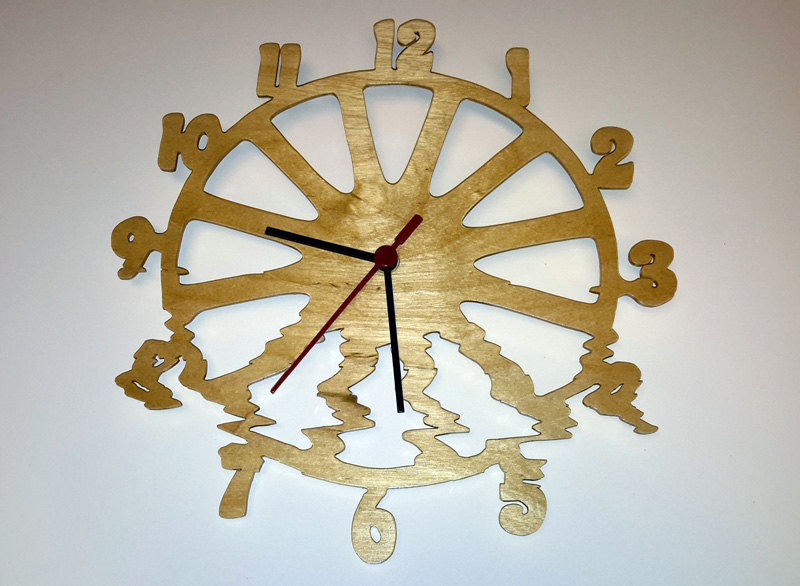
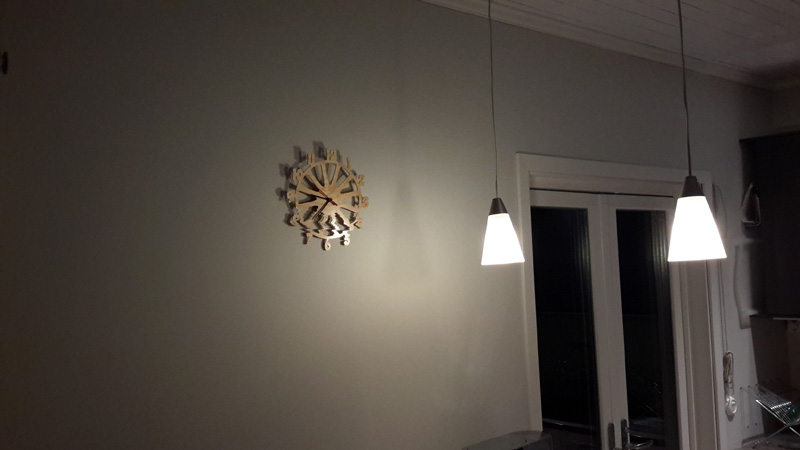
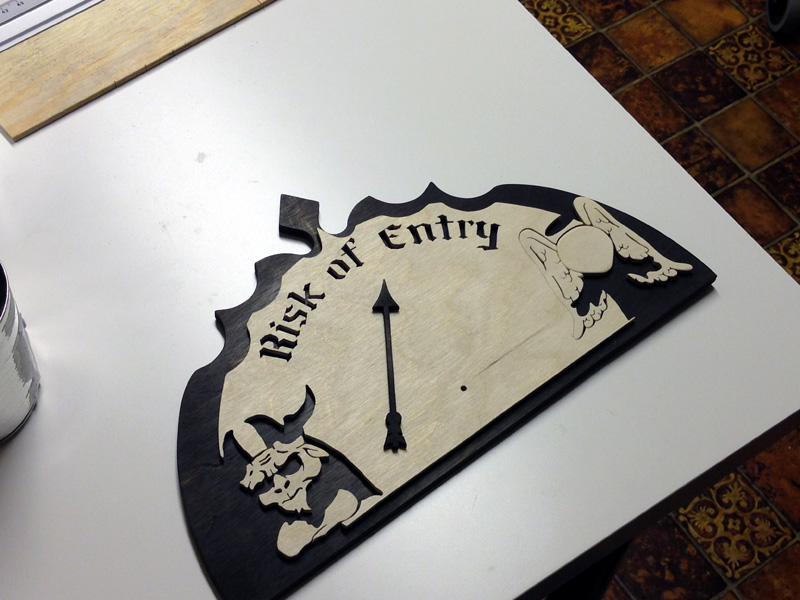
I was recently asked to make a Mood Barometer. Here is an image of the one I made:
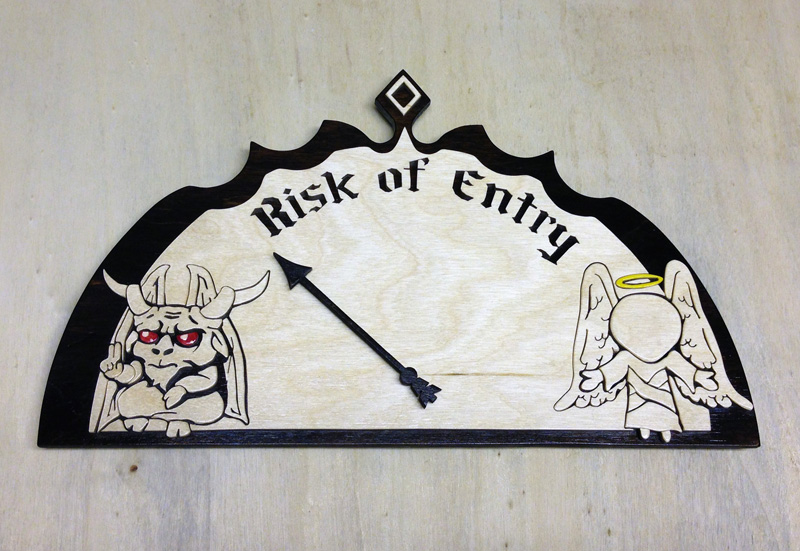
Completed Mood Barometer
The customer who approached me indicated that she had safety concerns for her colleagues and other people that she work with during the day 🙂 One way to help them would be for her to have an indicator on her office door. This indicator will provide some information regarding the risk that they place themselves in when approaching her at that specific point in time. We thus discussed the possibility of this mood indicator and and after a few draft designs she approved the construction of the mood barometer shown here.
Following is the a video of the building process. Below I provide some additional images and details for building this or a similar mood barometer. The plans for this item is available here (Pattern for sale on Induku on Etsy).
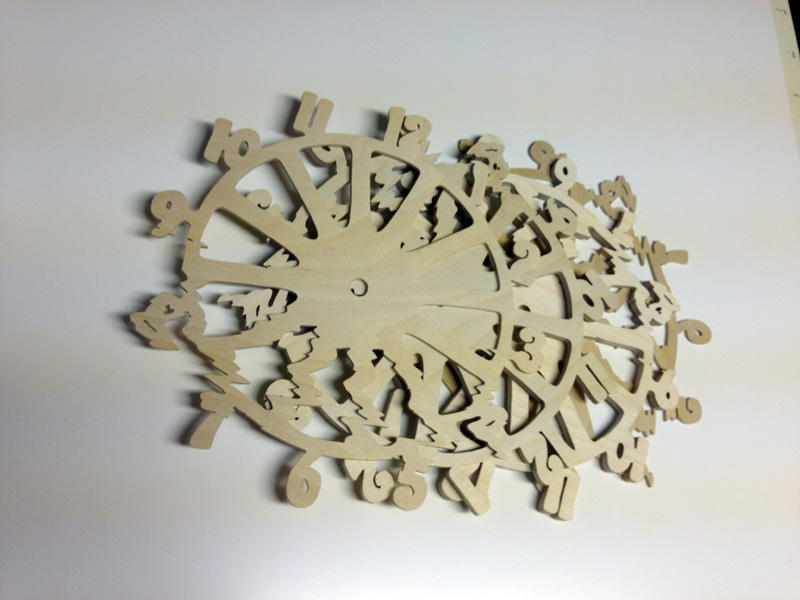
The process starts with cutting the Baltic birch plywood blanks. I decided to use 6mm for the back and 4mm for the front. Plywood are often bent and I found that the 6mm sheet I had in stock was a bit warped. Treatment for this is to apply some water with a sponge to the concave side. I placed it against the heater in my shop with the convex side towards the heat. After a few hours the board was more straight and I clamped it between two flat surfaces overnight to help it flatten out a bit more. The following day it was flat enough to start cutting.
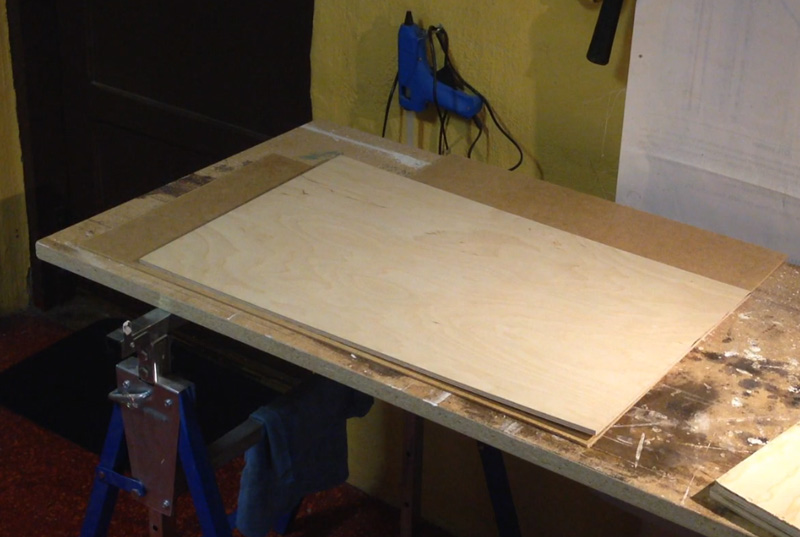
Slightly warped 6mm Baltic birch plywood
After the templates are cut, I sand both pieces. I find it very useful to sand all before using the scroll saw for many reasons. In this case the first reason is to remove all the irregularities caused by the water. Also many of the pieces, after cutting, are quite small and having an initial sanding on the larger banks is much, much easier. The time sanding after cutting is generally reduced and the main area mainly needs only touching up, rather than complete sanding. This does not mean that there is no sanding after cutting, on the contrary, most of the sanding is done afterwards (see below) but an initial sanding helps a lot!
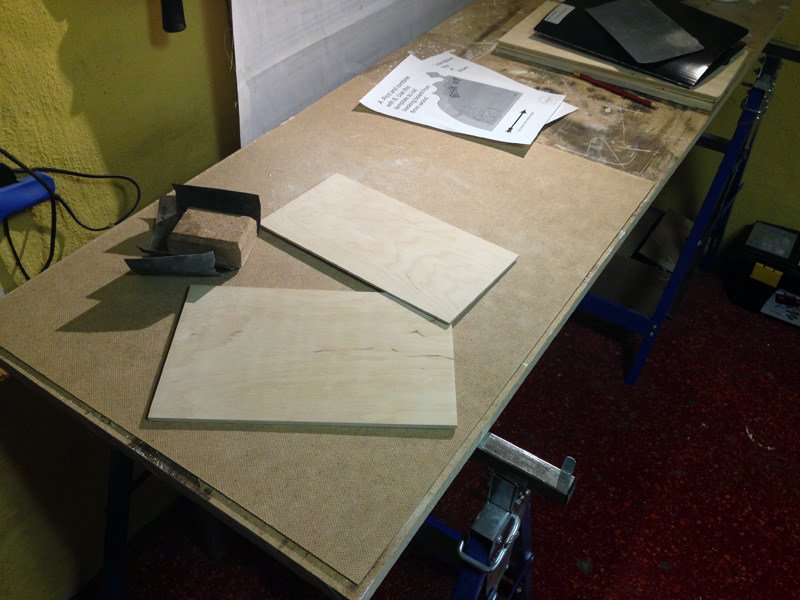
Initial sanding
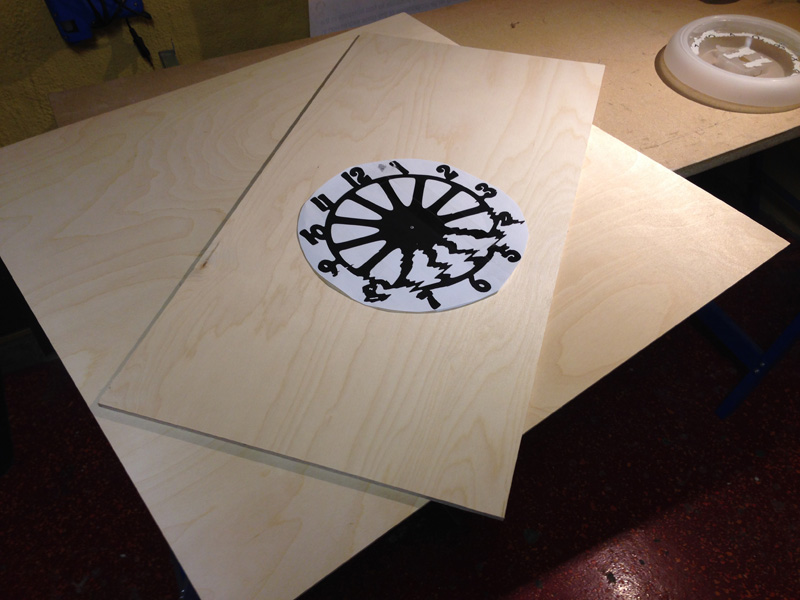
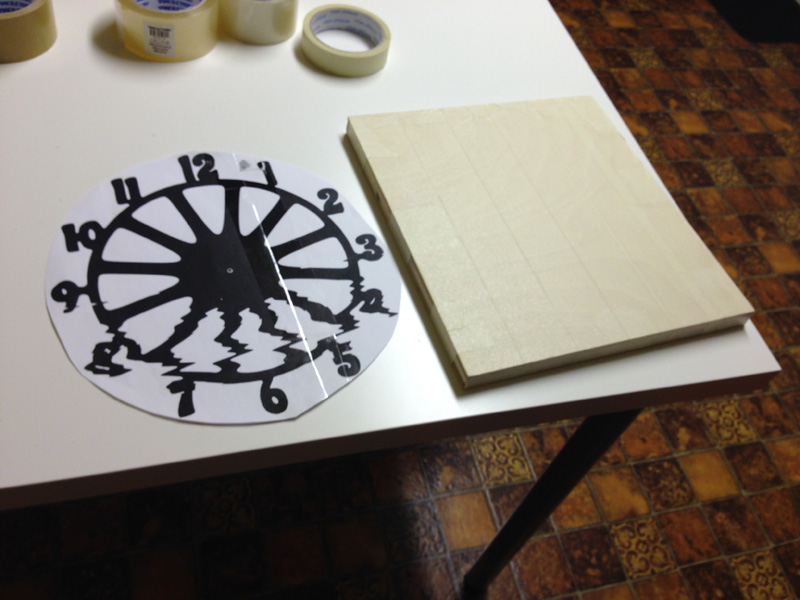
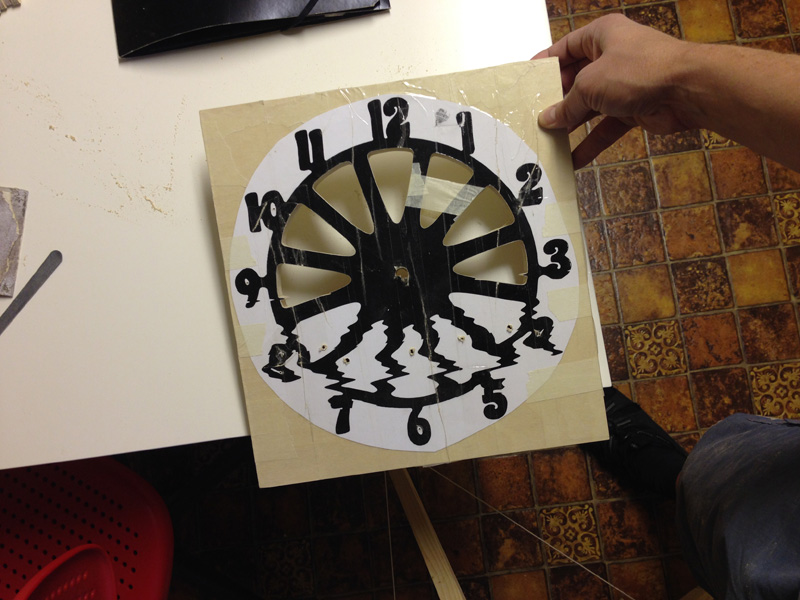
The next step is to add the templates to both pieces. I like to wrap the wood in masking tape (painters tape) since it is very easy to remove once the wood has been cut. It also prevents a lot of the tear-out and fuzzy edges forming. I stick the pattern on the masking tape and cover it with clear tape (this helps to keep the image edges sharp and not smudge during all the handling, it also helps to lubricate the blade).
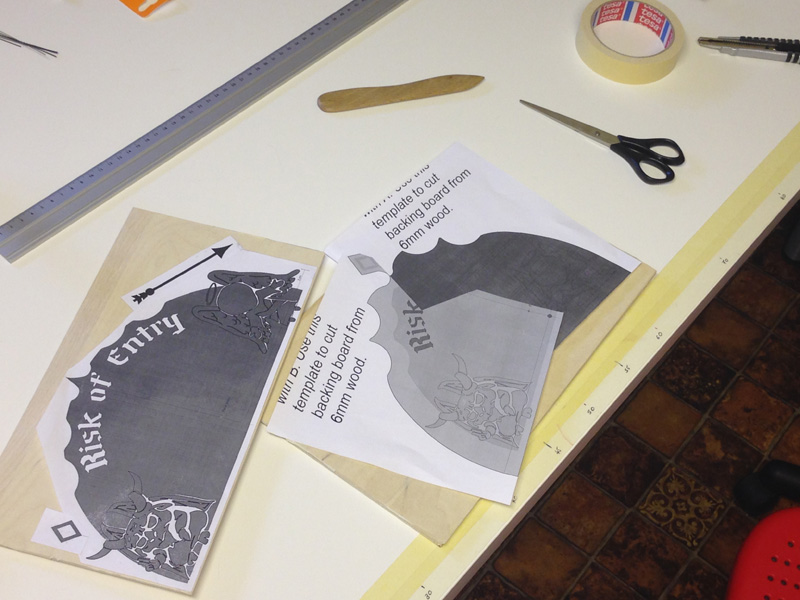
Preparing the blanks
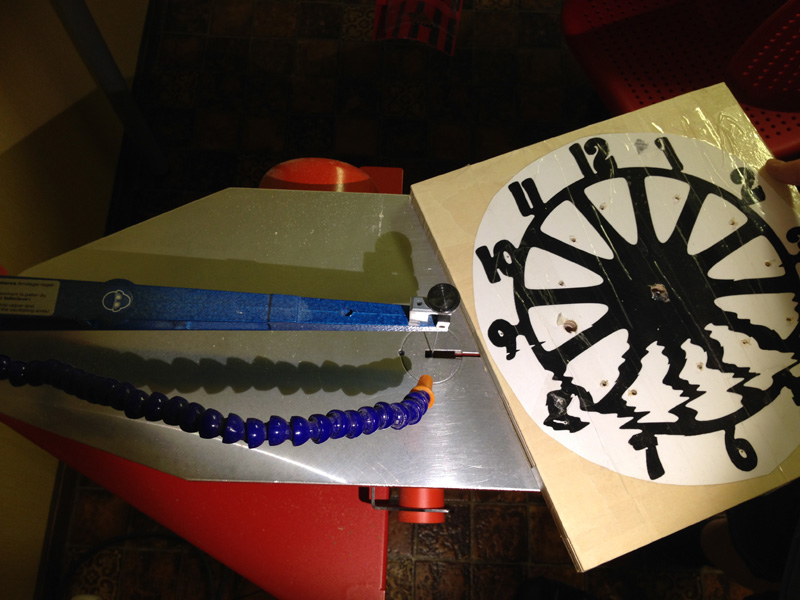
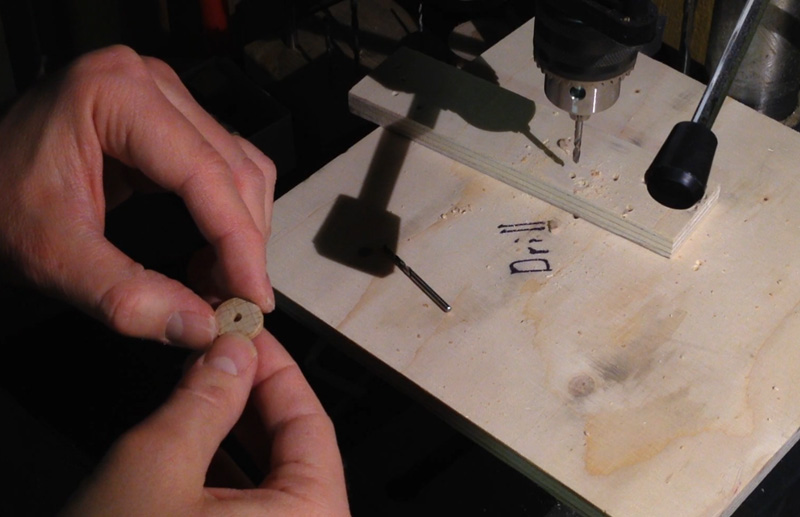
Once the preparation of the blanks are done I drill the hole in which the indicator arrow will pivot. This is quite important to do separately on both pieces while the plans are attach since this will allow for easy alignment later on when the patterns are removed. After this is done I drill all the entry holes for the internal cut areas on the front piece.

Drilling the pivot hole
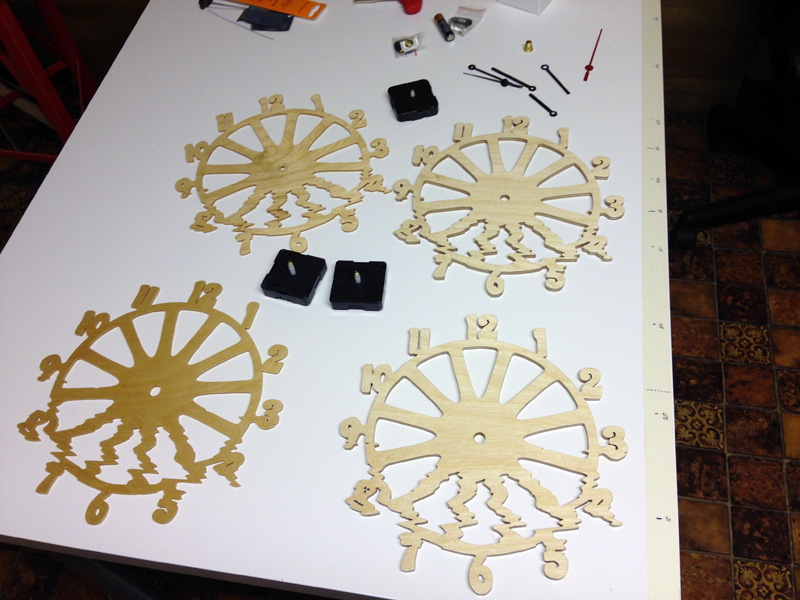
I start the cutting with the the backing piece. This is only one big piece and I cut it with a #5 reverse tooth blade. With this piece cut I stain it using a “Dark Walnut” a water based stain. I add 3 coats with of several hours drying and light sanding in between.
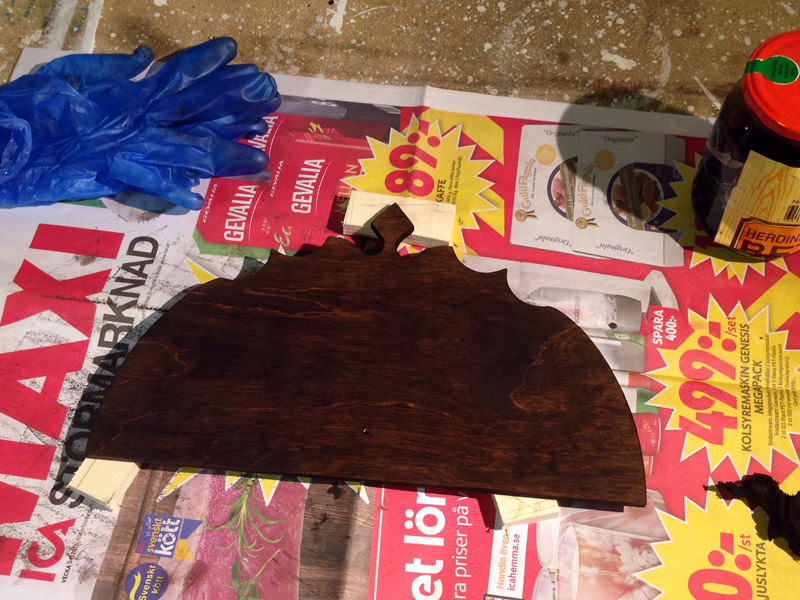
Backing piece cut and stained – first coat
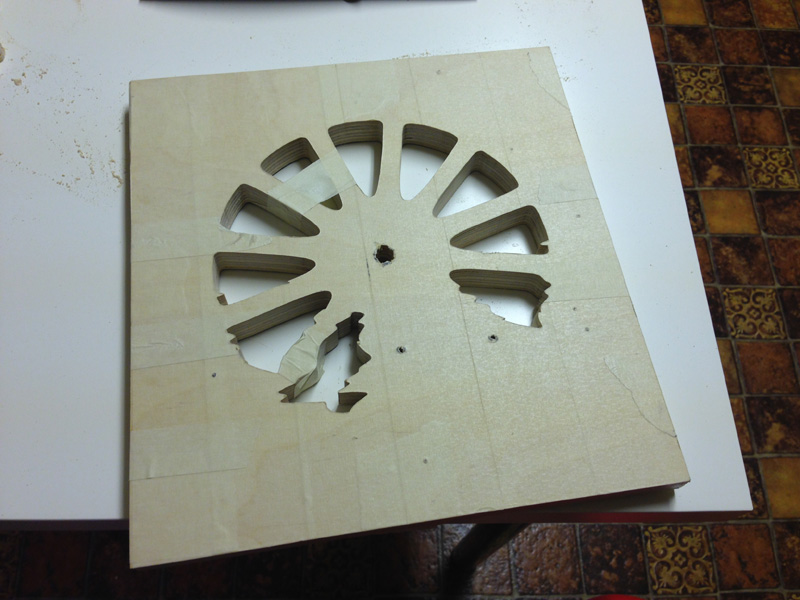
Then the main part of the project starts – the sawing of all the pieces of the main image. I cut the top diamond and the arrow (the arrow is stained in the same way as the backing piece). I continue cutting the characters by removing the bulk of the demon.
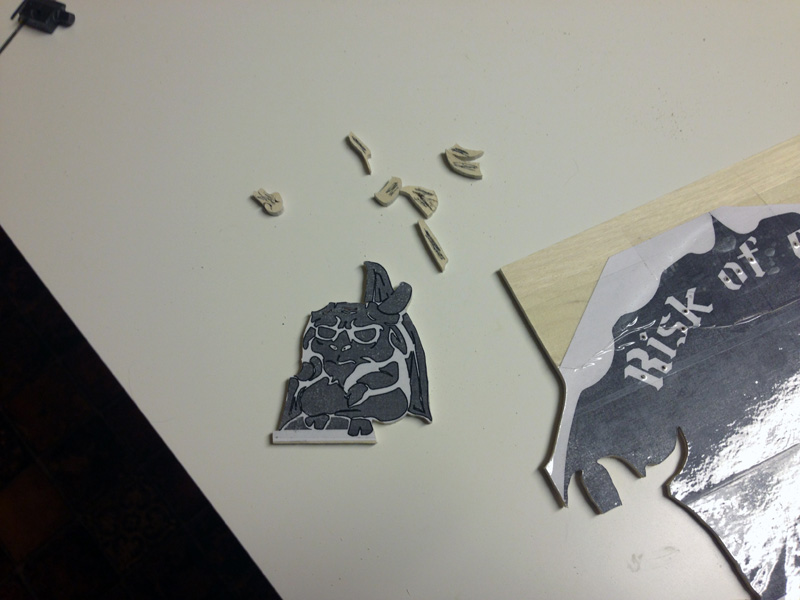
Demon and a few of his pieces
After this I cut all the pieces of the demon, including the internal cuts. I do most of the cutting with a #2 reverse tooth blade. Some of the cuts are a bit challenging since the pieces are quite small.
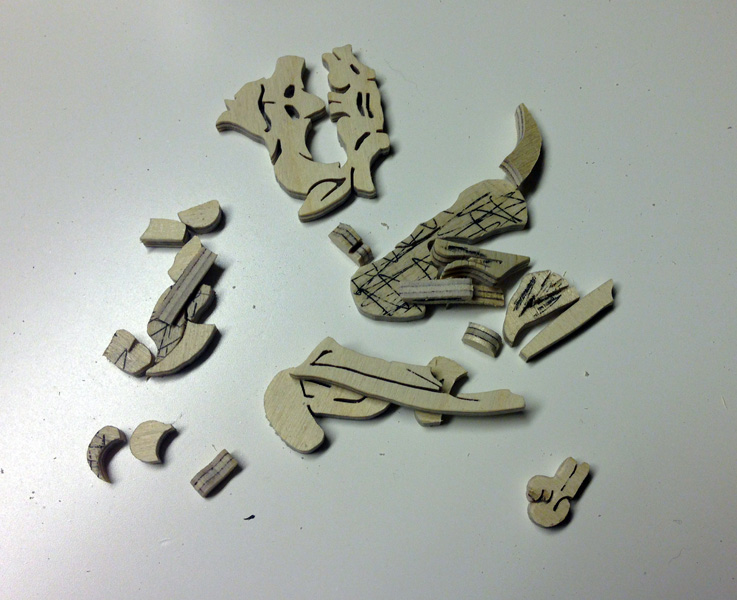
All the pieces of a demon
Even more challenging is not losing pieces through the gap in the saw table insert (I have done so with previous projects). A simple trick to prevent this is to make a zero clearance base by taking a flat piece of wood (I use a 4mm piece of plywood), cutting into it and clamping it in place. I saw this trick on the jimmydiresta’s youtube channel (Bandsaw Tips) and applied it to this, very similar, problem.
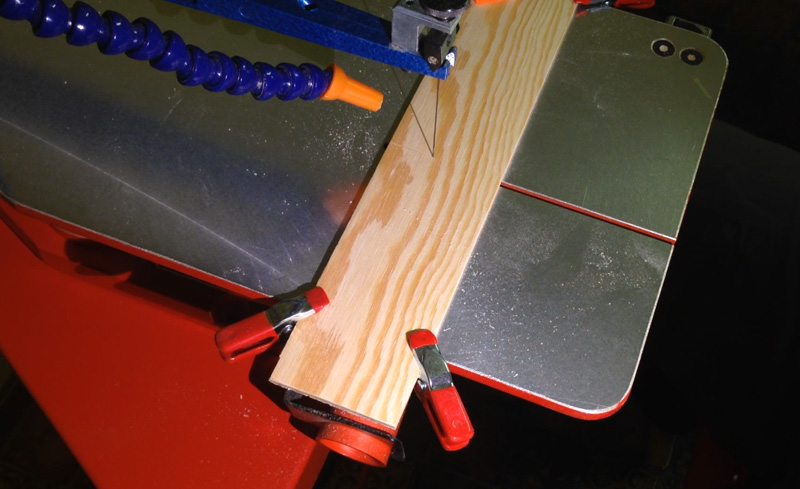
Zero clearance “plate”
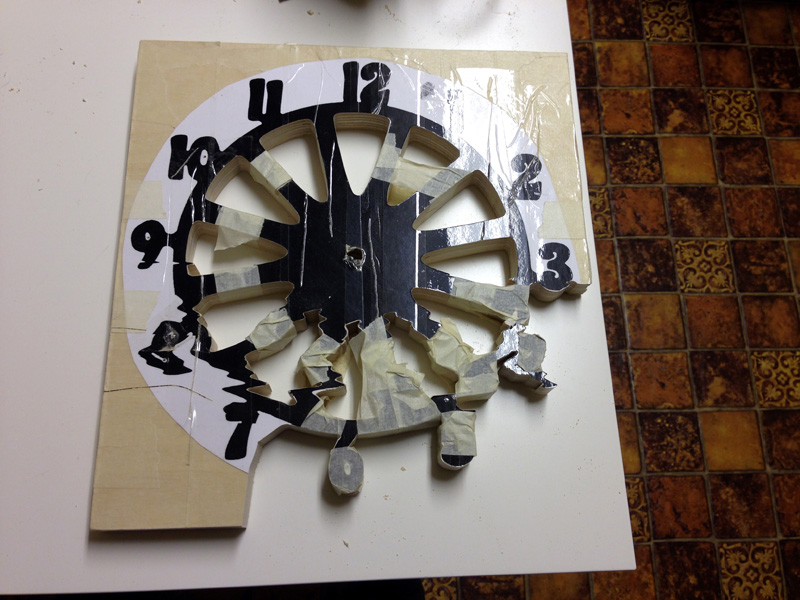
A second issue is that with this many small and odd shaped parts it is difficult to quickly know which piece goes where. To help with this I marked the back of the wood with a pen. Much less time is thus spent turning the pieces over in your hand trying to figure out which side is up.
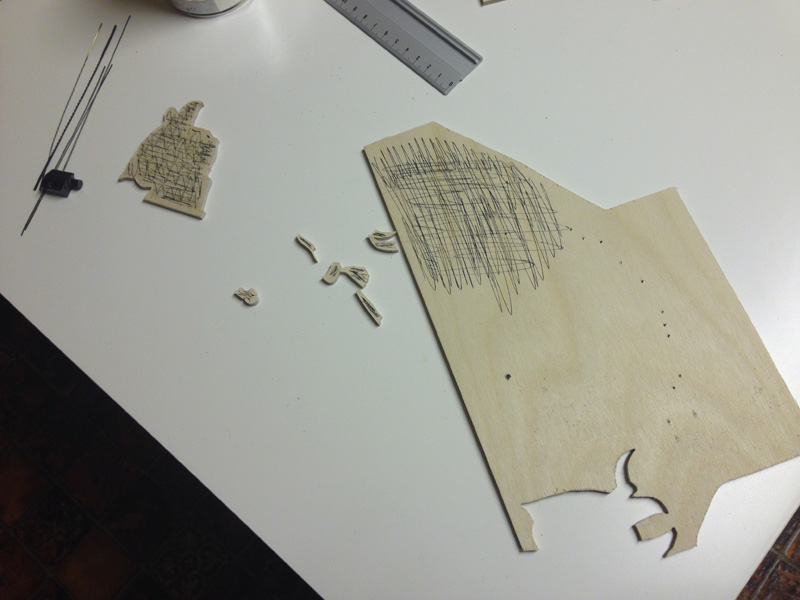
Back of the front piece marked with pen
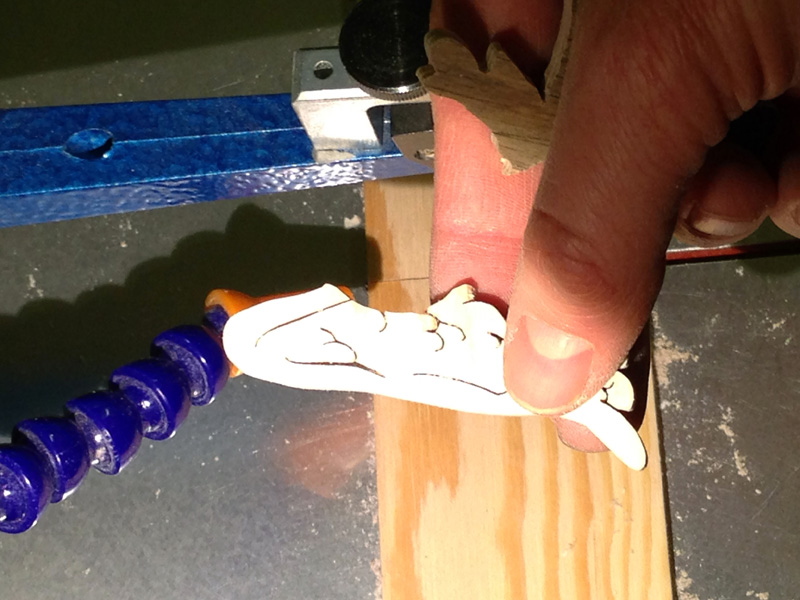
I did, unfortunately, encounter another problem commonly found with plywood: tear-out of the top layer. This happend only on the demon’s right hand and I had to cut another hand. Luckily I had a kept the scrap wood and used a piece coming from just next to the original hand and the shade and grain is thus extremely similar.

The demon’s second hand
Once the demon was done I repeated the process with the angel. The angel is a much simpler character and took much less time to cut and there were no problems with any of the pieces. The next step is to cut all the letters. This font is very angular and quite easy to cut.
The wing of an angel
After all the sawing is done I spent quite a lot of time sanding (I find this is true for most projects involving wood). I remove all the fuzzy edges from the back and sand up to 240 grit. I also use various strips of sandpaper, home made scroll saw sanding belts, emery boards etc to sand between the cuts. I sand the front of all the pieces to 800 grit with a very slight rounded edge. To remove all the dust I place a mesh net on the nozzle of a vacuum cleaner and go over all the pieces with it. It is an effective way to remove the sawdust from between the cuts.

Dust removal
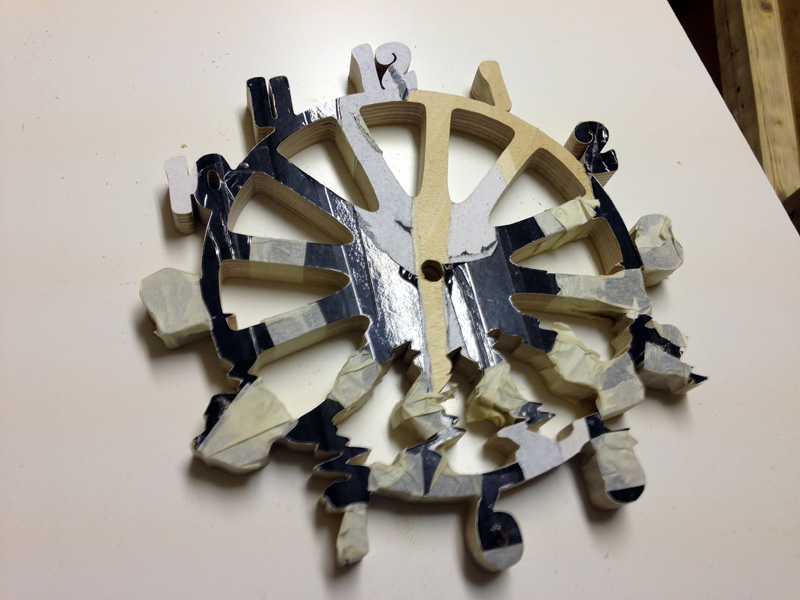
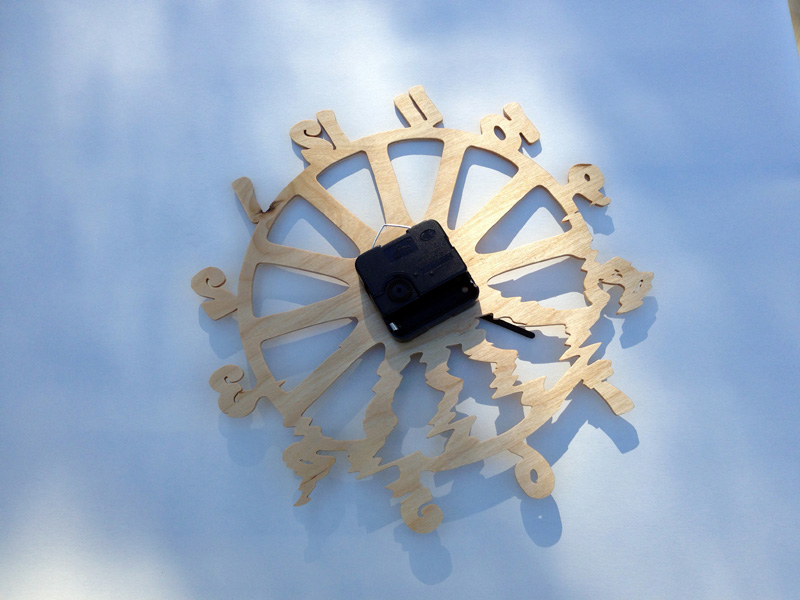
I did several dry builds on the pattern to make sure that all the pieces fit and have the correct look. When I was satisfied with everything I commenced the glueing. I mentioned that the pivot hole is pivotal in aligning the pieces. To do so I placed a skewer (later also serving as the axle of the indicator) into both pieces after applying glue to the back of the front piece. Once in place I clamped these pieces overnight.
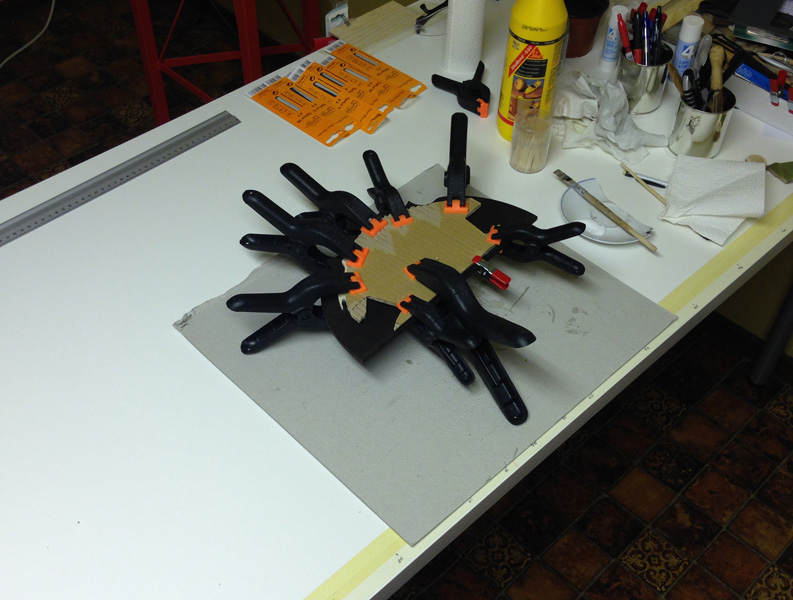
Clamping the main pieces together
Again I arrange all the pieces in their places before adding glue and then one by one I remove them, add glue and replace to ensure the image remains as planned. This process took approximately 3 hours.
Doing a dry fitting of the characters

Gluing done!
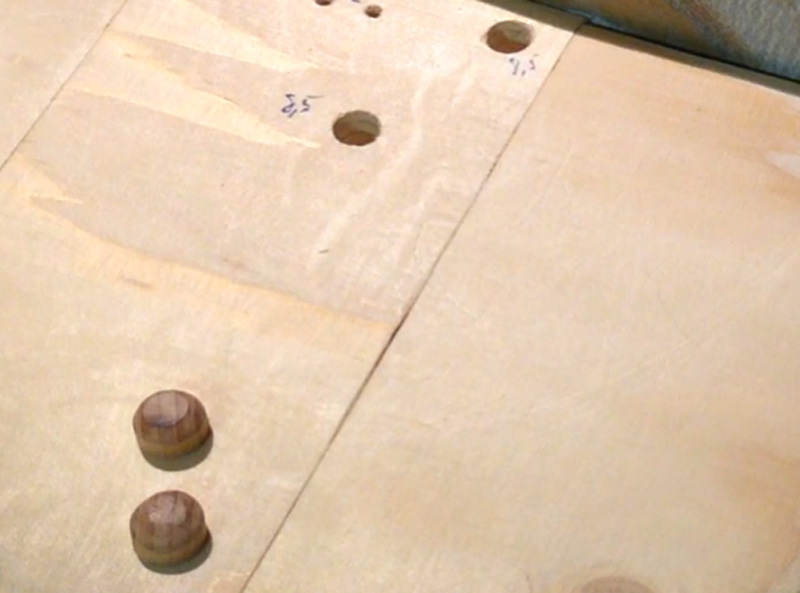
I also made two wooden washers for the indicator and started the assembly of this part. I also made 3 small legs from a piece of dowel.
Large washer for the back
Freshly sanded wooden legs
To add some highlights to the images I paint the demon’s eyes red and white and the angels halo yellow.
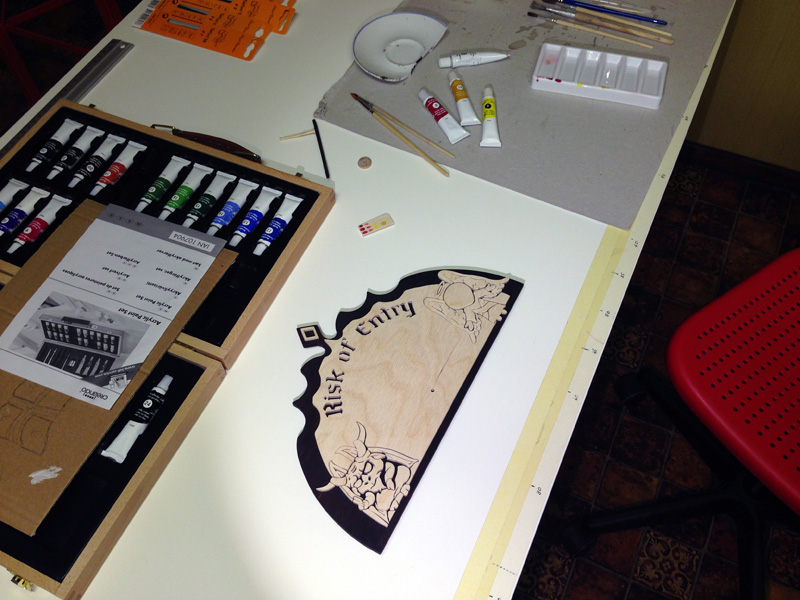
Preparing to paint
To finish the mood barometer I coated the back and front (and indicator arrow) with several coats of glossy lacquer. The last step is of course to add the indicator arrow and the shop logo.
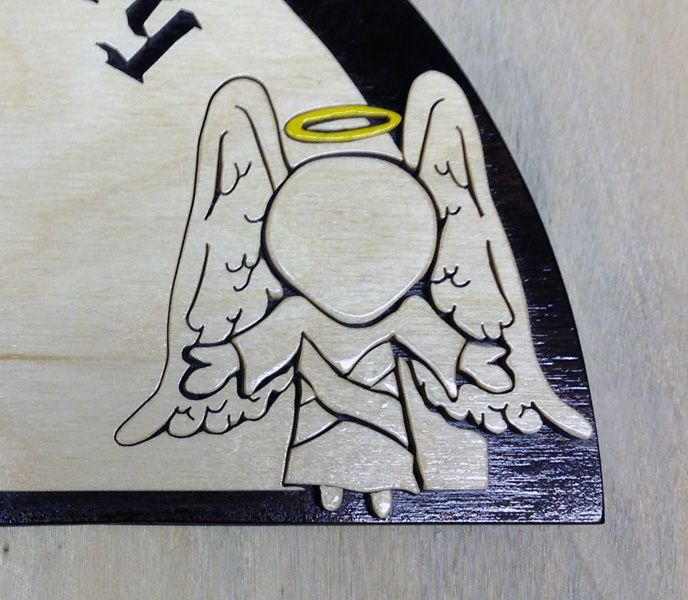
Angel closeup – after 4 coats of lacquer
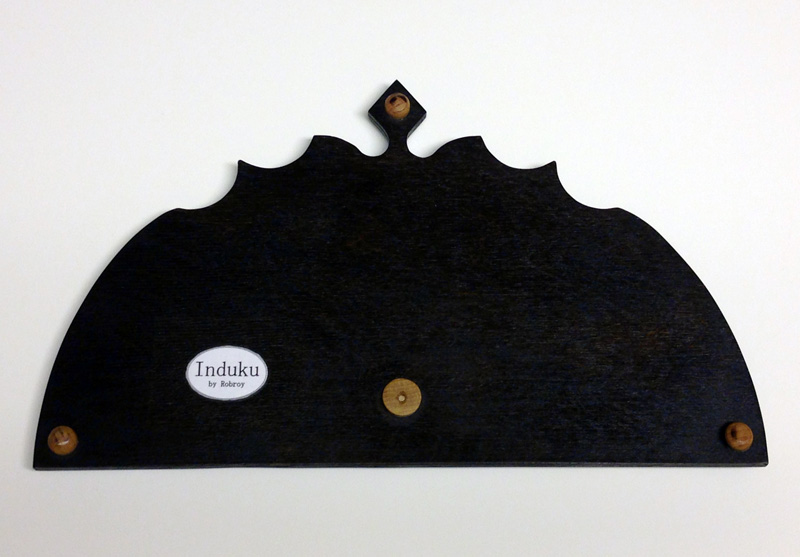
Back of Mood Barometer with shop lable
I am quite happy with how well the image in wood reflects the original design. I usually spend quite a lot of time designing pieces and often make only one. This item was commissioned and I will probably not stock these. I do however think other people may find inspiration from this design and make their own mood barometers. If you, however, want to make the same one the design is available for sale (Pattern for sale on Induku on Etsy).
Robroy