When I was a kid I collected stamps. After almost 30 years I rediscovered my old stamp album. On the first page the were the space themed stamps. I think these were the first stamps that I got – and if I remember correctly this was from a nurse at the hospital where my mother worked. In the album there are also a lot of South African stamps (this was were I lived). I am now continuing my collecting but also making small mini puzzles from some of the current duplicate stamps (some of these are for sale here).
Making a mini stamp puzzle is trickier that I thought it would be. I made some puzzles previously – using a scroll saw – where you just stick the paper to the wood and cut. But I wanted to use the laser to make the pieces really small. I need to cut them upside down to minimize the burn marks on the stamp itself. Positioning something this small exactly at the right place in the cutter while upside down required some thinking. The focus also needs to be spot on. But I think I got everything working quite well now and are happy with the results. 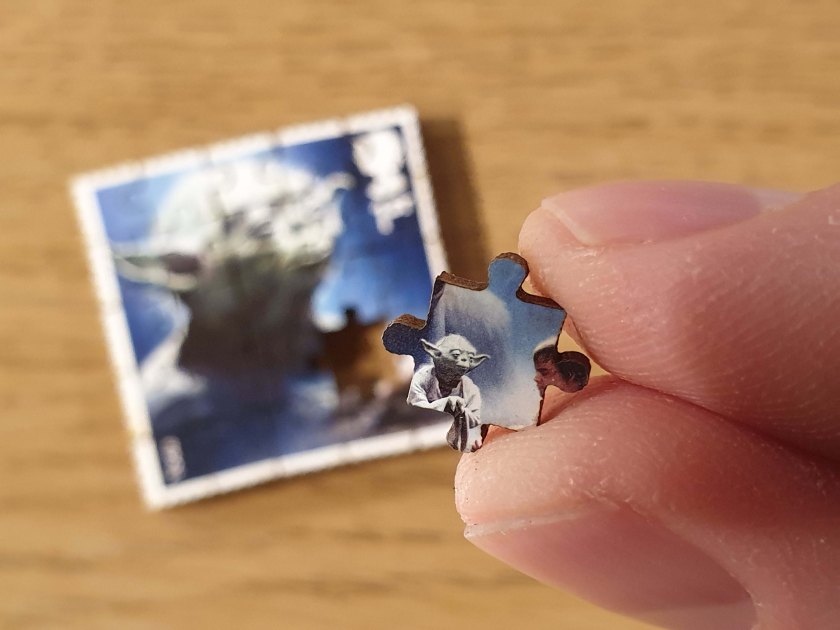
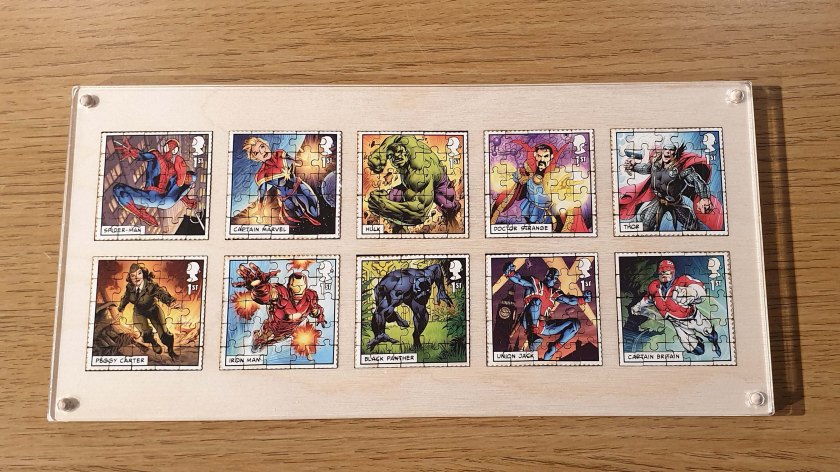
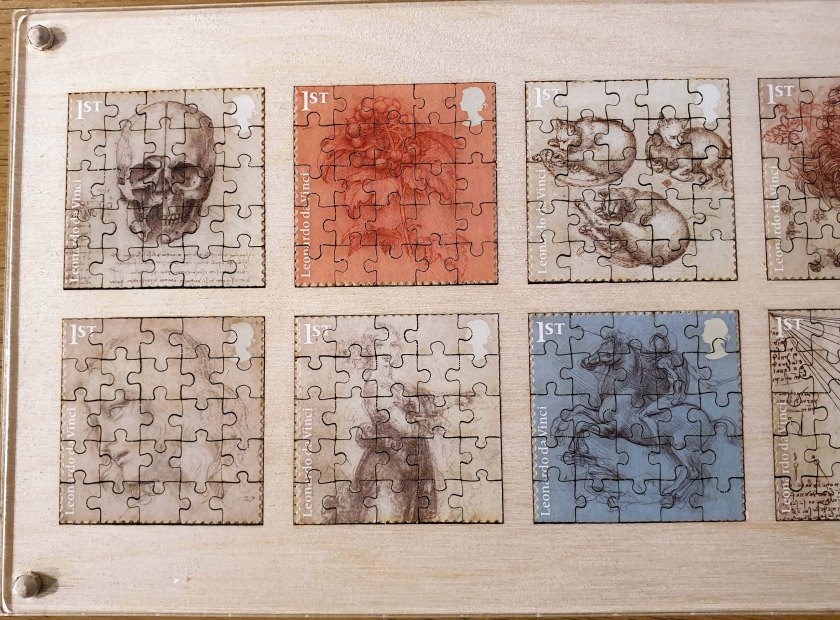
After I made a few single stamps puzzles I got the idea of making whole sets in to puzzles that can be displayed in a single frame. I got some really nice stamps from the Royal Mail. These include the 2019 Marvel set, the 2018 Star Wars Set and the 2019 Leonardo da Vinci sets. I have the Royal Mail’s Game of Thrones and Harry Potter sets still to make into puzzles.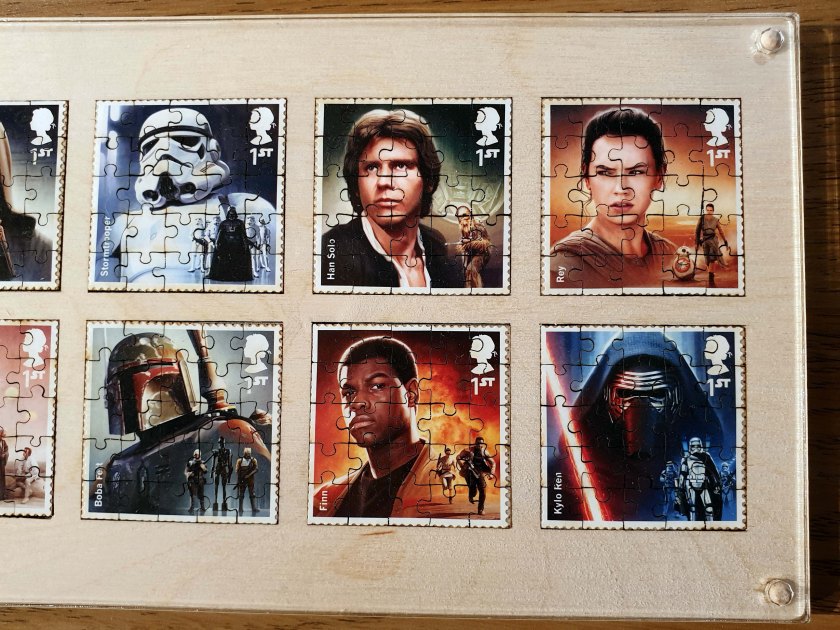
I made the 2018 Swedish Lighthouses set into a puzzle set with an engraved lighthouse on the frame itself. 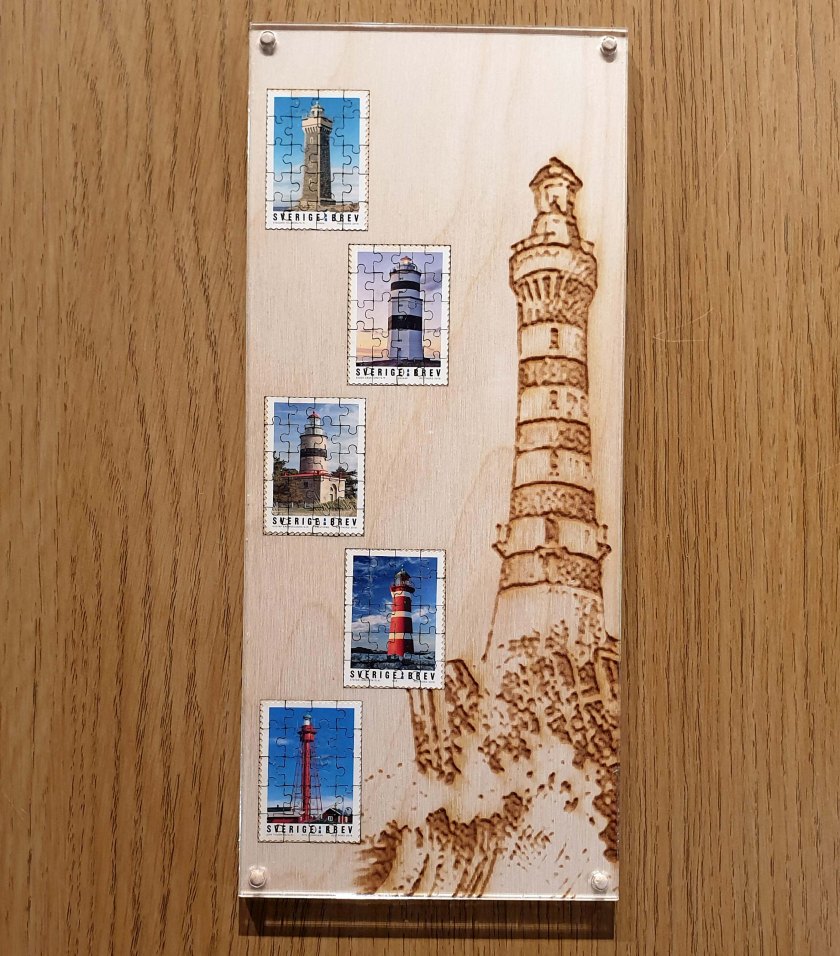
I also wanted to make a bigger puzzle but with small pieces. I got a image from an old book and made a 200 piece puzzle. It took more than 2 hours to build (more pictures here).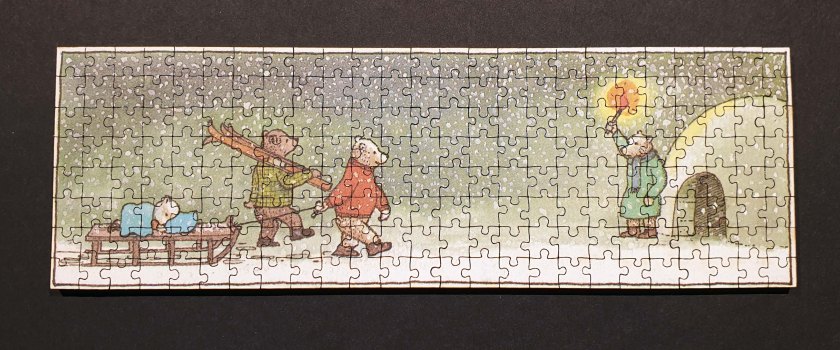
I still want to collect more stamp and thus posted this offer on a few forums and sites: I am willing to turn any stamp you want into a puzzle and send it back to you. I will however need 4 of the exact same type (one as payment and 2 for backup if something does not work – but I will keep the backup stamps also). I of course prefer not to cut stamps are not rare.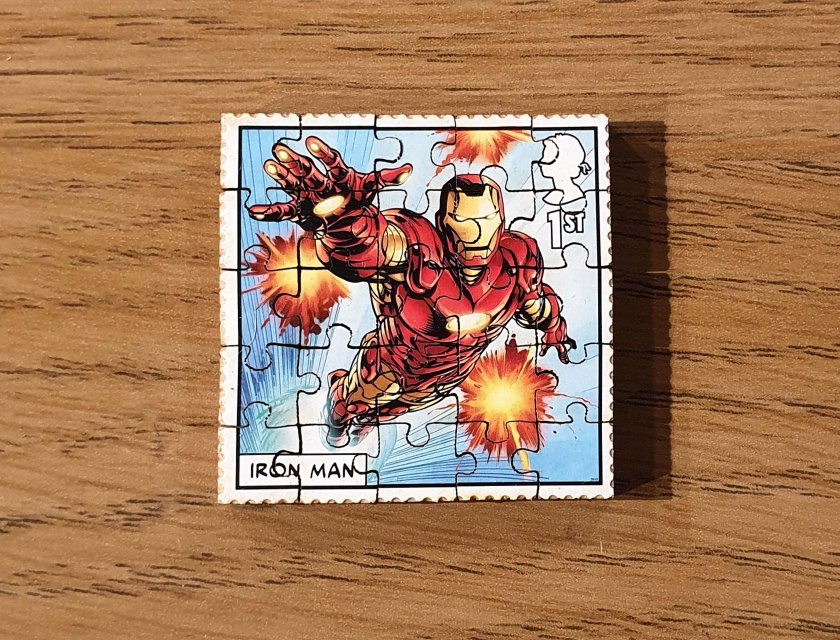
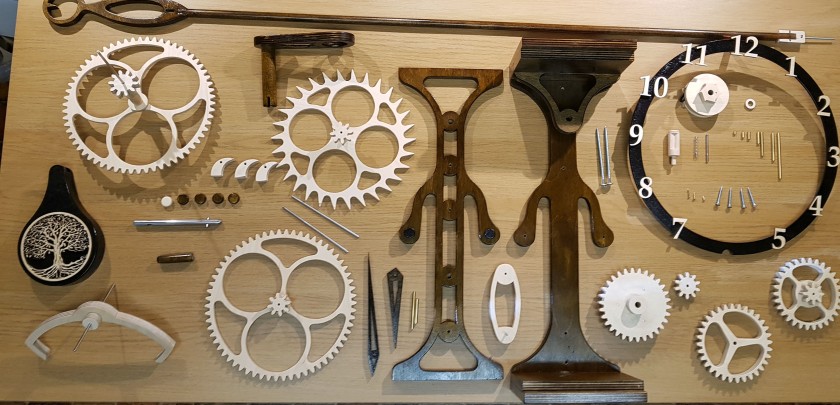
This project was a lot of fun. It provided me with a bit of a break as I am still struggling with the wooden clock kit – that is next on the to do list to finish. Keep an eye out for it…
R