Rubber Band Car

Induku Wooden Models, New Item, Shop Stuff

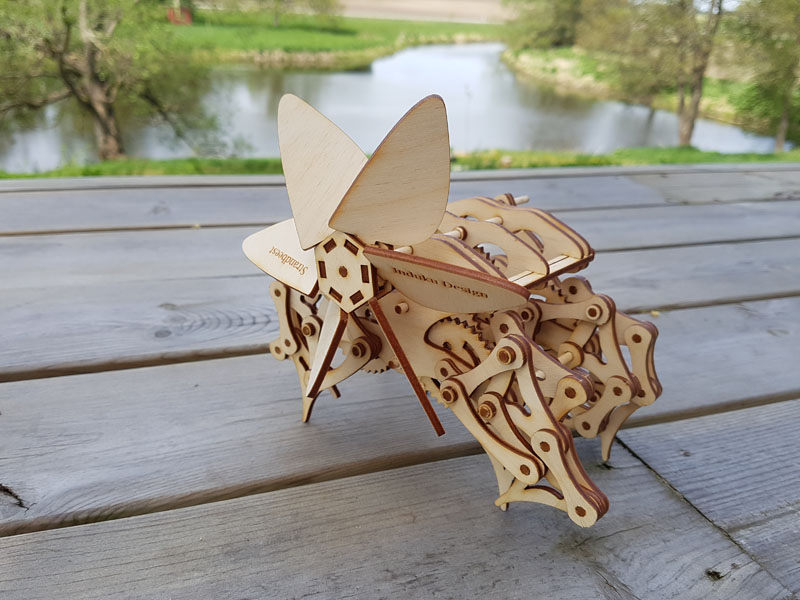
For a long time I wanted to make automata with some kind of self driven mechanism. This car is the first step in this direction. It has a working engine, driven by 2 rubber bands and comes in a kit that is only 105 x 210 x 1 cm in size. This is the standard size of a postcard. I sell these and ship them in an envelope and they make awesome Birthday cards (who would not want a rubber band driven, wind up, laser cut plywood car kit  as a gift). If you are interested in one get it here:

Buy It Here!

wind up car kit (3)

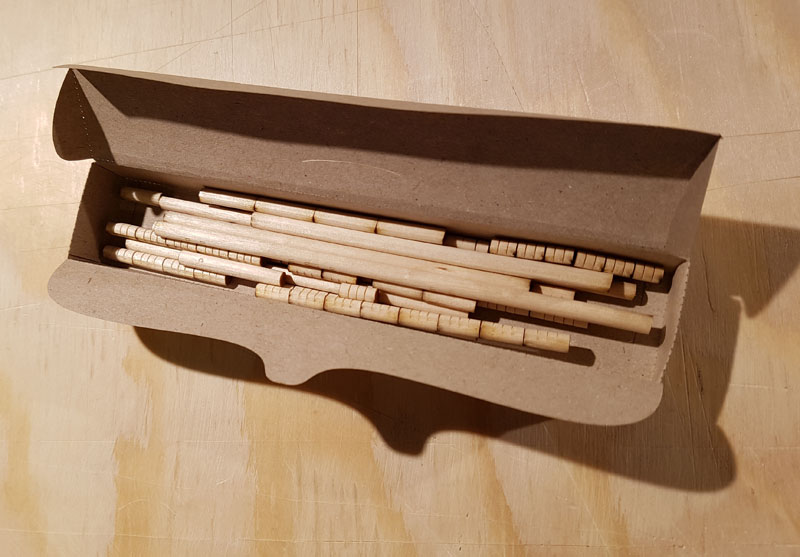
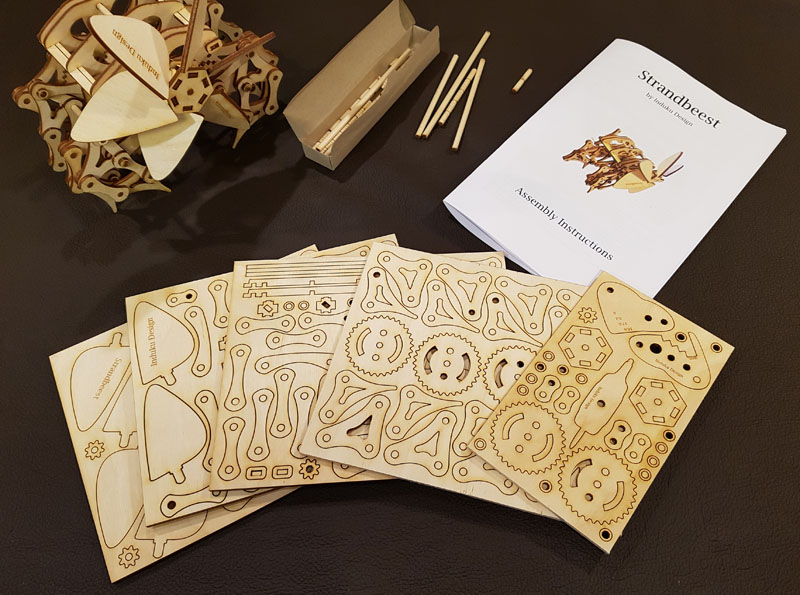
All the bits and pieces.

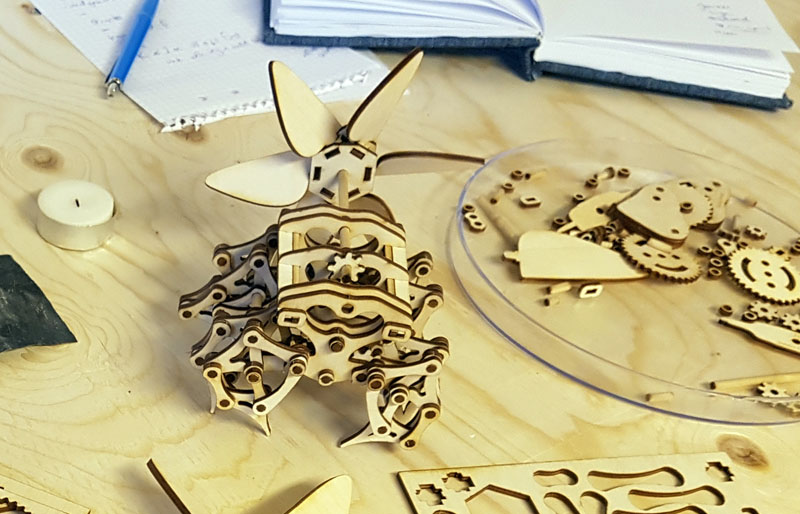
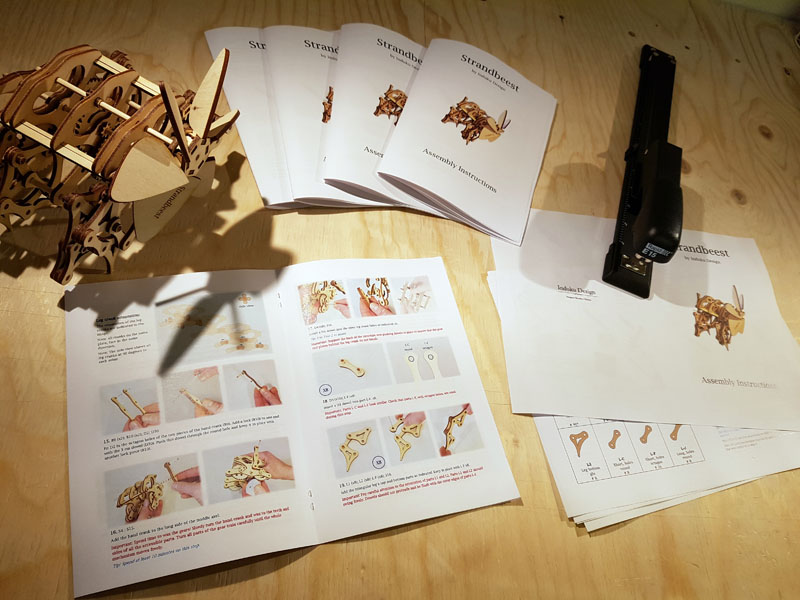
As with many of the things that I have been making recently, it is a laser cut model. Most of the parts are pressed out from 3 mm plywood sheets. The axles are 4 mm dowels and everything assembles quite easily. Download the instructions* here:

*Note the hard part of developing a kit is, for me, the instruction manual. Again writing the manual took more time than developing rest of the whole kit.

A video with some instructions to make assembly easier is available HERE:

wind up car kit (6)

1 of 2 postcard sized part sheets.

wind up car kit (2)

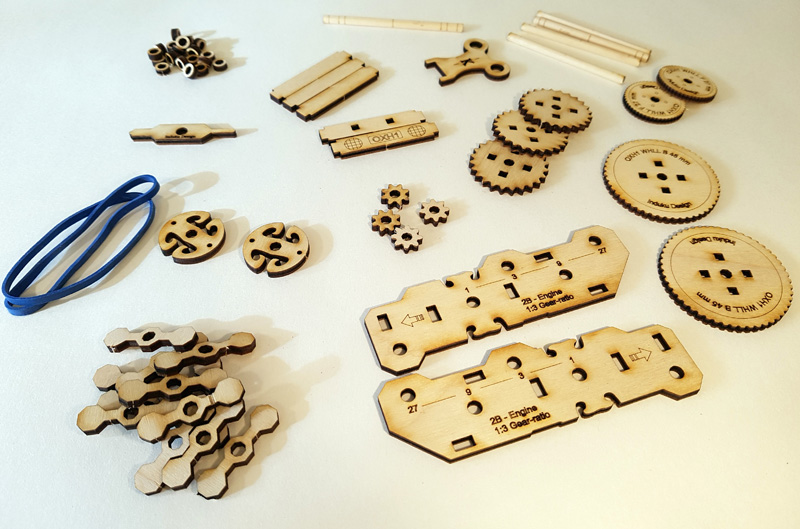
All the parts removed and sorted.

A small bit of CA-glue (supper glue) is needed to ensure there is no slippage of the gears on the axles. This is in different to many models that can be assembled without glue – but to tame the 2 band power of the engine it is necessary in this model. A bit of wax on the gear teeth allows for smooth running of the mechanism.

20171021_132752

CA-glue needed mostly on the drive gear.

The best part of the car is the gear system. In contrast to the gears in the Strandbeest model, there is an increase in the number of rotations from the drive gear to the final gear, rather than a reduction. The reason for this is two fold:

  • First it is to allow the car to run farther than just 2 turns of the wheels. Two turns is close to the maximum that the rubber bands can be wound. With the gear ratio of 1:3 and 2 sets of gears the large wheels turn approximately 18 times making the car go 3 – 4 meters on only 2 turns of the key.
  • The second reason is to slow down the mechanism. The gear train ends with a flywheel and total gear ratio of 1:27. The moment of inertia of this small flywheel is enough to slow down the mechanism sufficiently (although the car still moves reasonably fast).
wind up car kit (8)

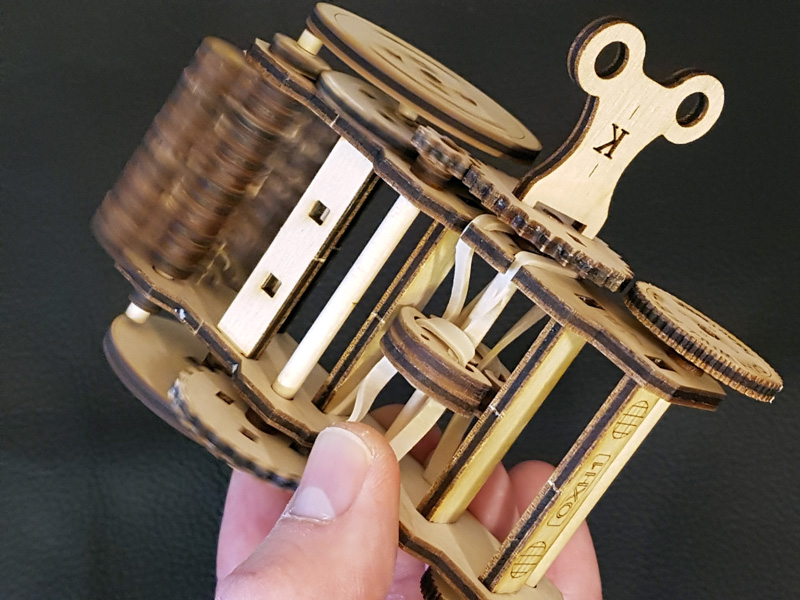
Mechanism in action. Drive to fly wheel ratio = 1:27

I am very happy with how this model has turned out. Let me know what you think about it, or feel free to get your own (here) if you think it is awesome.

I am already busy designing a new model and are currently very exited about it. Follow me on any of the social media channels to see what it is.

R

facebook

instagram

youtube

store

Induku Wooden Models – Strandbeest

Induku Wooden Models, New Item, Shop Stuff

Ever since I can remember I have been intrigued with mechanical models that have gears. One of my first experiences with gears, that I remember, was of my cousin who had three Lego gears in sequence. I was fascinated by this simple gear chain where all three would turn together when one of them is turned.

Now I am a bit older and I am still fascinated by gears. When I ordered a laser cutter I knew that some mechanical models with levers, pulleys and gears will be made on it. And now the first model for a new line of items (Induku Wooden Models) has been completed and made into a kit format: The Strandbeest – a mechanical beast that has a very cool walking motion.

A video with some instructions to make assembly easier is available HERE:

My interpretation of the Strandbeest:

The Strandbeest was developed by the Dutch artist, Theo Jansen using a evolutionary algorithm. While working as a scientist I wrote a few evolutionary algorithms and it is an extremely interesting and powerful method to solve very complex problems – I personally think it is underutilized (read more about genetic algorithms here). For the Strandbeest Theo Jansen used an “optimal walking motion” as the goal. Many different legs were evaluated and the best were used to make new variations until the leg that best fitted the motion was “found” (read more about it here). This is the essence of the Strandbeest motion and I used the leg parameter (scaled down) to develop a wooden interpretation.

20170528_124740

Wooden Strandbeest Model.

Making a whole kit from a few leg parameters is a bit of work. The first thing I did was to test if I could make a leg that would actually work. This was reasonably easy and quickly afterwards the first model was born.

20170511_125132

First step – needed a leg for it.

20170518_104320

First version.

This first Strandbeest model was too small to have large enough gears to have a good gear ratio. The wind required to drive the small beast needed to be very strong for it to move (note: another solution would have been to make the small gear smaller and have more small teeth on the large gear BUT working with wood has some limits – and decreasing the teeth size would make them break to easily). I thus made a second version of the beast and it worked much better.

step6

First four gears in the sequence – images from assembly instruction booklet.

20170530_170508

Closeup of large gear (c.a. 4 cm in diameter) – freshly cut.

After a bit of tweaking, the third version was made and the parts were ready to be placed in kit format. I also made a jig to cut all the dowels required as connecting rods and axles.

20170530_104632

Dowel cutting jig – ugly but functional.

Once this was done I spent quite some time on the packaging. This I found to be a whole science on its own. Luckily I can cut my own cardboard boxes on the laser and each Strandbeest kit, with all the parts, dowels and booklet ships in a box that fitts perfectly.

20170530_103120

Quite proud that I could design these – rock just to hold it flat.

20170530_111246

Small box with all the dowels for one Strandbeest – folded and ready to be packed.

As mentioned, a booklet is included (digital version here). This contains the assembly instructions and I completely underestimated the work required for this part of the project. I thus spent almost as much time taking photos of each step in the assembly, editing the photos and writing the description, as developing the Strandbeest model. But finally it was completed and I am happy with how the whole project turned out.

20170530_115516

Assembling booklets – multi-page, back to front, double-sided printing is hard.

20170530_170248

A complete kit.

The Strandbeest models are now for sale as kits (here).

But I am also working on the next model. It will be based on the whirligig that I made last year (see it here) and will also be sold as a kit. I am quite excited about this and it will have a few gears, crankshafts, levers and maybe even a shark!

Stay tuned to see how it turns out…

R


facebook

instagram

youtube

store